CNC from Screenprinter - Part 4
CNC ·Drives for x- and y-axis
In this part of the series, the hardware to precisely move the x- and y-axis will be described. See the z-axis build in the previous part.
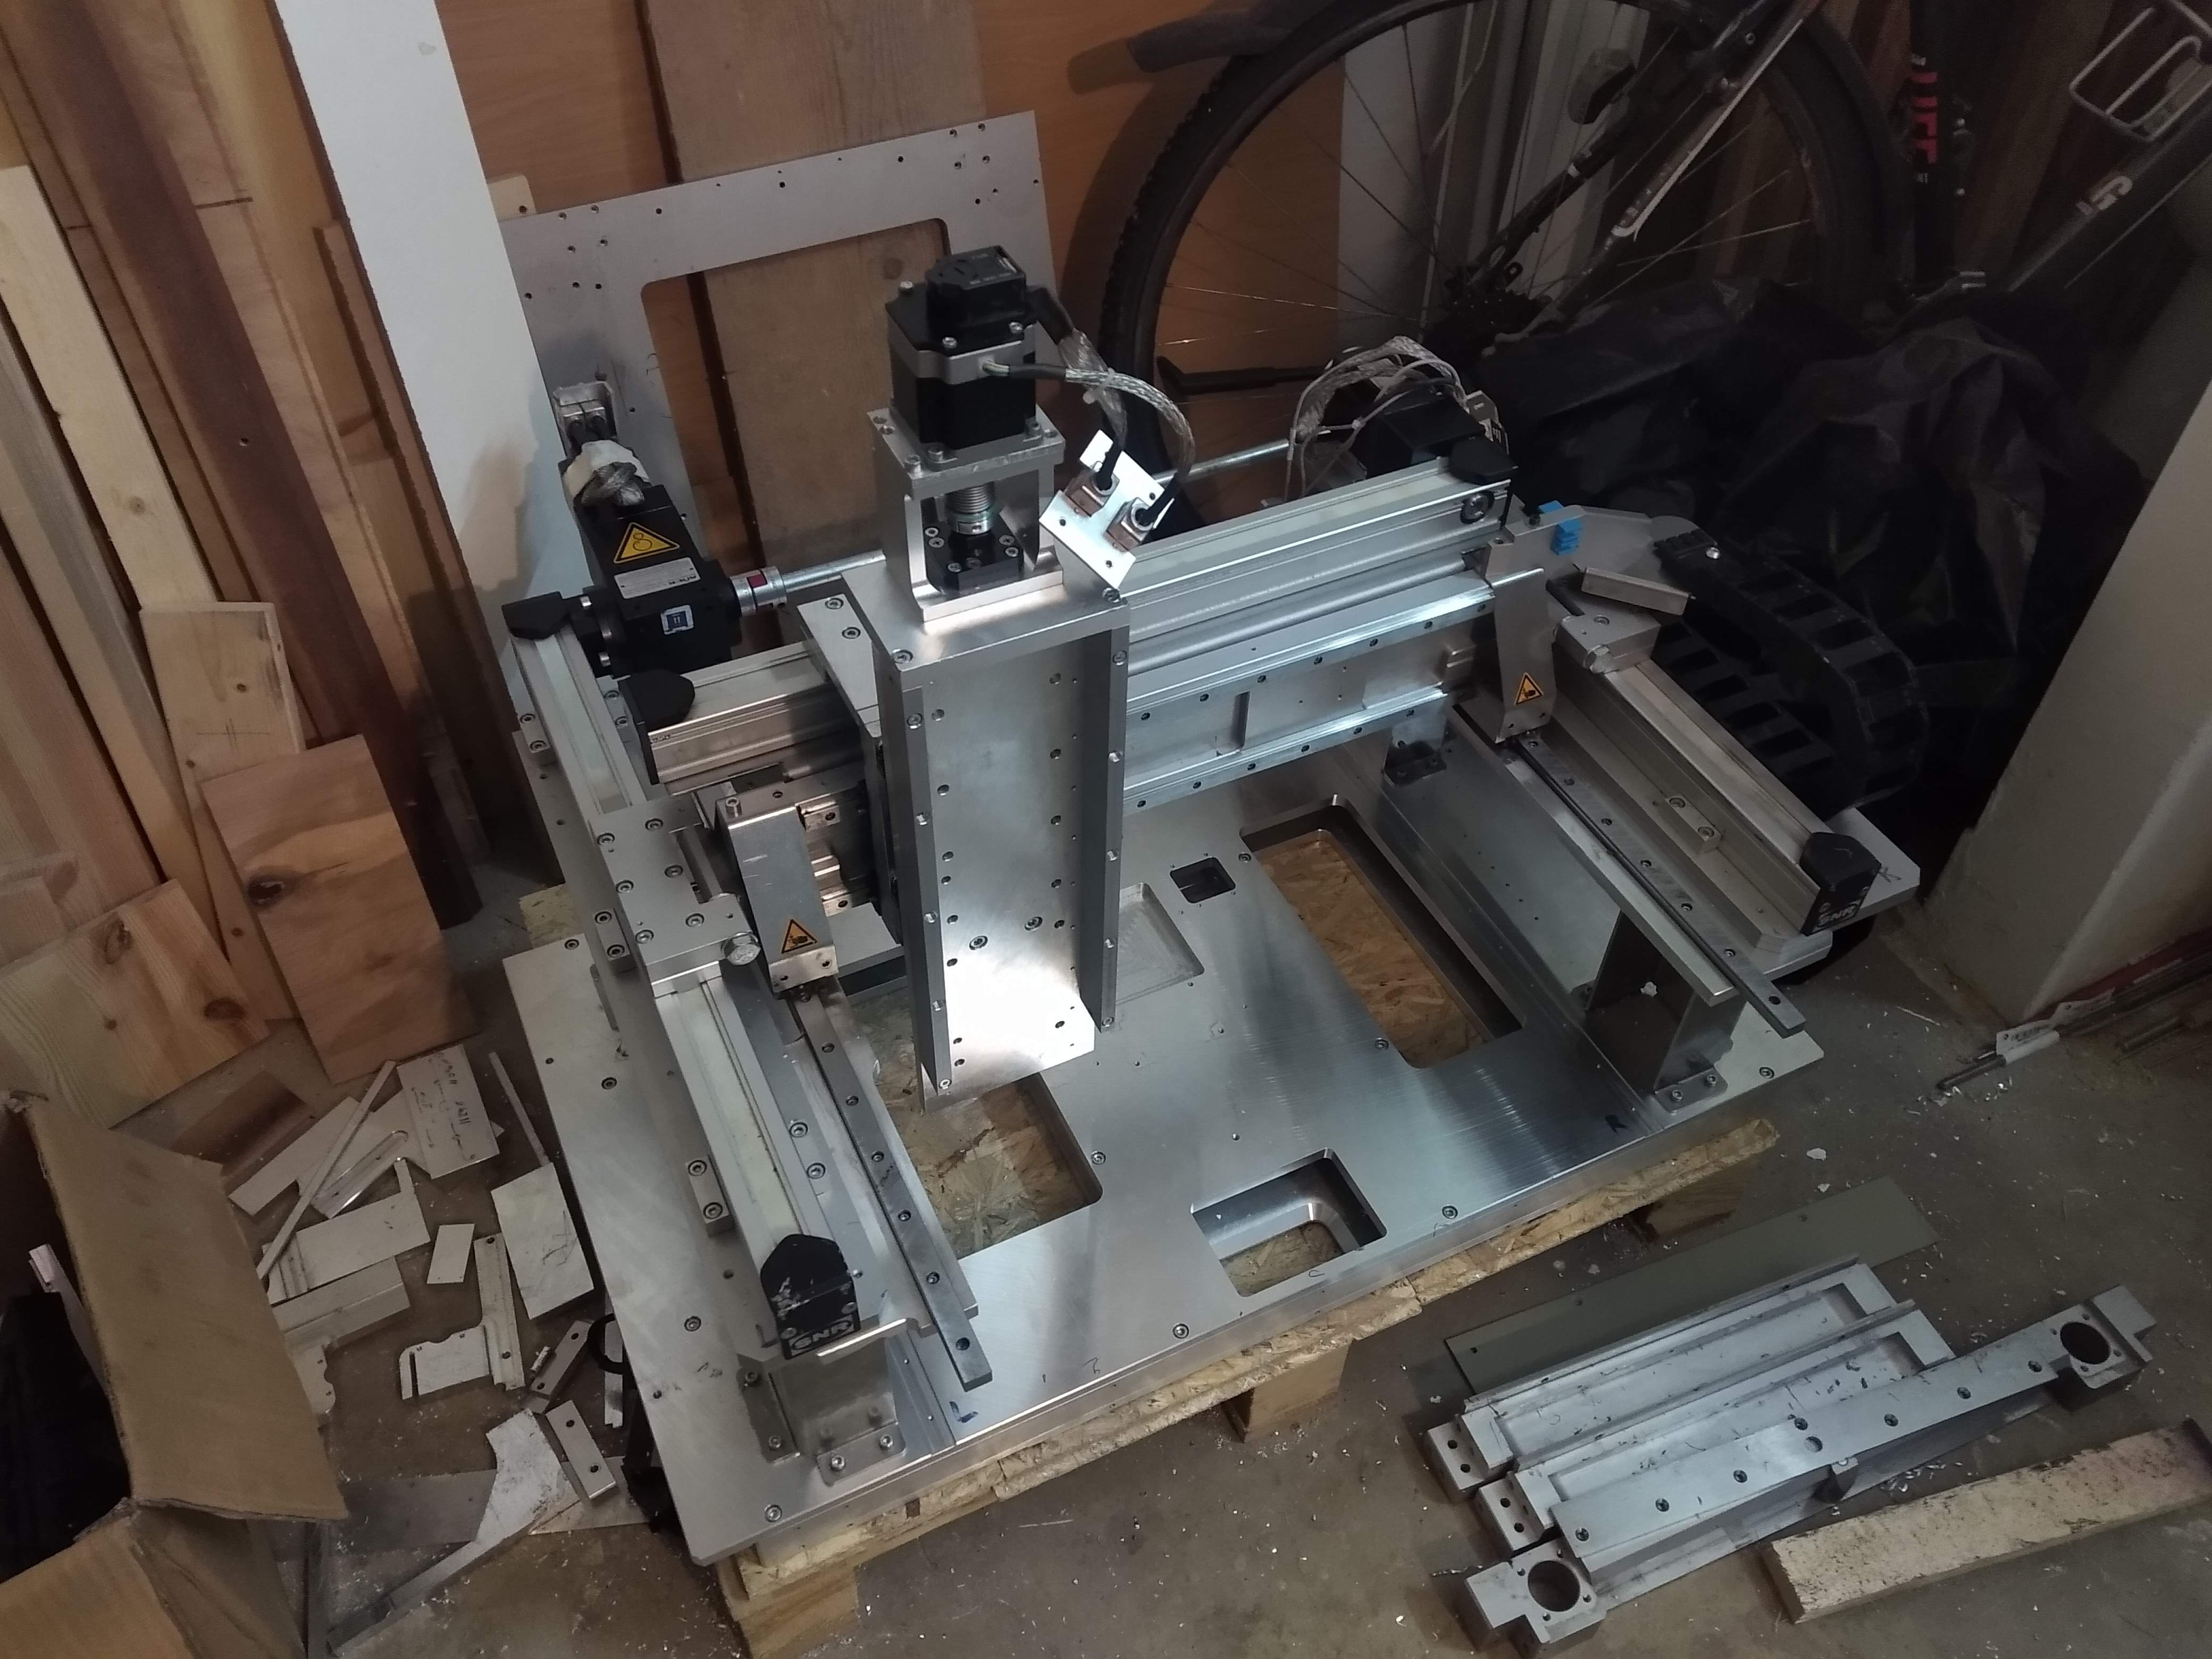
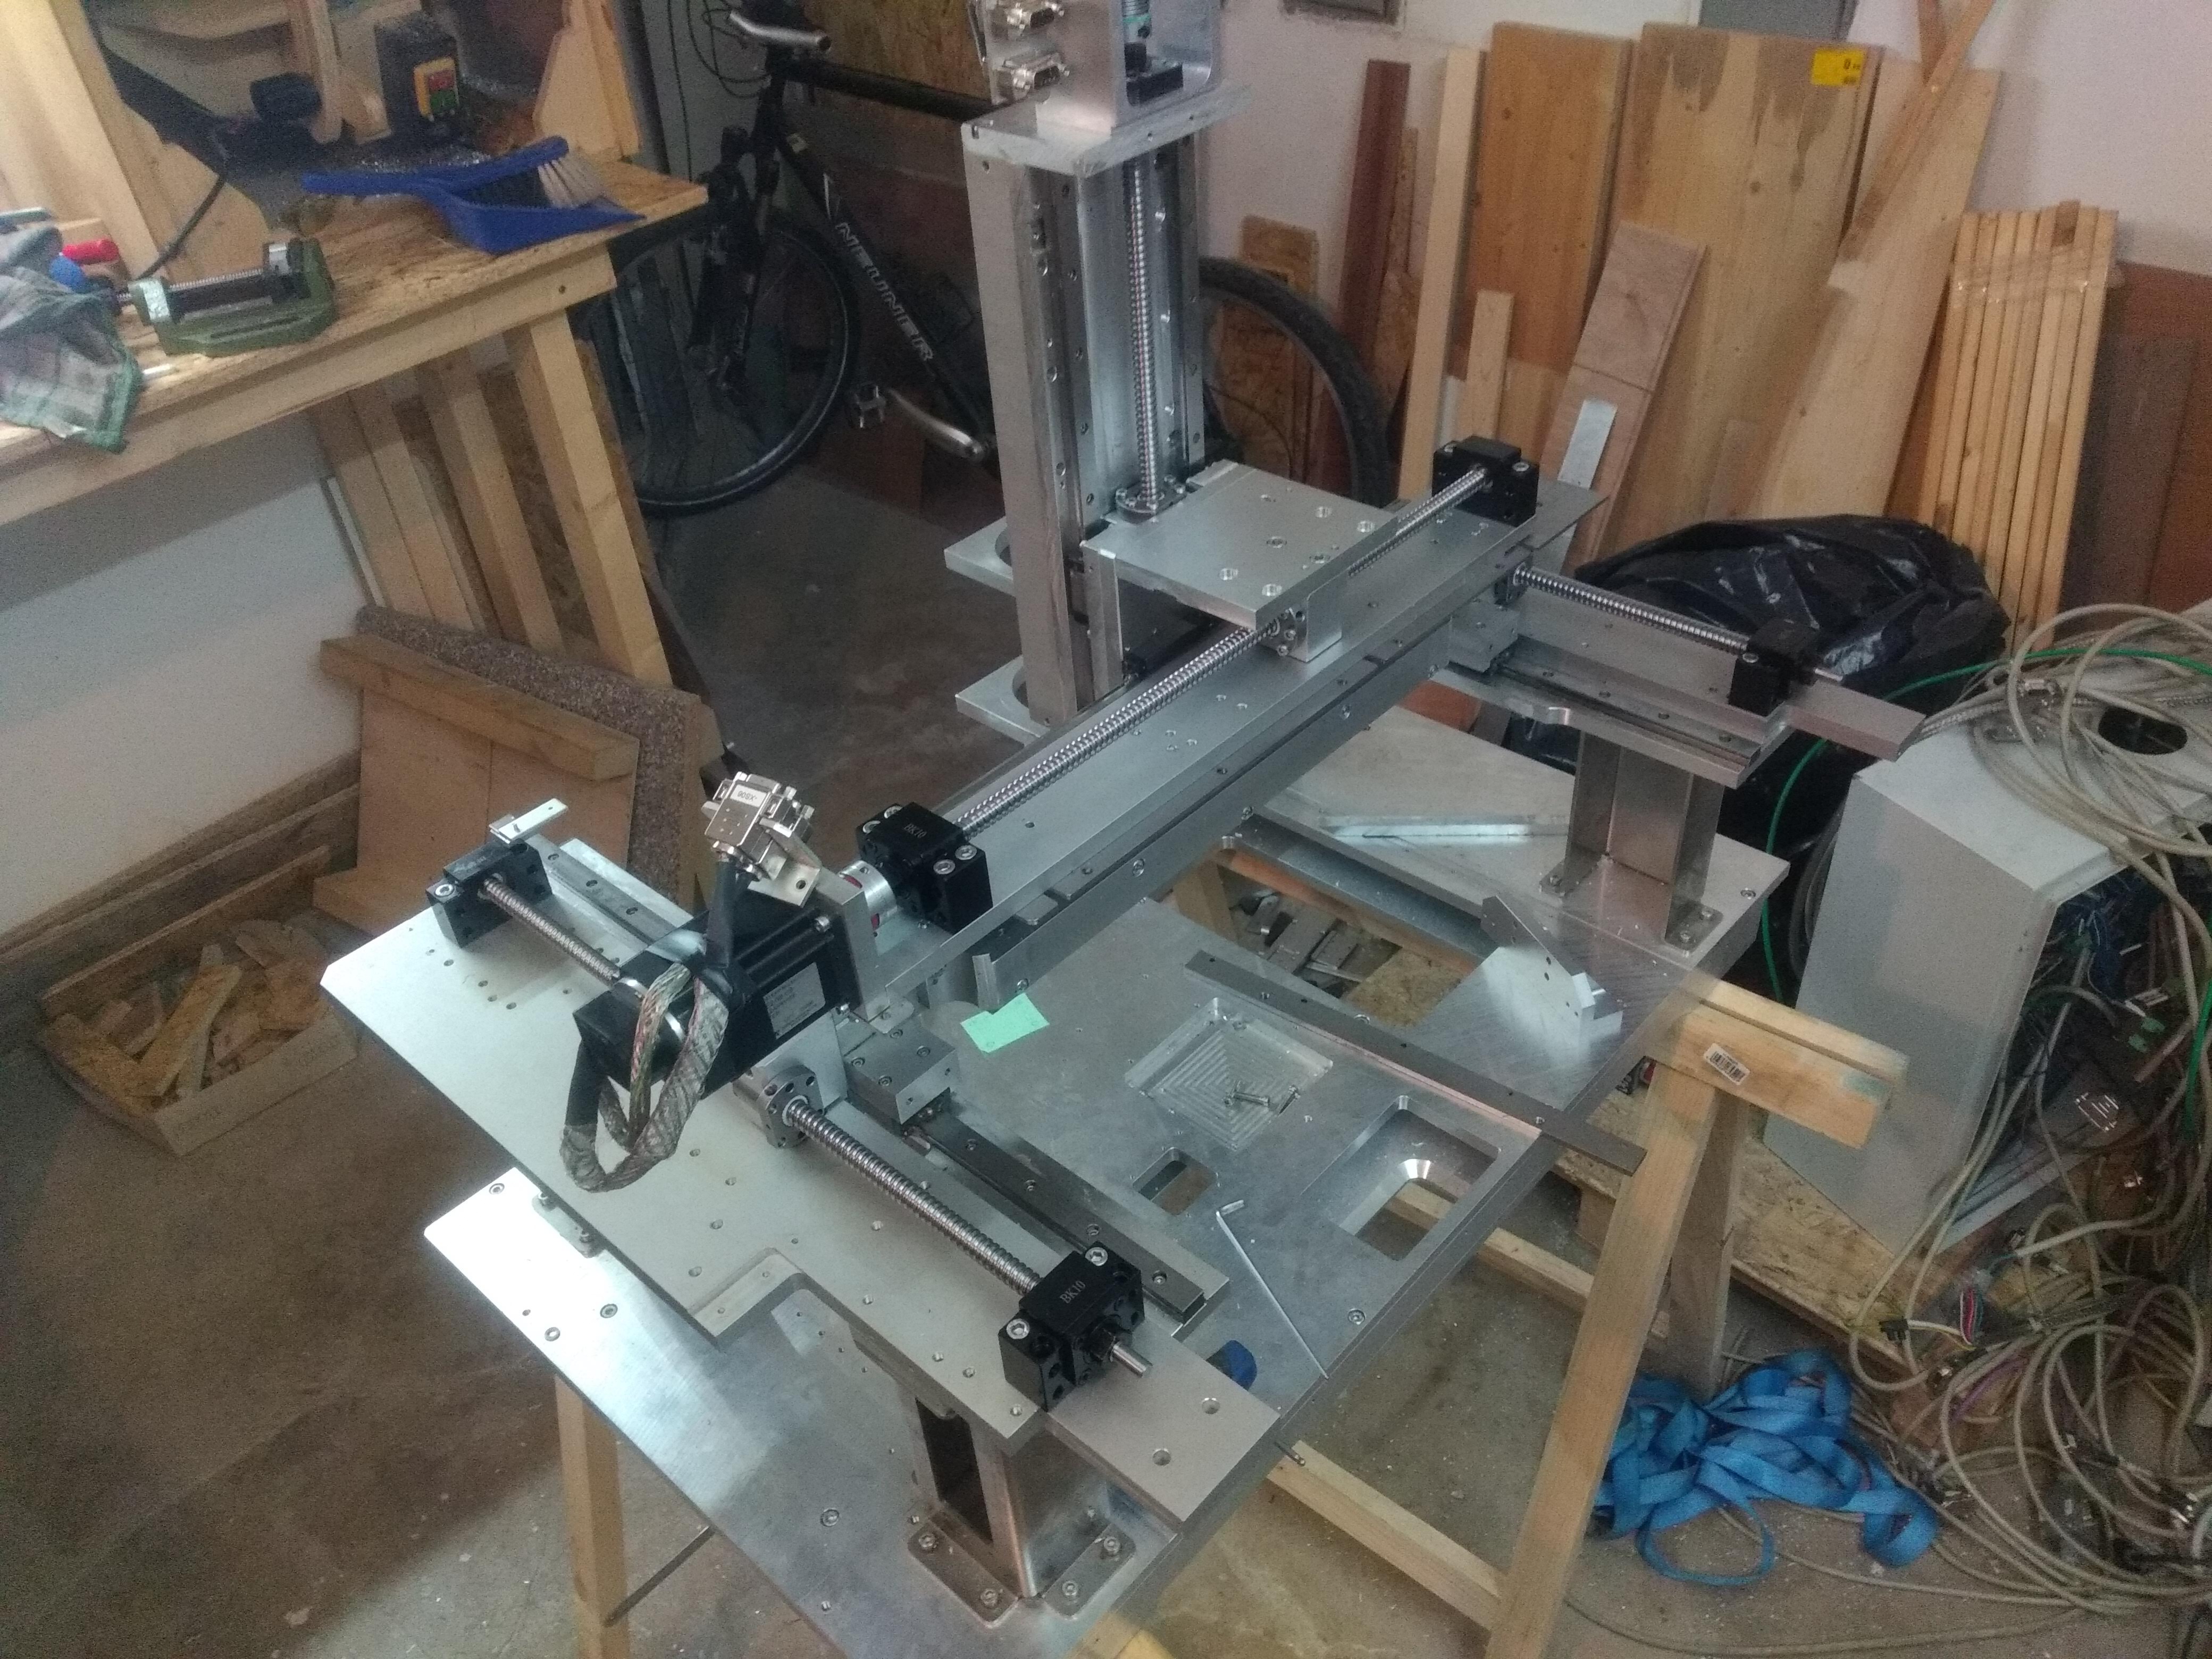
On the original screenprinter, there were fully enclosed toothed belt drives of type AXC40Z from SNR. Those seemed to be of very high quality and ideal for the application in terms of size. Furthermore, the motors which came with the screenprinter also fit, so what could go wrong? Well, I think it is generally known that belt drives are not ideal for high accuracy movements and a machine that relies on its own stiffness. Unfortunately, I had to learn this piece of common knowledge the hard way. The CNC was already fully assembled and ready for the first test movements, as seen in the picture below.
When trying to calibrate the axis with a dial indicator, it turned out that one full step on a stepper motor would translate to a movement of about 0.1mm. Absolutely unusable and at least a factor 10 to high, better would be factor 50 of increased resolution. I totally missed to calculate the theoretical resolution of the configuration because the drives were already there and I never paid for them. Furthermore, the datasheet of those drives states a repeatability of 0.08mm, also an order of magnitude too big. Lesson learned.
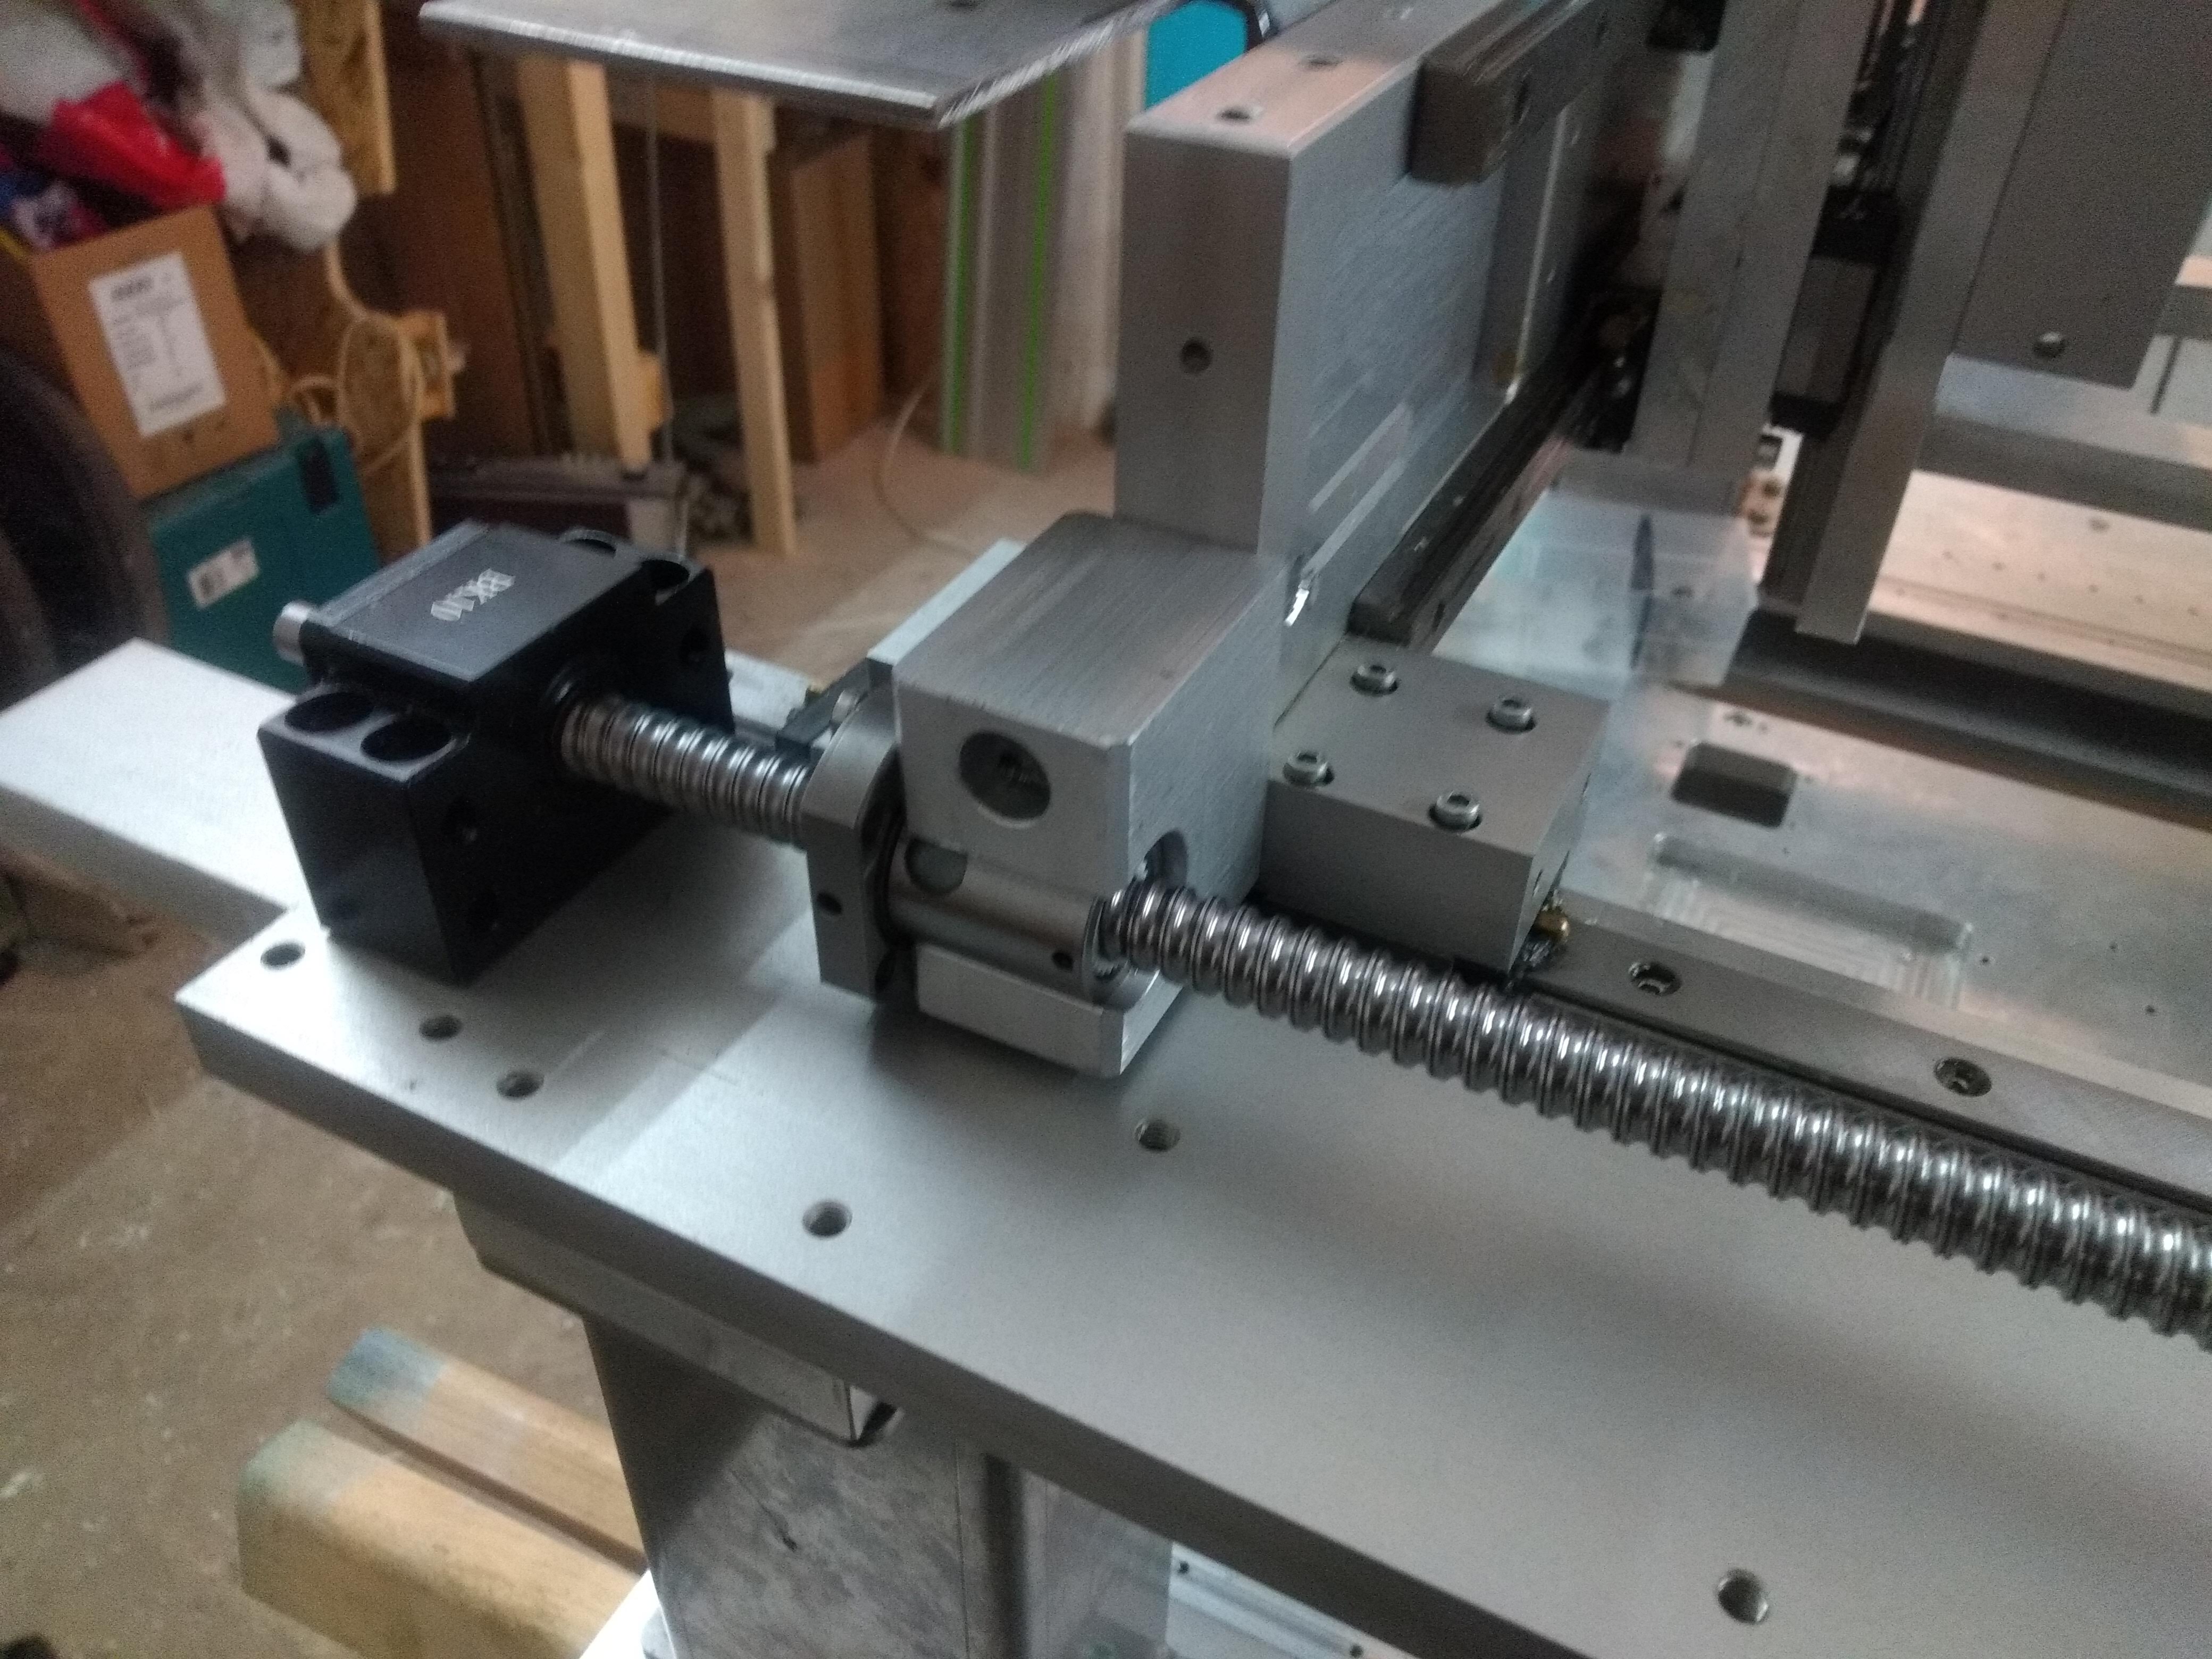
What to do now? Well, do what any machinist would do, buy ballscrews. As the whole machine is more an experiment on what can be done with the old screenprinter machine, I figured the chinese 1204 ballscrews which are common on ebay should do. What I read, they have quite good repetition accuracy. They will, however, not hold up as long as their more expensive colleagues. But as it is not the intention to use this CNC for regular and heavy work and about 120 euros is within budget of this experiment, they are worth a try.
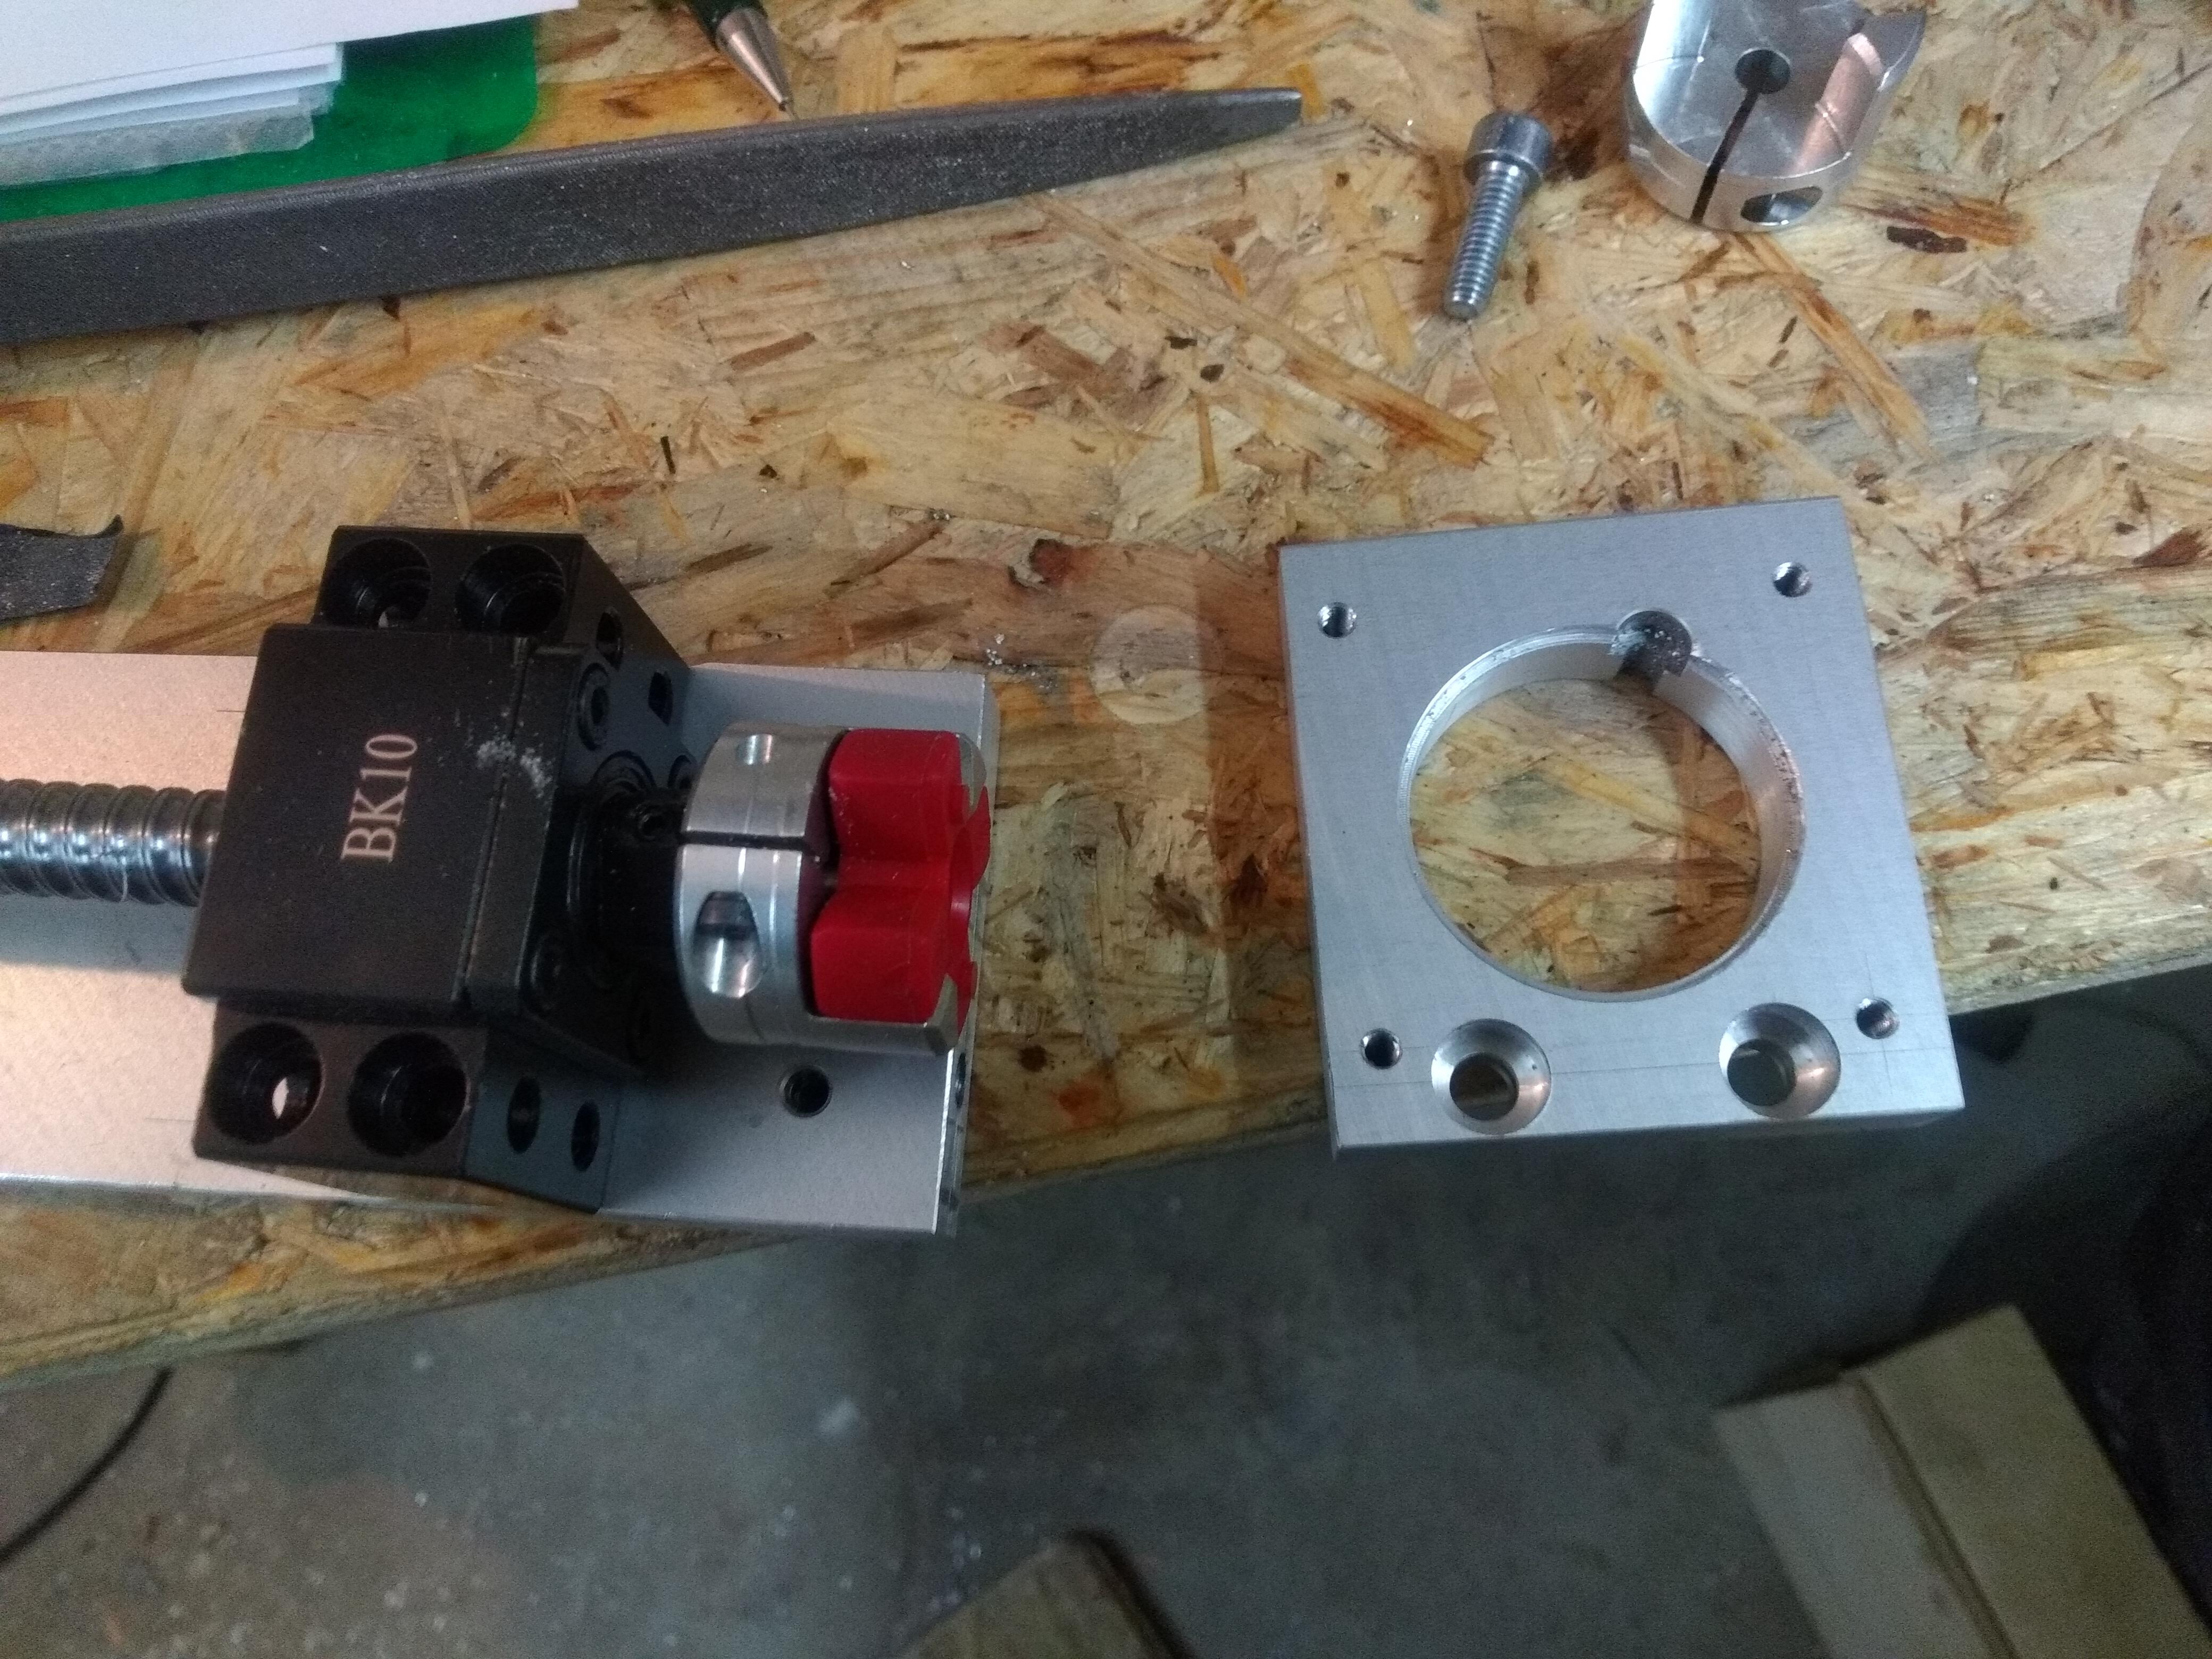
As loose and fixed bearing, I used the common type on ebay, meant just for those ballscrews. For their price, it is really not worth reinventing the wheel here. The holders for the ballnuts, however, are a bit more tricky because they need to fit the existing hardware. In retrospect, of course, it would be smarter to build the machine around the key components, but we have to work with what we have. From the screenprinter, lots of pieces of aluminium are still lying around, so it is just a matter of shaping it.
A holder for the x-stepper motor:
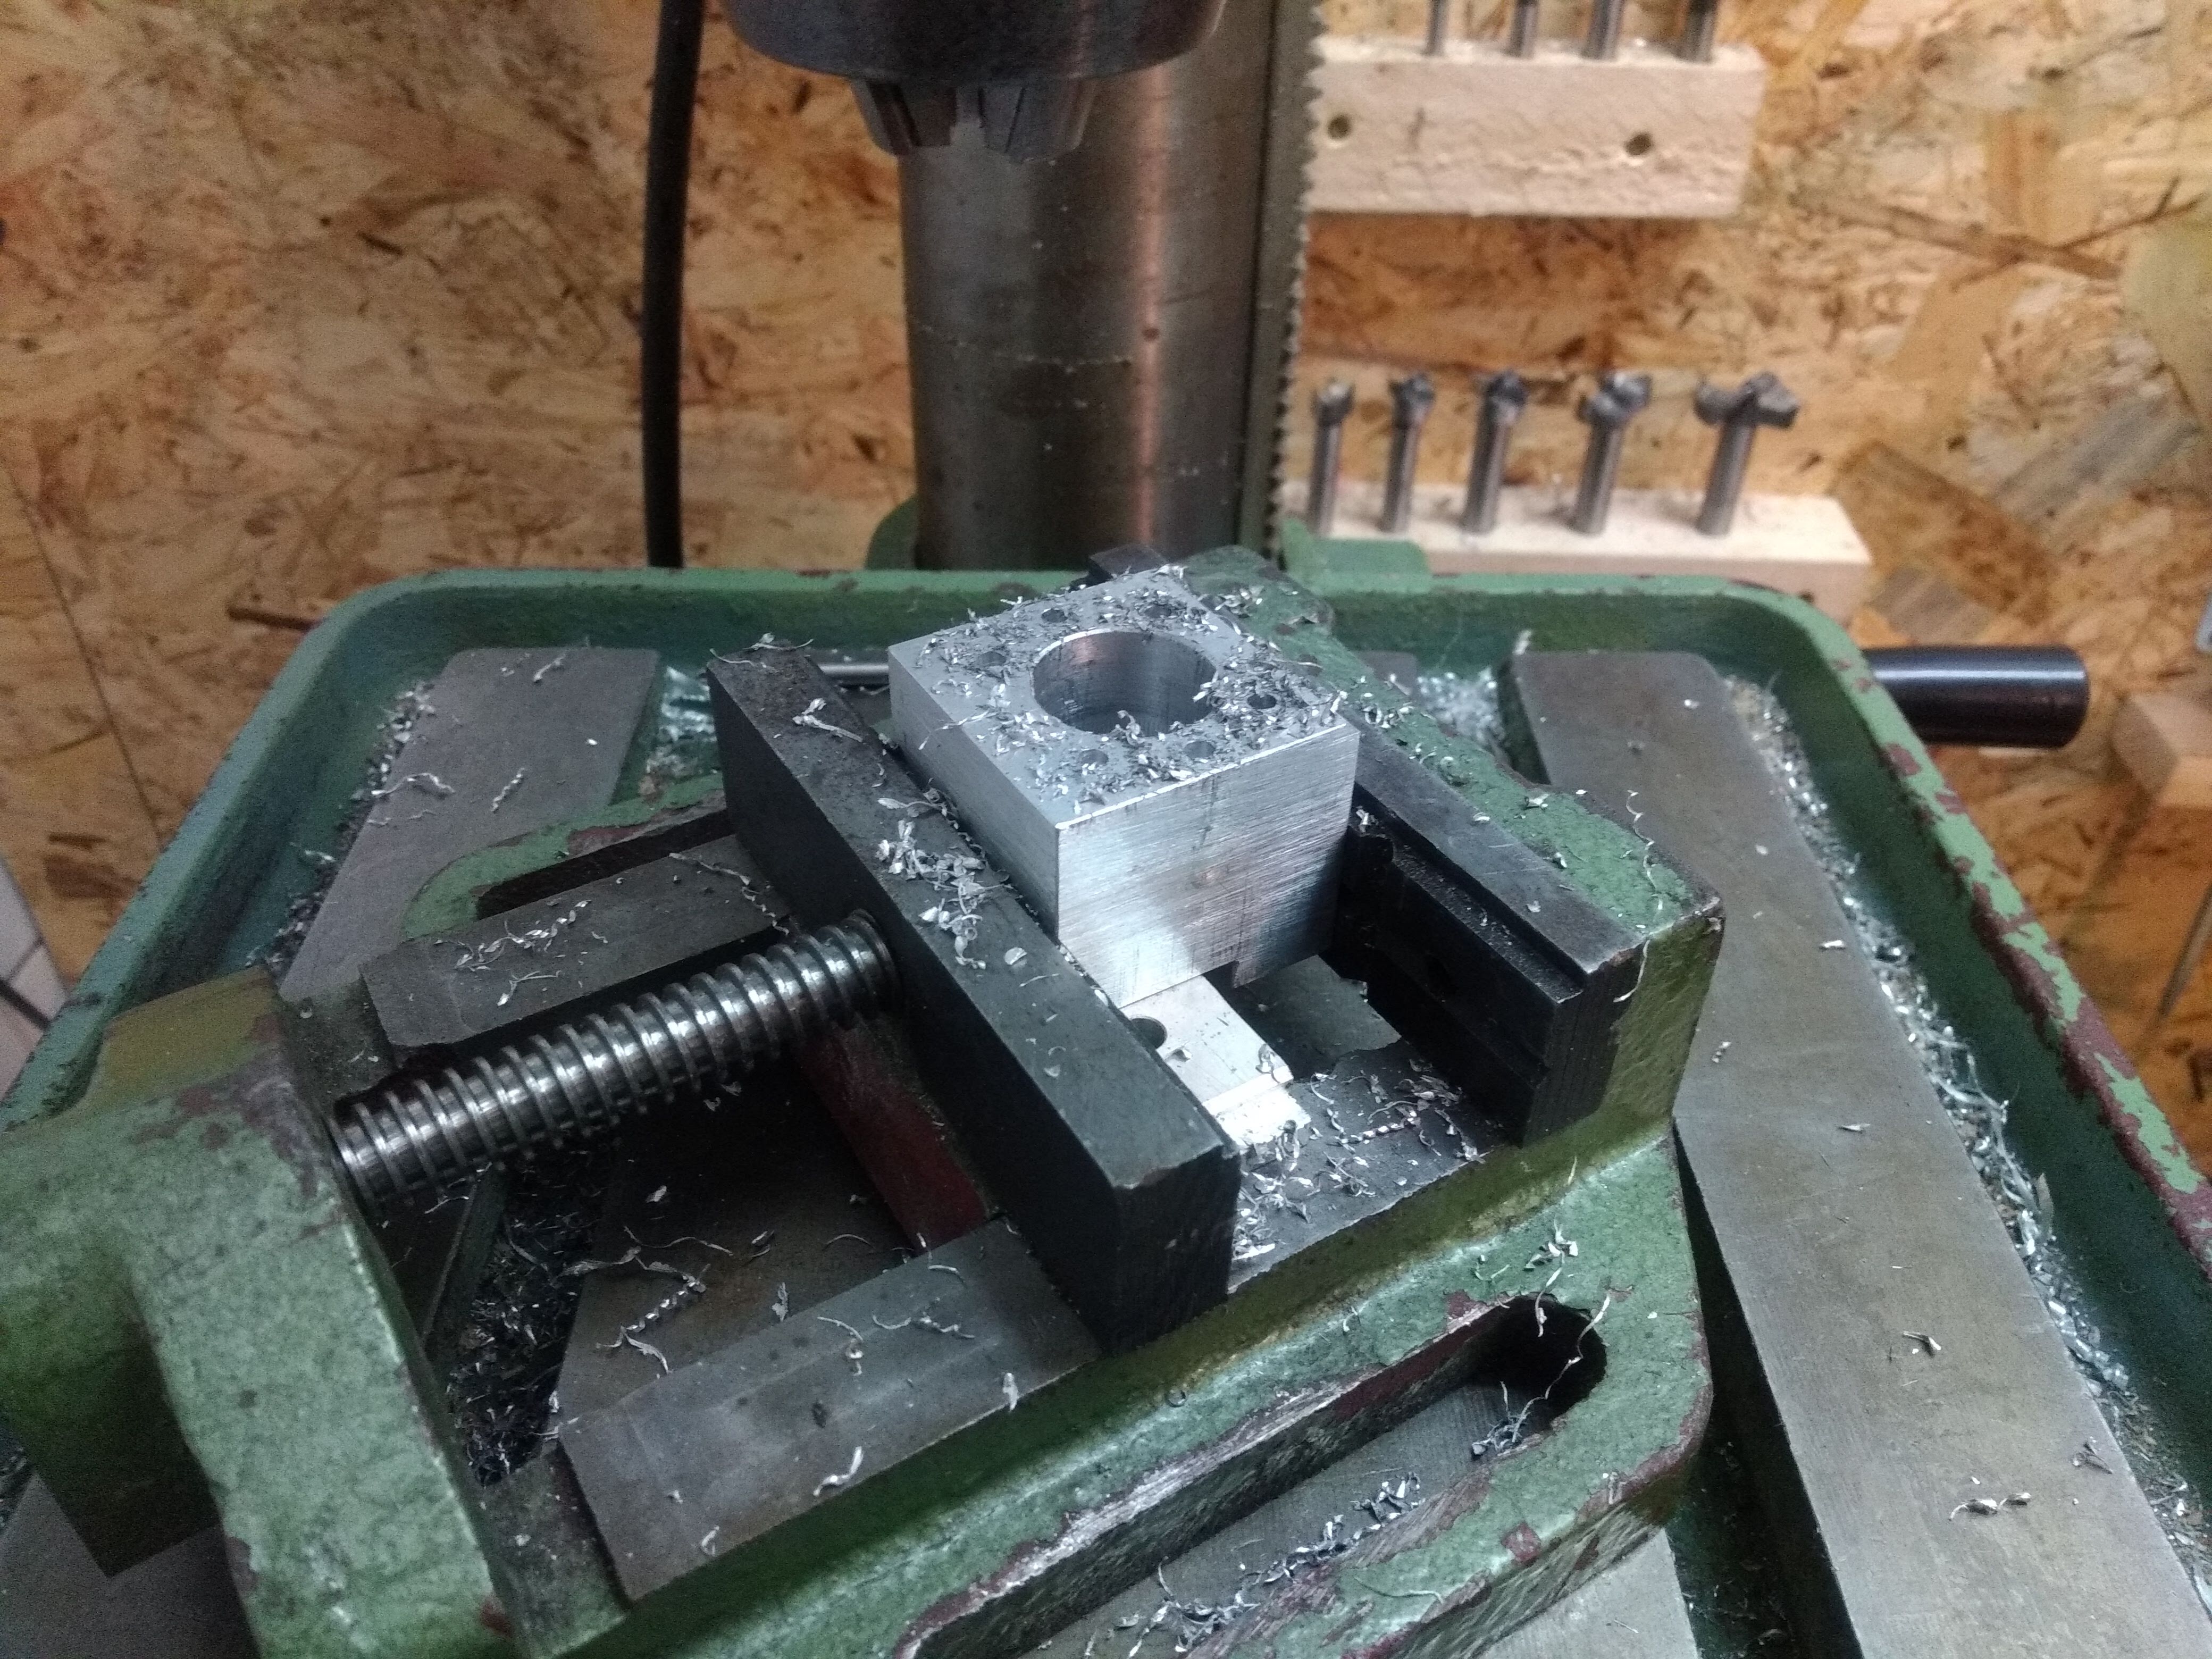
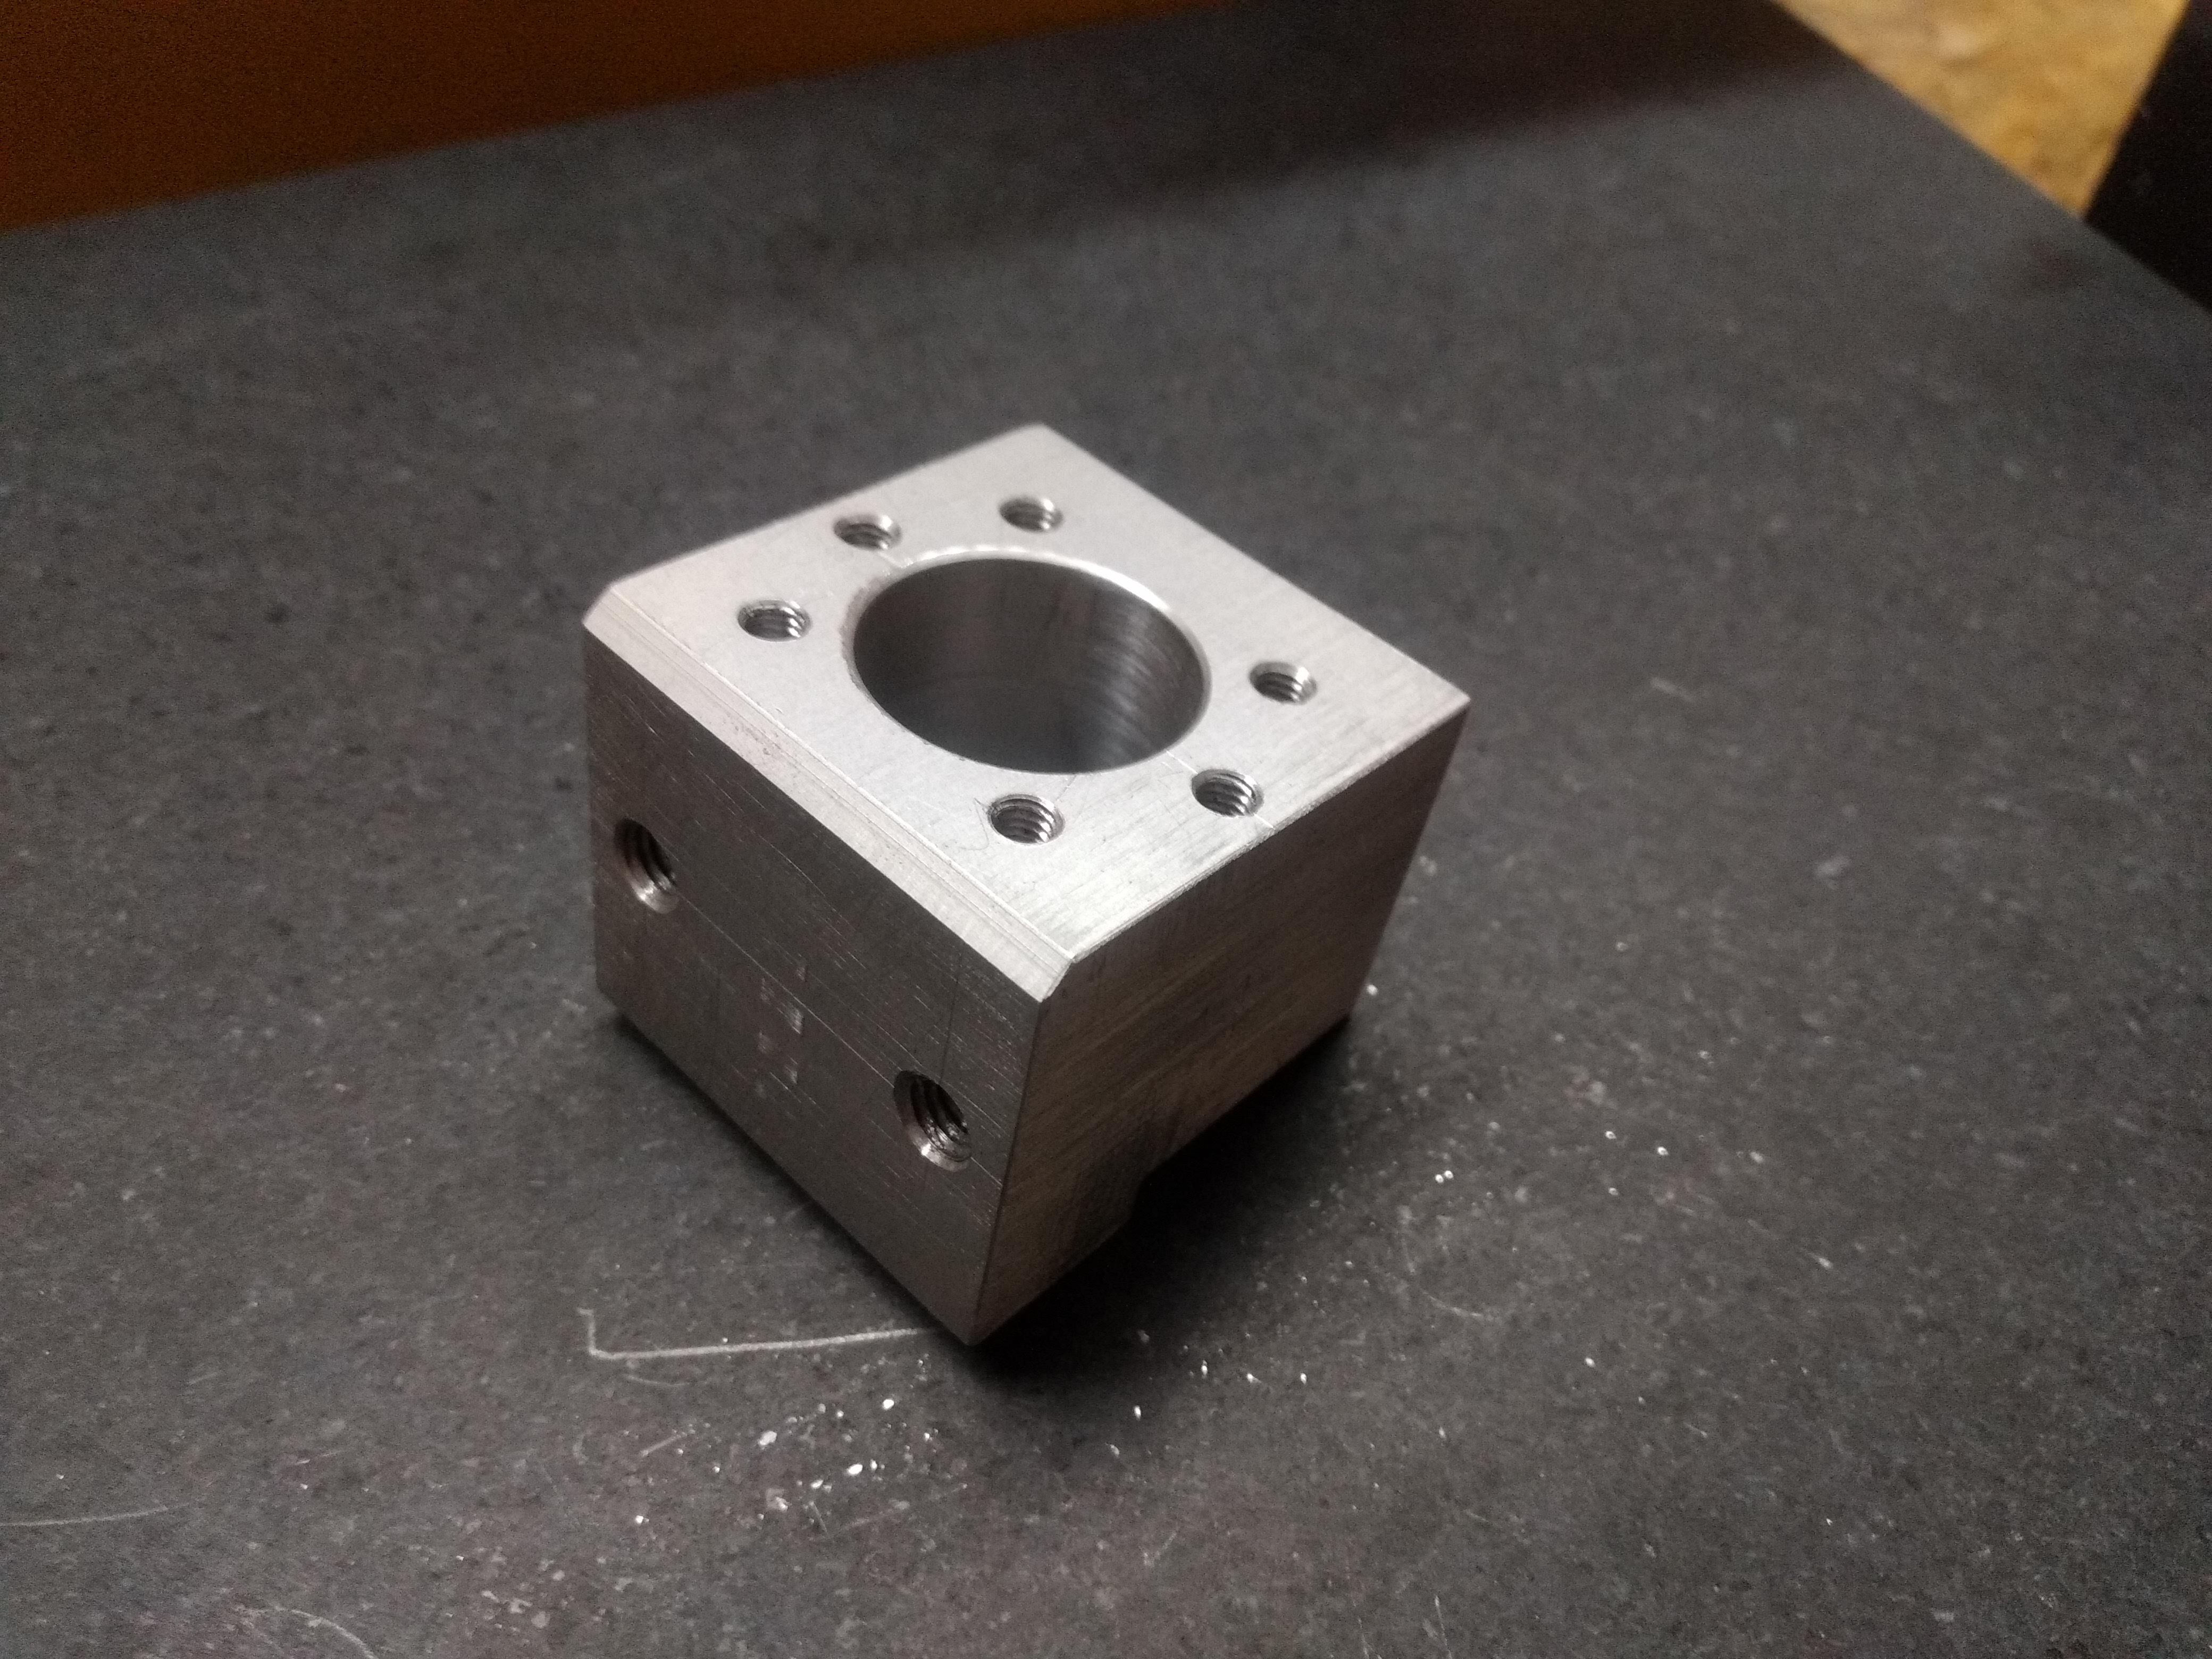
Nut holder for the x-axis:
Nut holder for the y-axis:
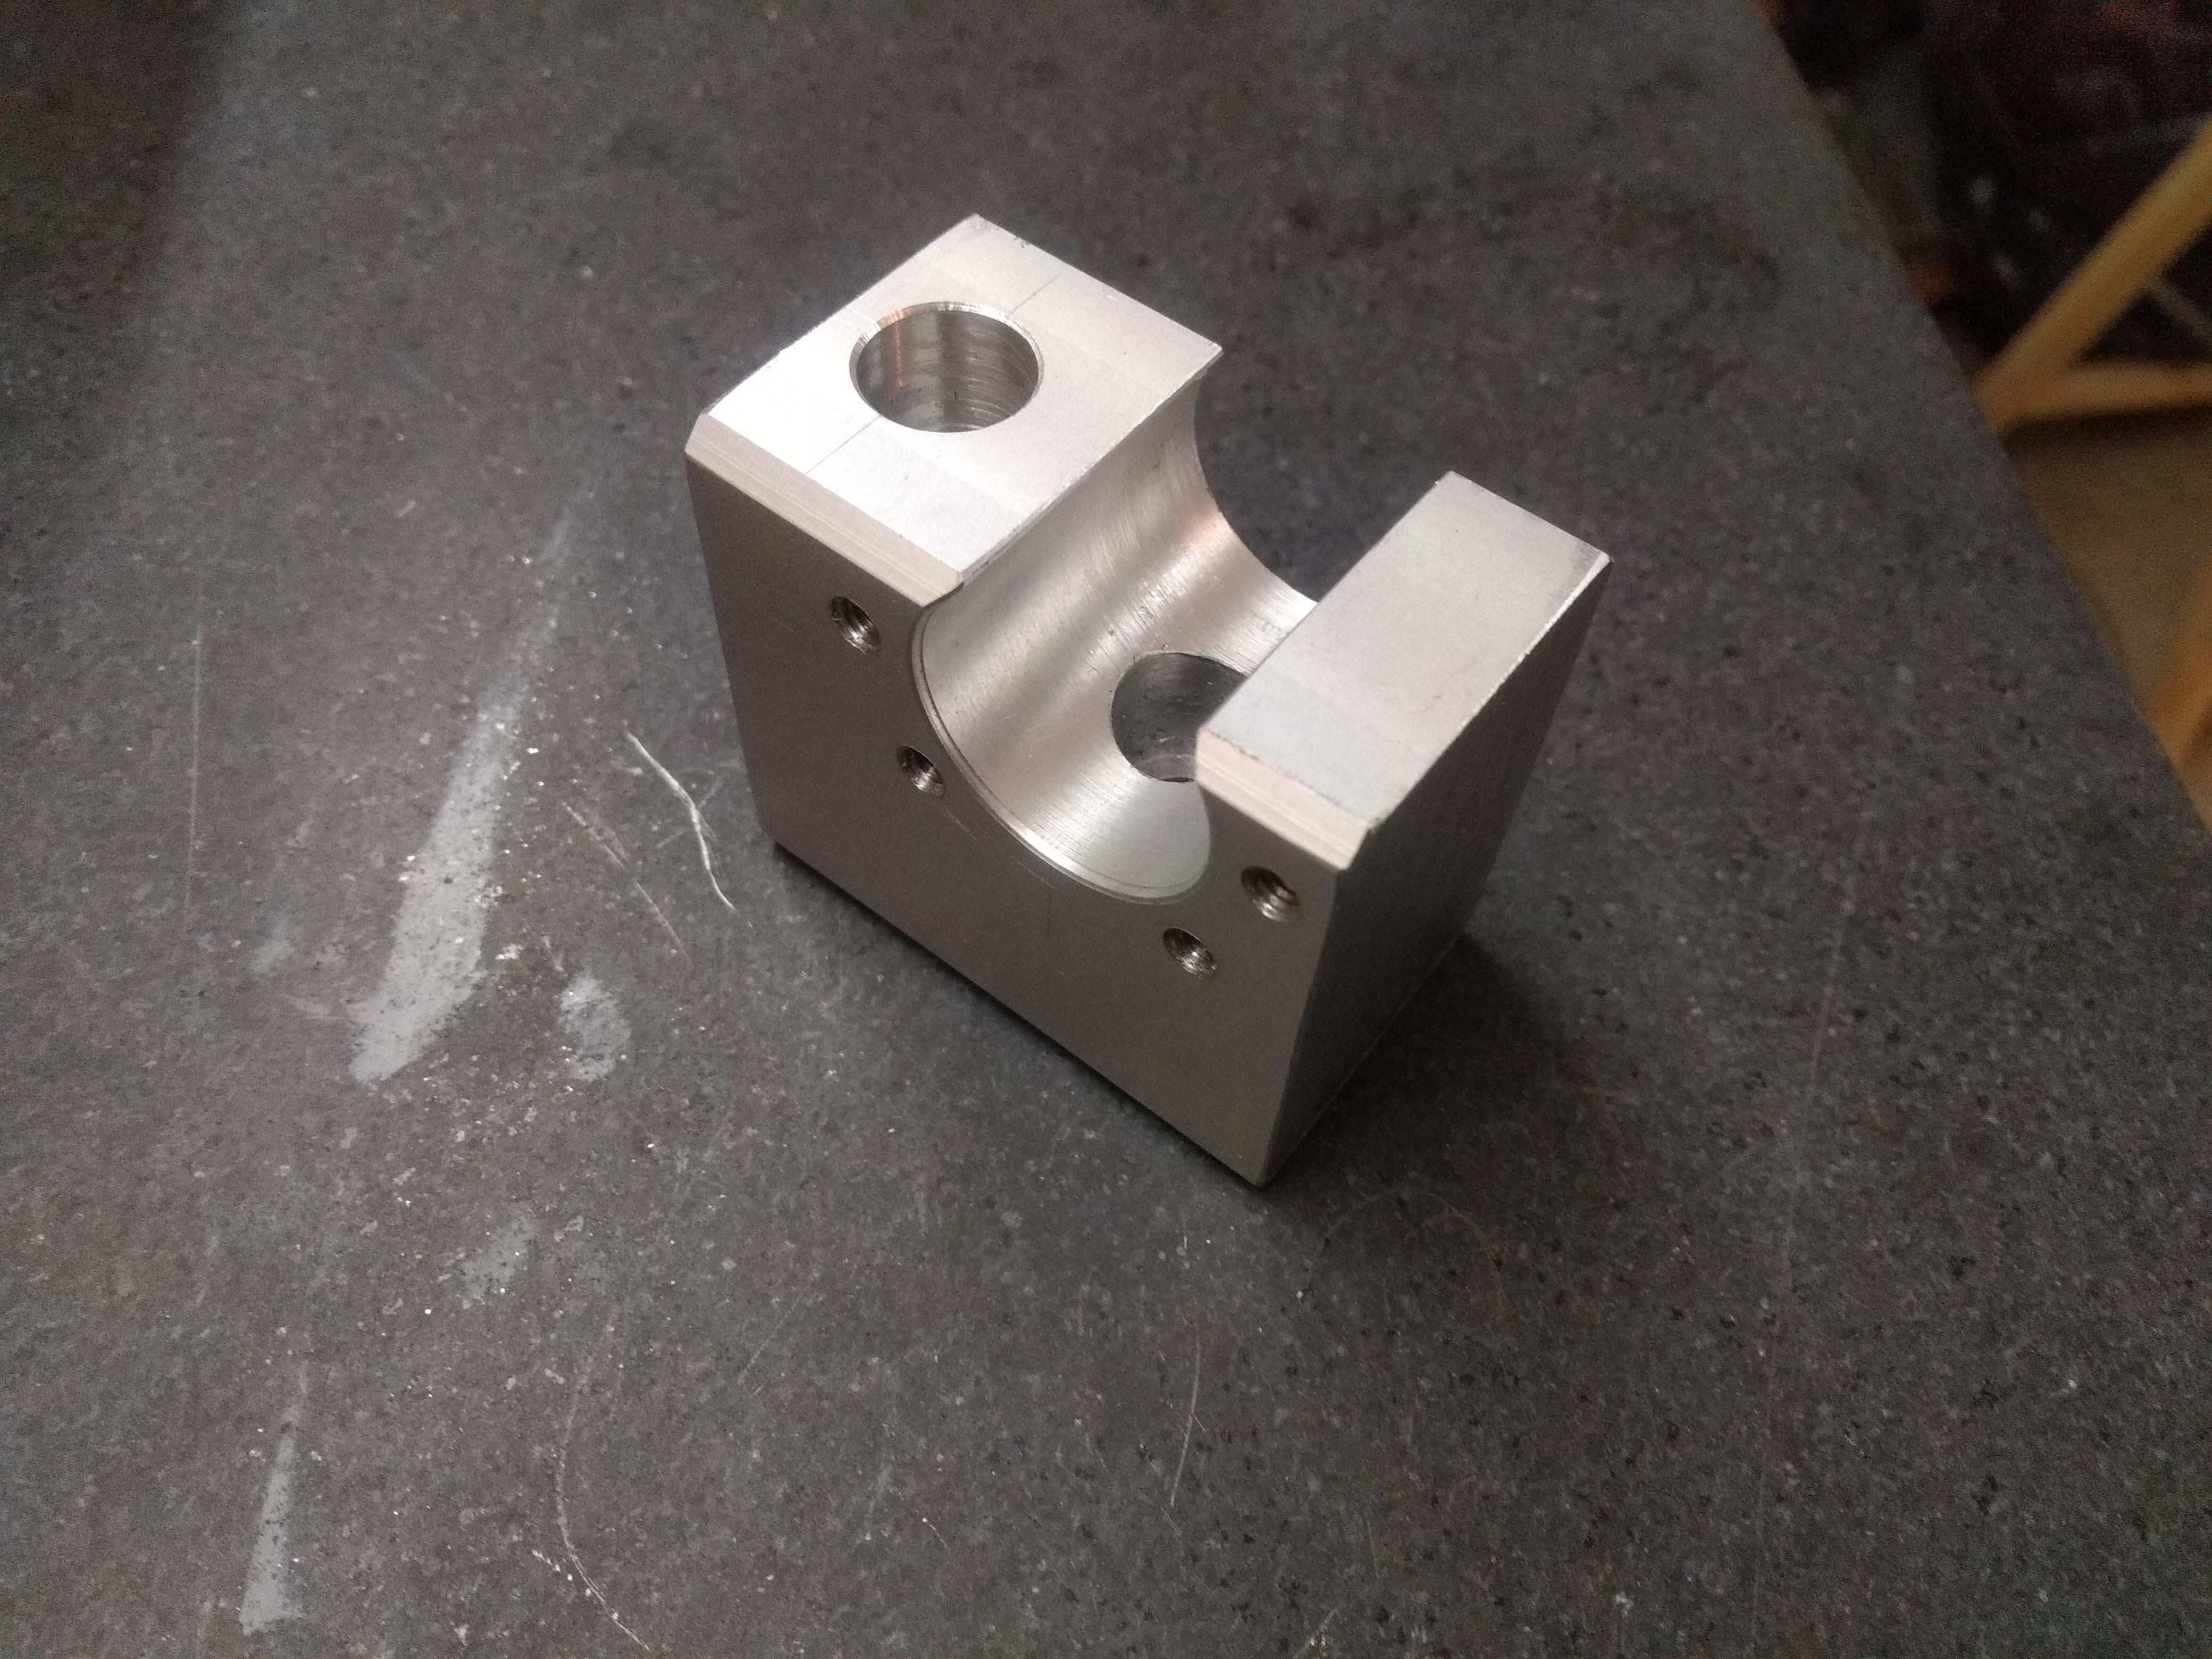
The holder has an intersected cut to be able to reach the mounting screw from the side. Well, actually, you could also have drilled a larger hole from the side, but with the material I had on hand, this is how it worked out.
The x-axis has ballscrews on both sides. This is necessary because the gantry is not stiff enough to be driven from just one side. It can easily be deflected by a millimeter when one side is fixed and the other one is being pushed with the hand. Not ideal, I know, but obviously we have to work with what we got. When assembled on the machine, it took a couple of hours to align everything, partly by shimming with aluminium foil, but mostly by thoghtfully tightening the screws and moving the axis around to ensure free travel.
Now, the most important mechanical components are in place. In the next part, the missing pieces such as the spindle will be installed.