The One Engraver
CNC, Projects ·Introduction
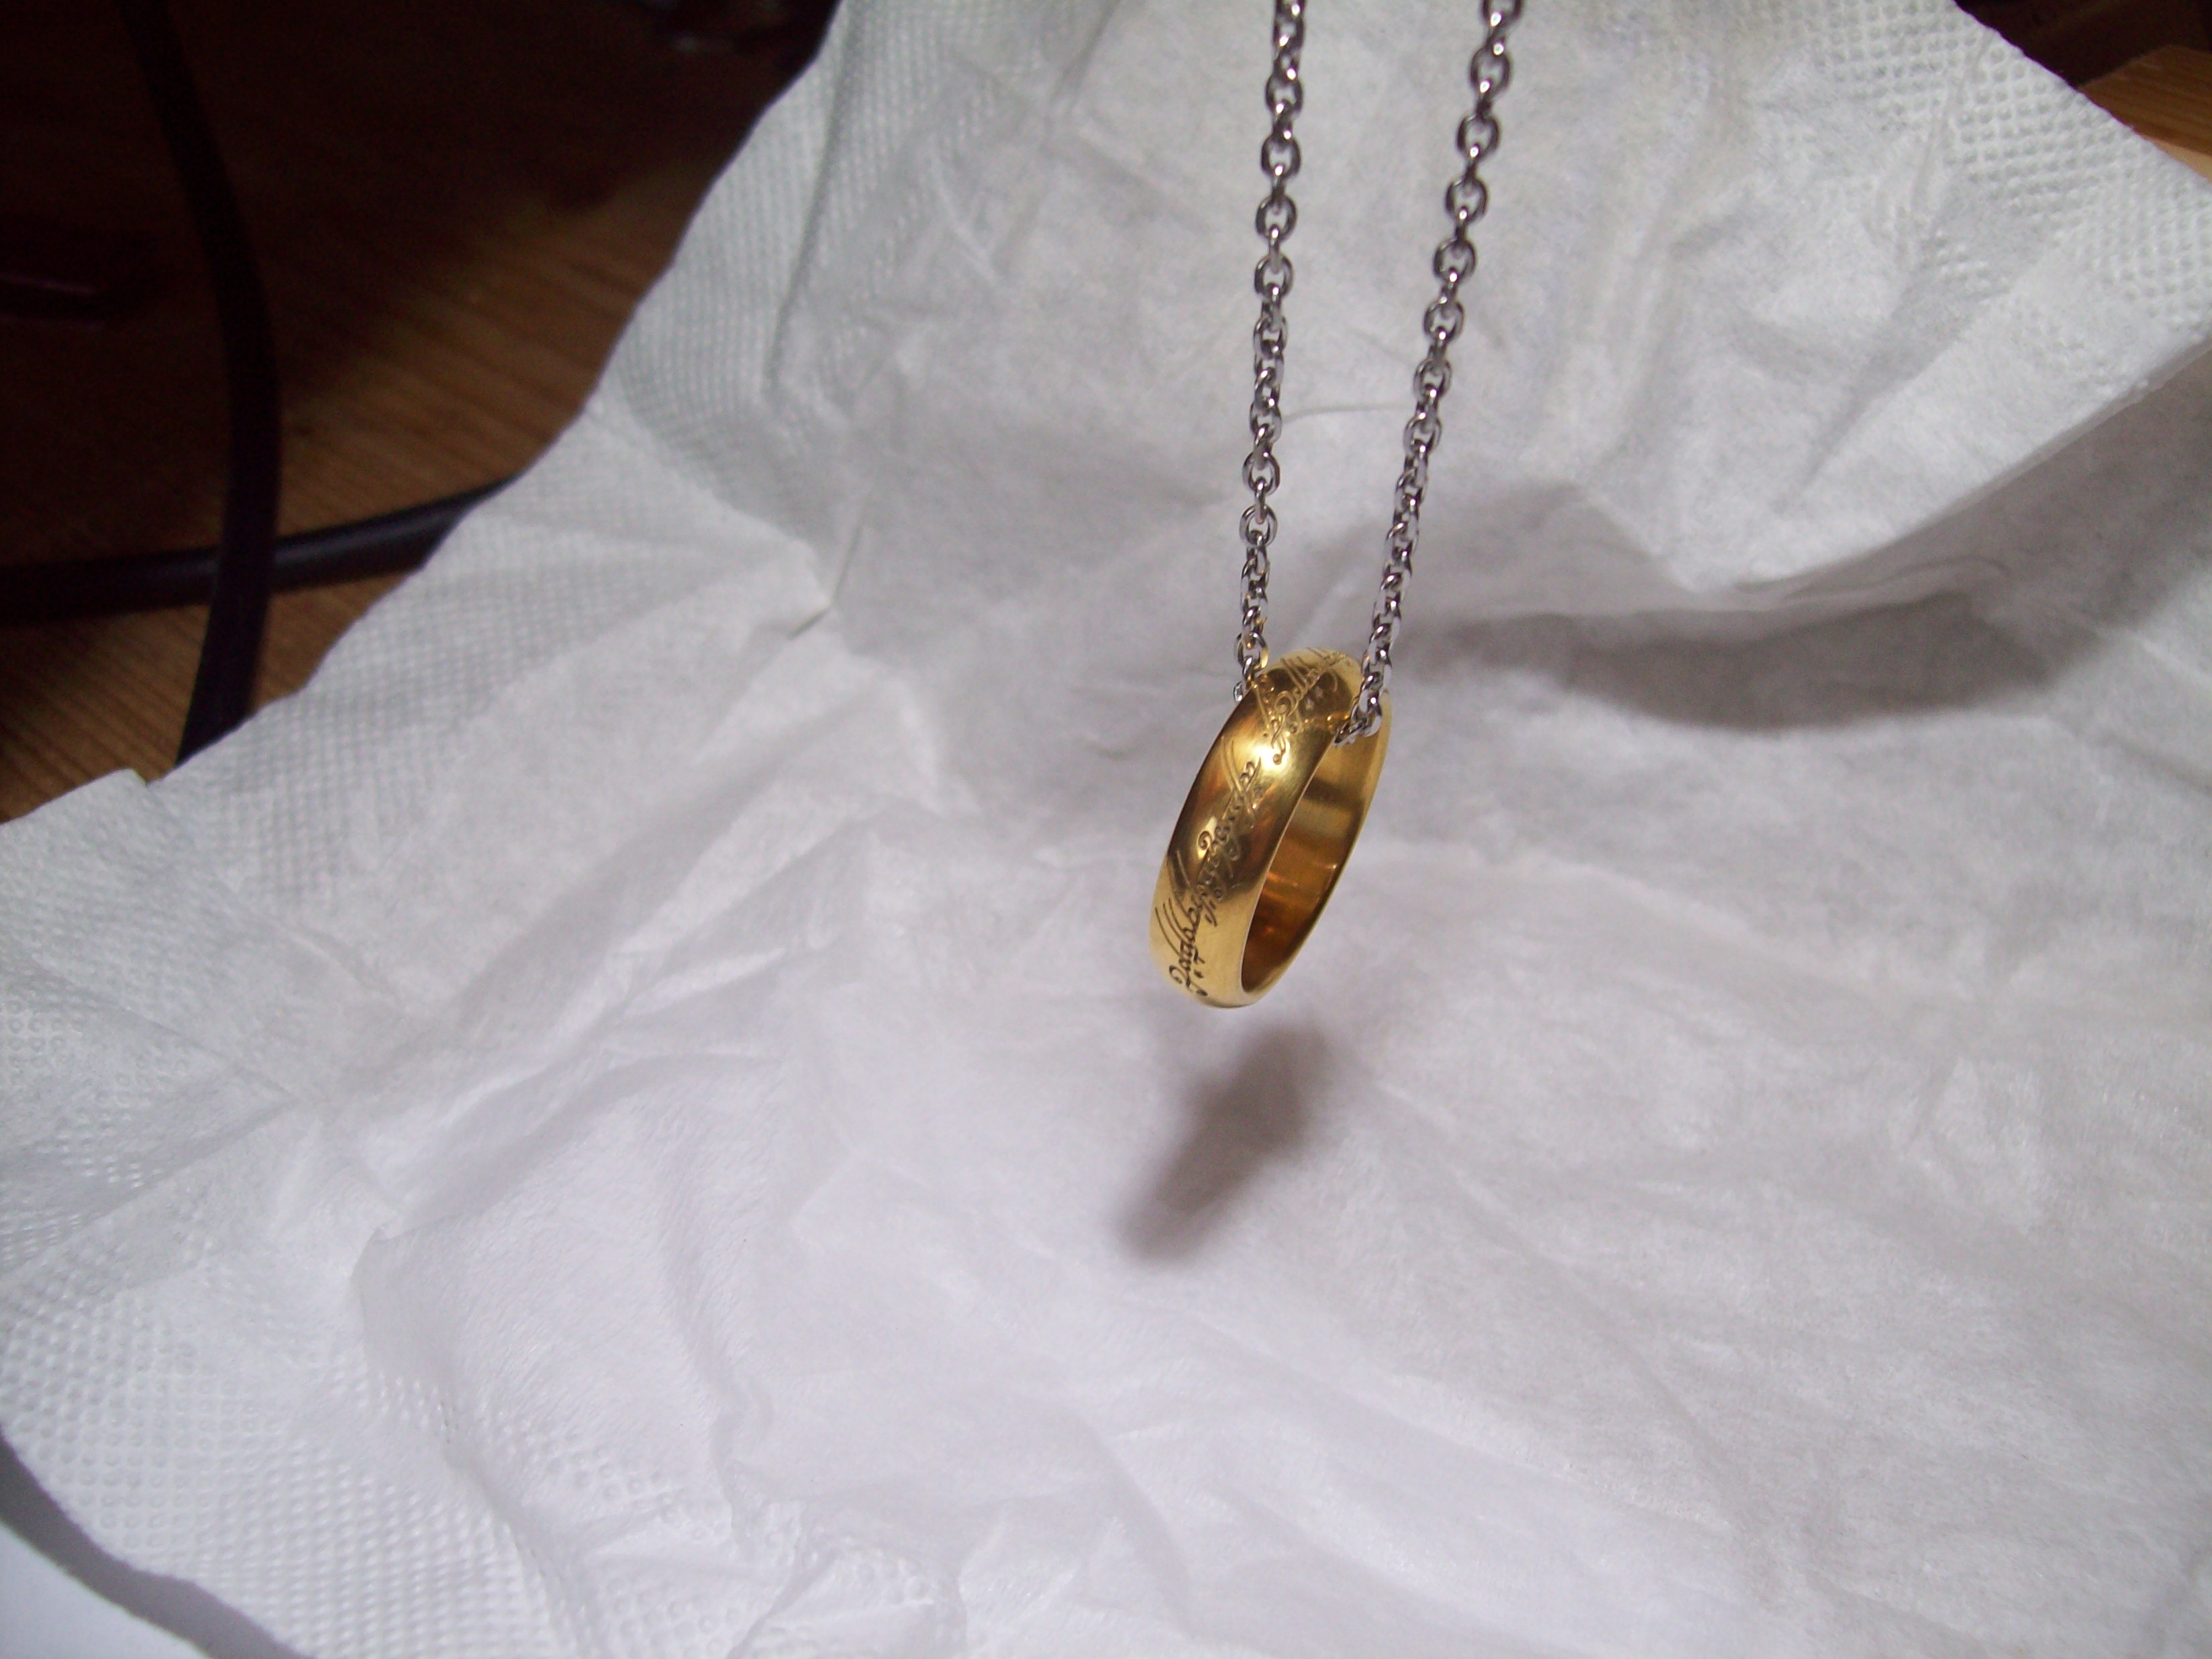
Wouldn’t it be a cool present if you could make your own “Lord of the Rings” - ring? I definitely thought so, and it would be an interesting challenge to try and create one myself. Let’s look closer. The One Ring has an outer radius and a fine and sophisticated engraving around it which recalls a few lines from the Ring Verse, in elvish writing. Not an easy task to do by hand, unless you are a goldsmith by training. But luckily, in these days we have technology to help us out on difficult tasks. That is one motivation behind this project - to see if this task, very difficult to accomplish by hand, can be solved using the technological means available today.
One thing was clear from the beginning: The round outer contour had to be realized somehow, it was not an option to make a flat ring for aesthetic reasons. Secondly, the writing had to be a “real” V-engraving as would result from carving the letters in the traditional way with hand tools. The obvious machine to use for such a task is probably a 5-axis CNC-machine. Unluckily, so far, I do not own one, and with my possibilities, it is almost impossible to build one either.
The idea
But there is a trick: If we restrict us to build a machine that can just and only engrave these rings, it can be done with three axis, that’s the main idea which enables this project. One axis rotates the ring along its symmetry line, obviously. Another axis brings a tool closer and further away. The third axis, however, swings the whole assembly around an axis intersecting the ring from the side, creating the round outer profile. The exact position of this axis needs to be set in preparation, but stays put during the machining operation.
This concept can be observed in the following picture: The assembly carrying the ring swings around an intersected axis (visible in the upper middle of the picture) and creates the curved surface. The basic principle is fairly simple. The machine is constructed using laminated baltic birch plywood, epoxy glue, regular radial ball bearings and brass and aluminium lathe parts.
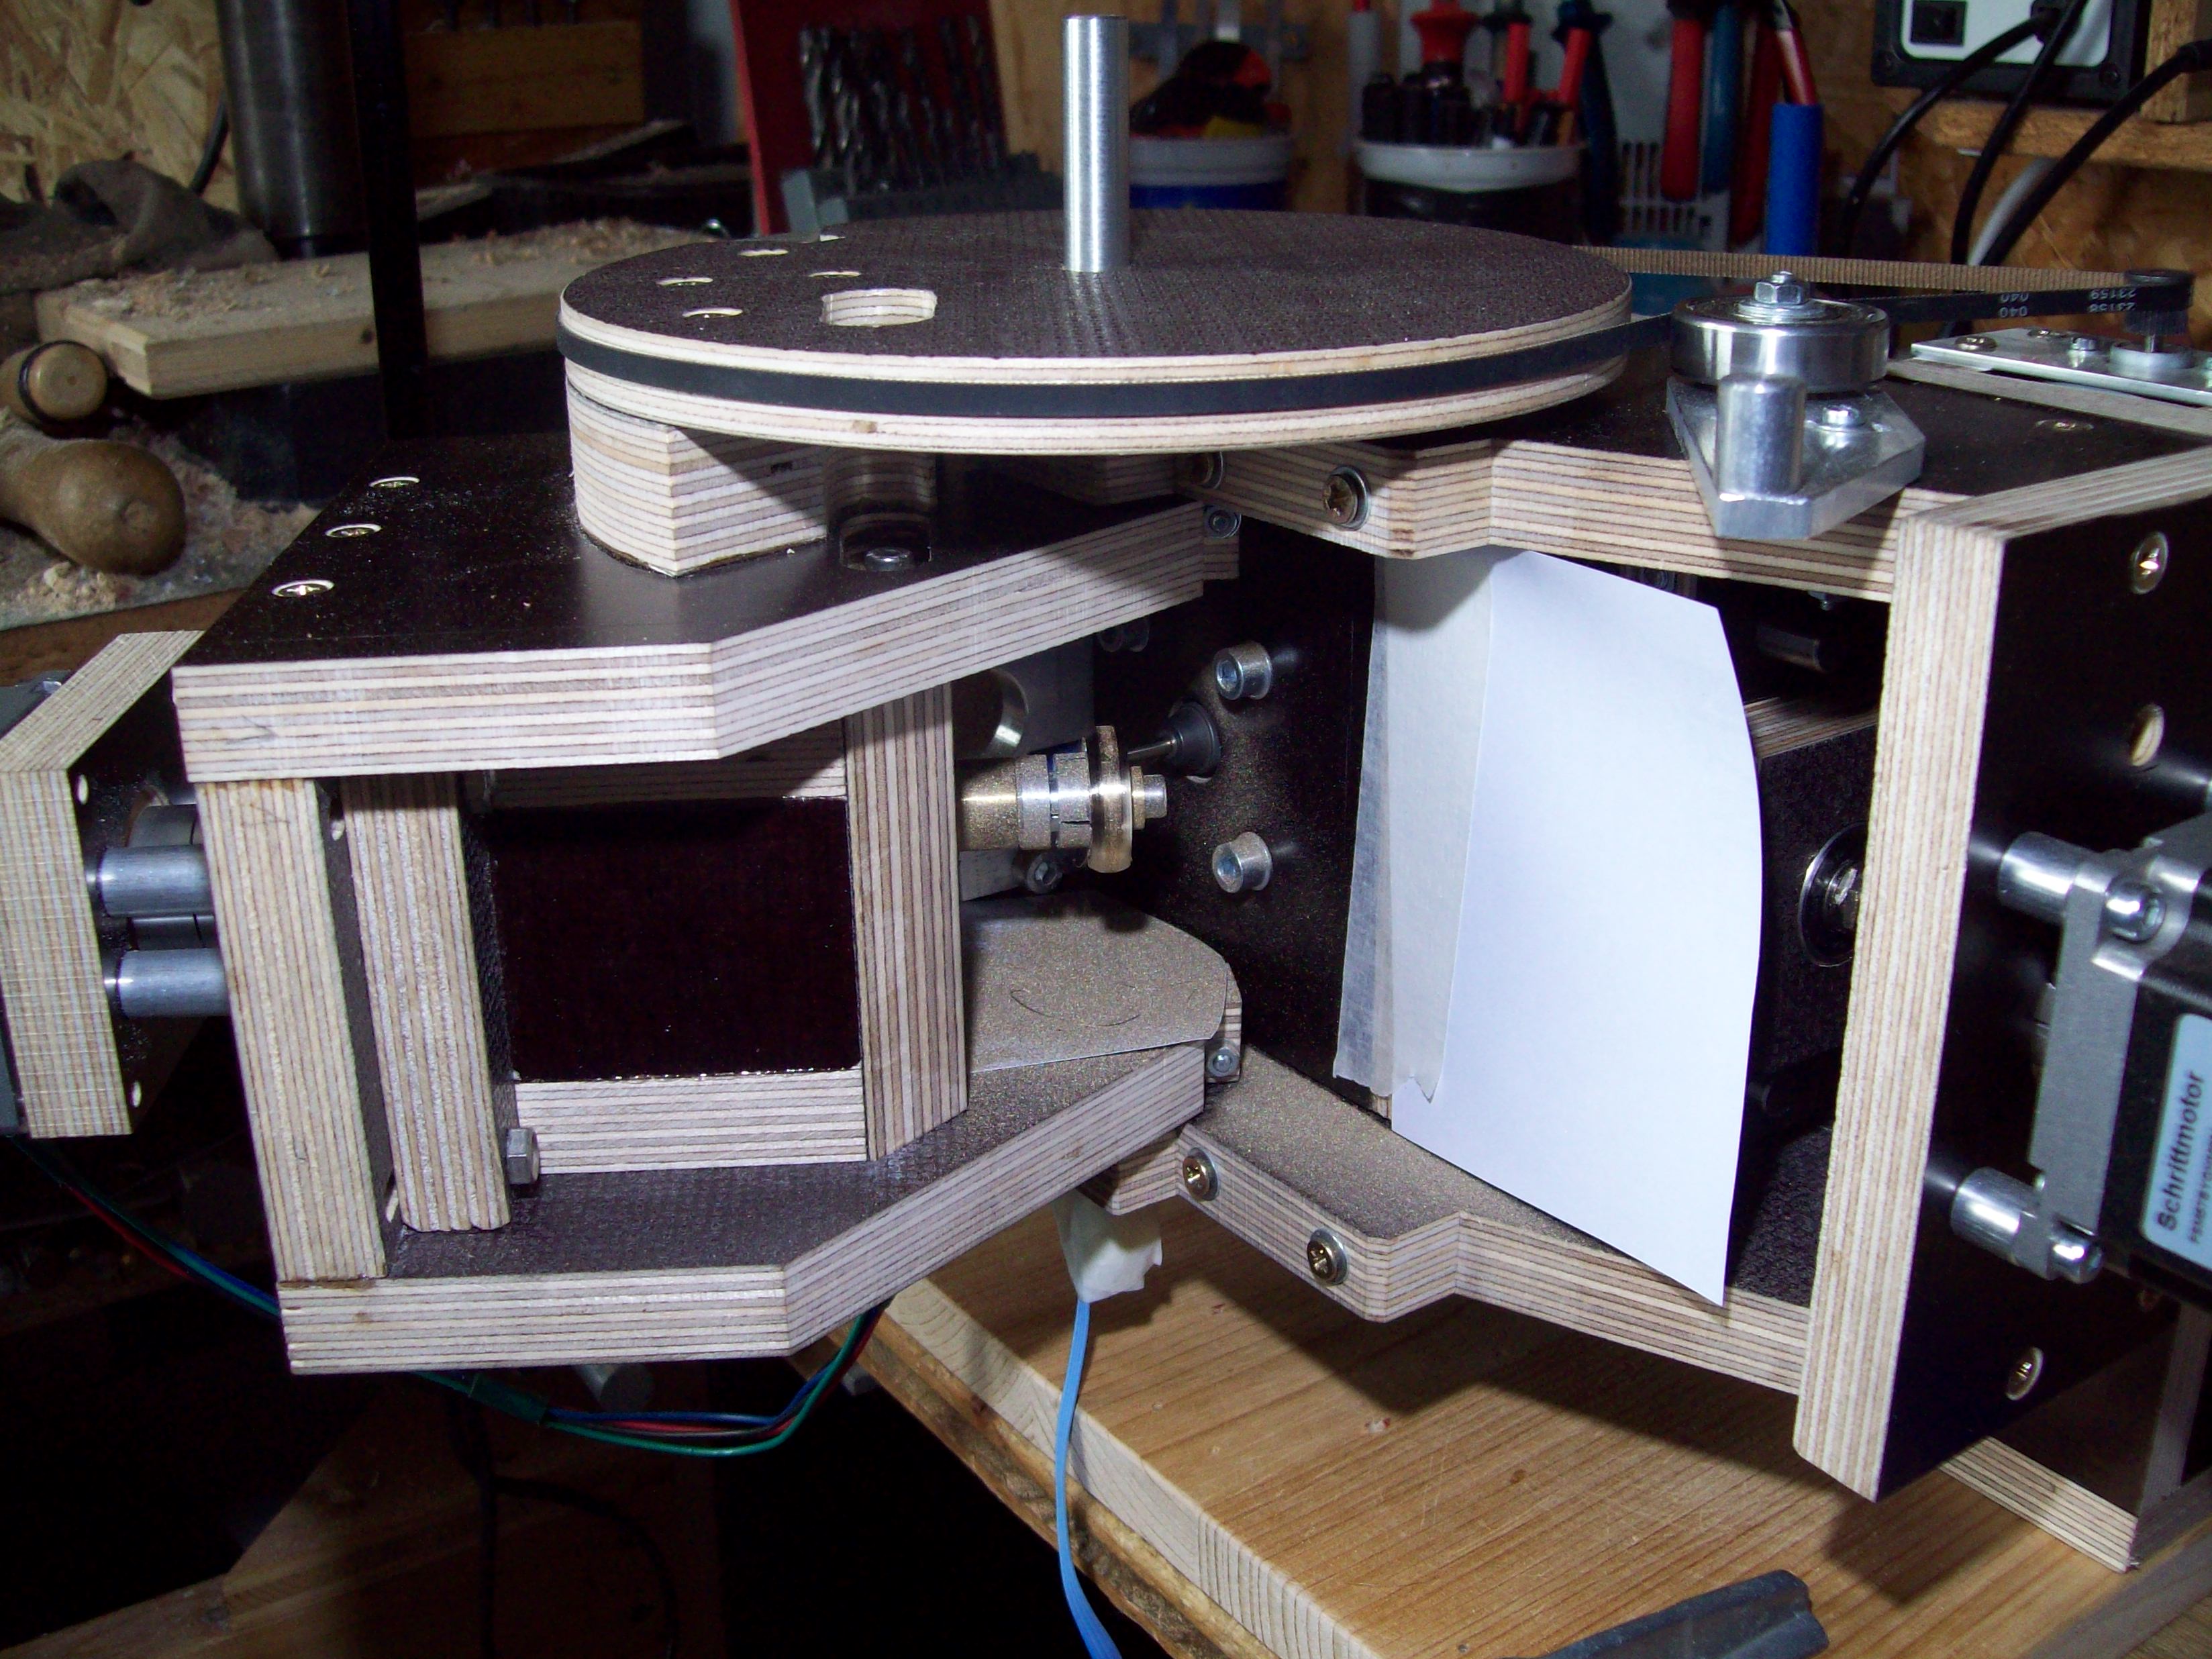
All the axis are driven with the same stepper motors and control system that I used on my first wooden CNC, so no additional effort was needed in this respect. The catch is that the MACH3 machine controller does not even know that the underlying hardware has two rotary and one linear axis. It just assumes, all three are linear, which “wrapps” the engraving around the ring, just as we like it.
Grinding
There is another catch, however. For the engraving to be accurate and consistent in depth and width, the distance between the engraving bit and the workpiece needs to be very accurate. If it was uneven, for example, the engraving would be deeper and therefore wider in one place and more shallow or not even in contact in another place. This alignment of the ring blank in the machine to a hundredth of a millimeter is difficult to accomplish, especially with a construction based on wood.
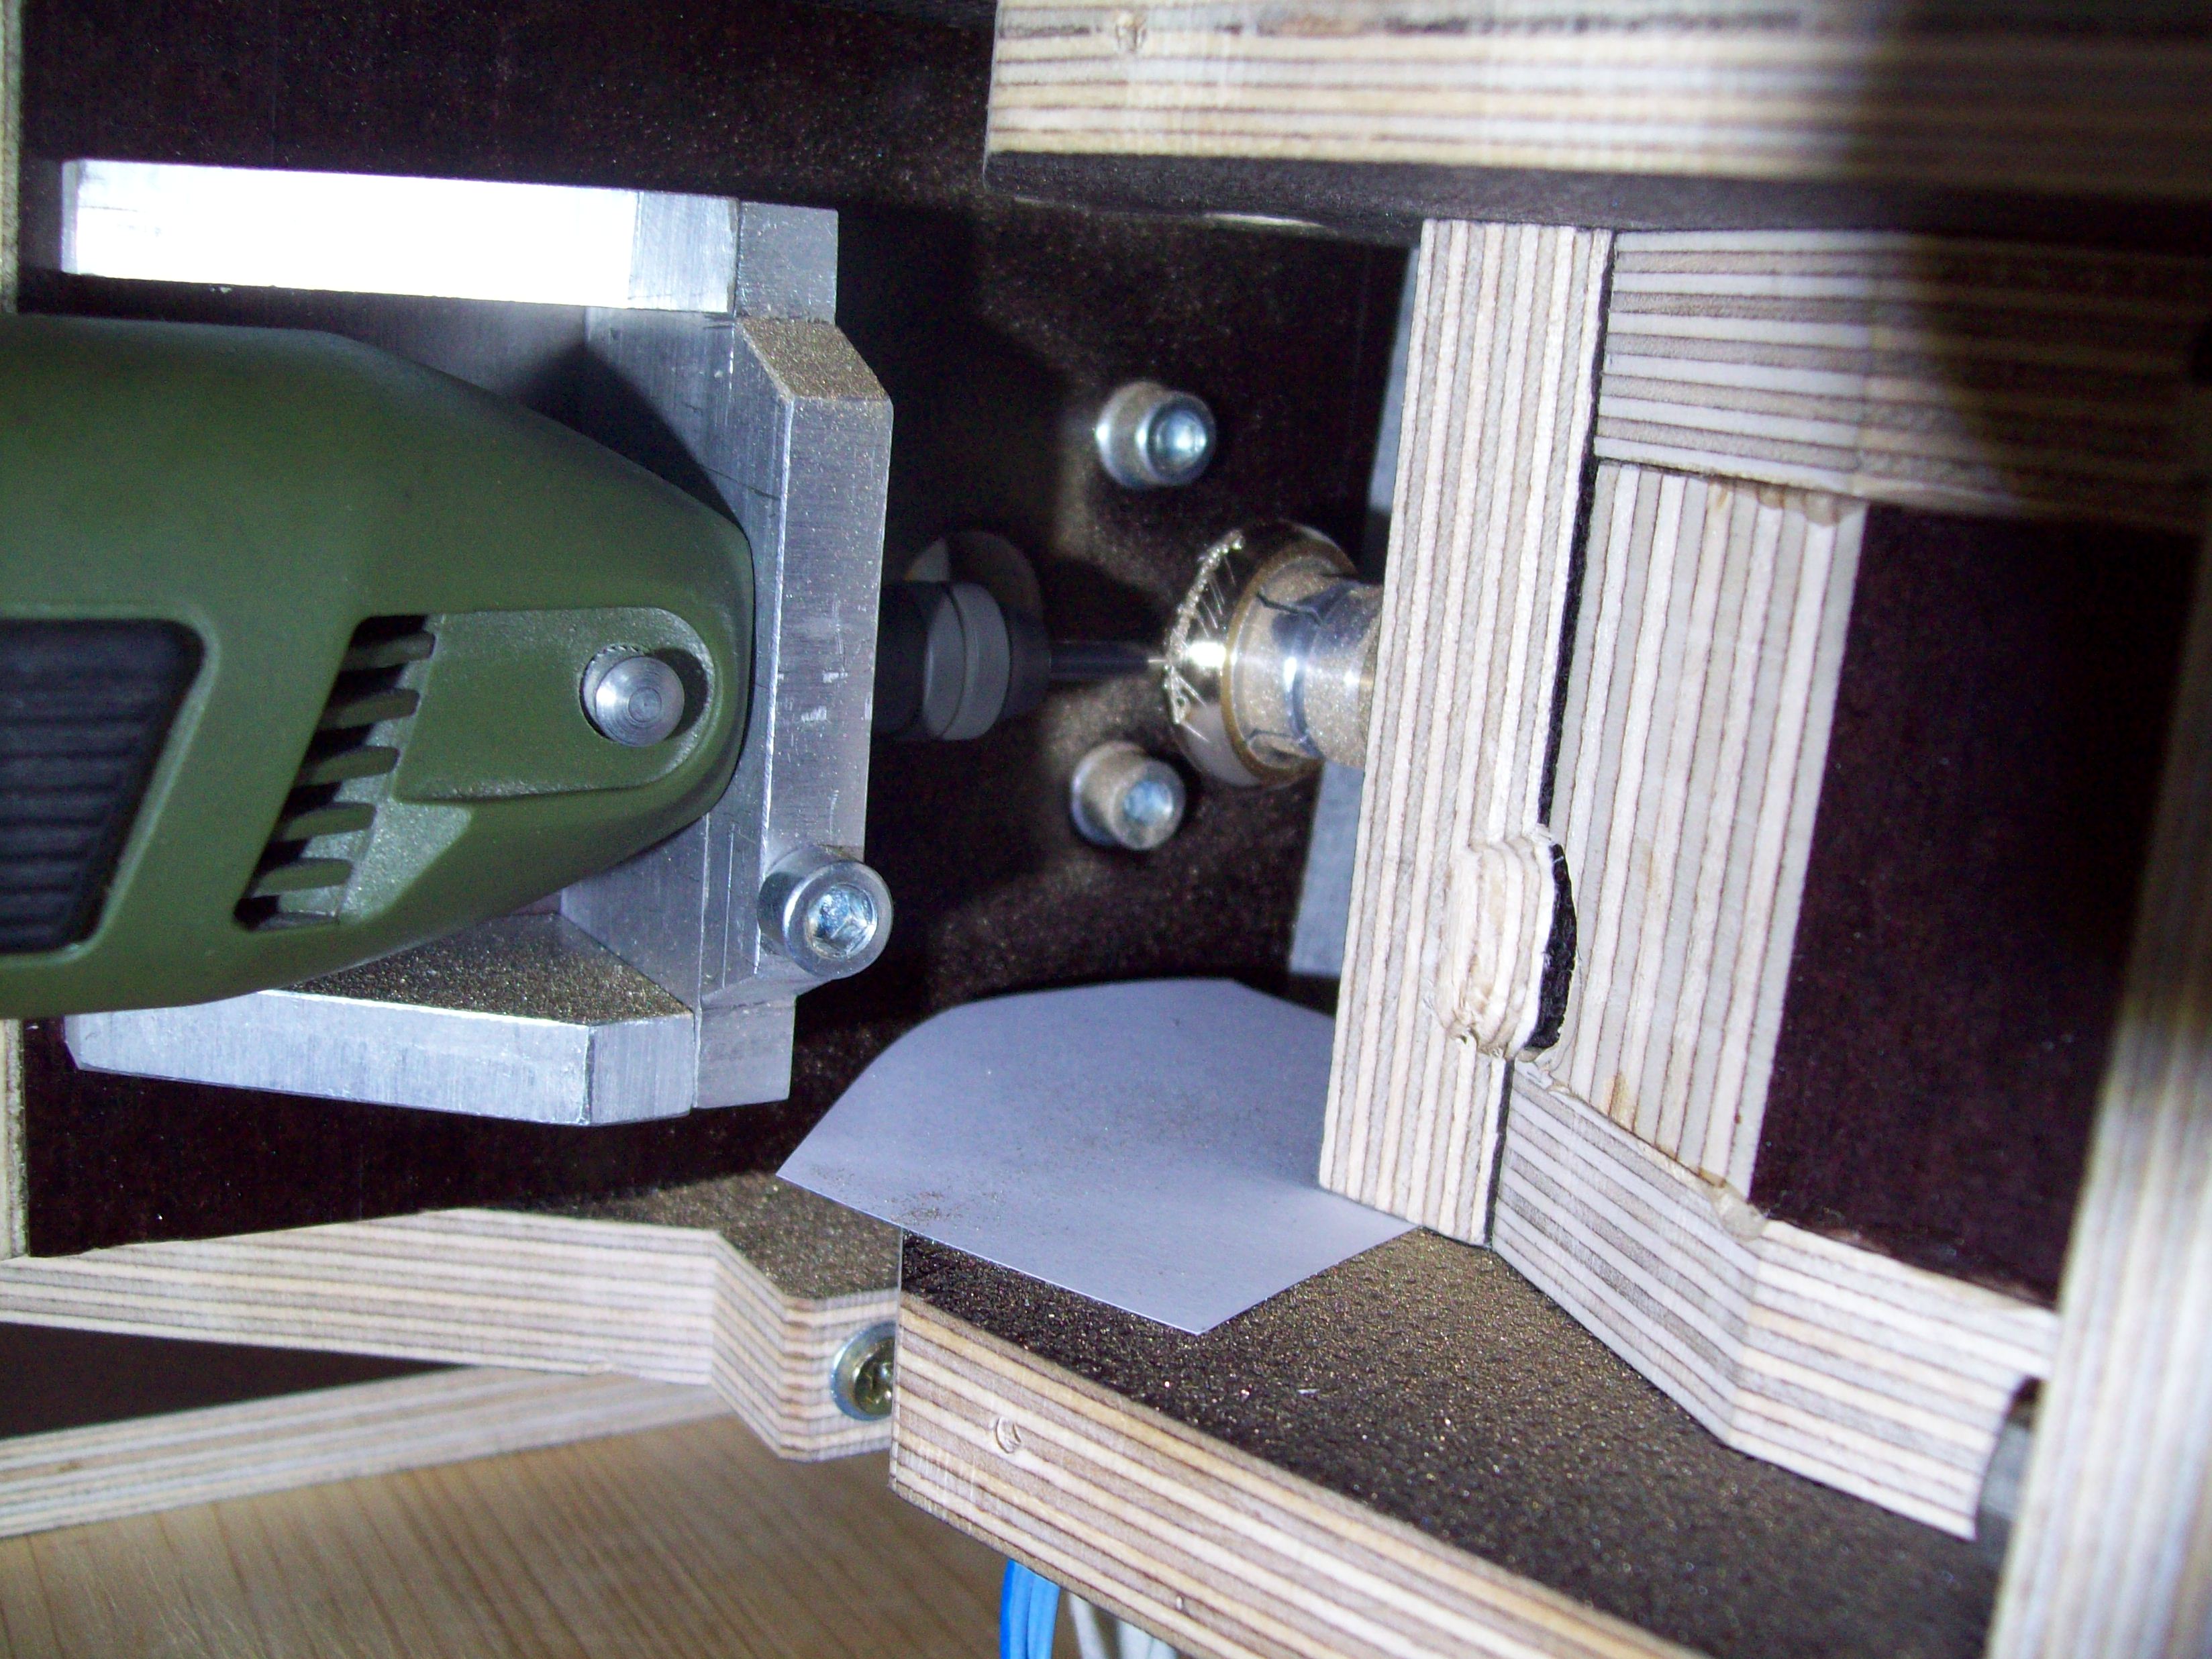
The problem is solved by grinding the last and final surface of the ring in the same setup as the engraving, by using the same machine. For this purpose, the Proxxon spindle can be mounted in a second position from the back. The rough ring blank is prepared on the lathe with an accurate inside bore. This blank is then mounted on the One Engravers collet and ground to an exact shape in the machine with a regular grinding bit, as shown in the next picture.
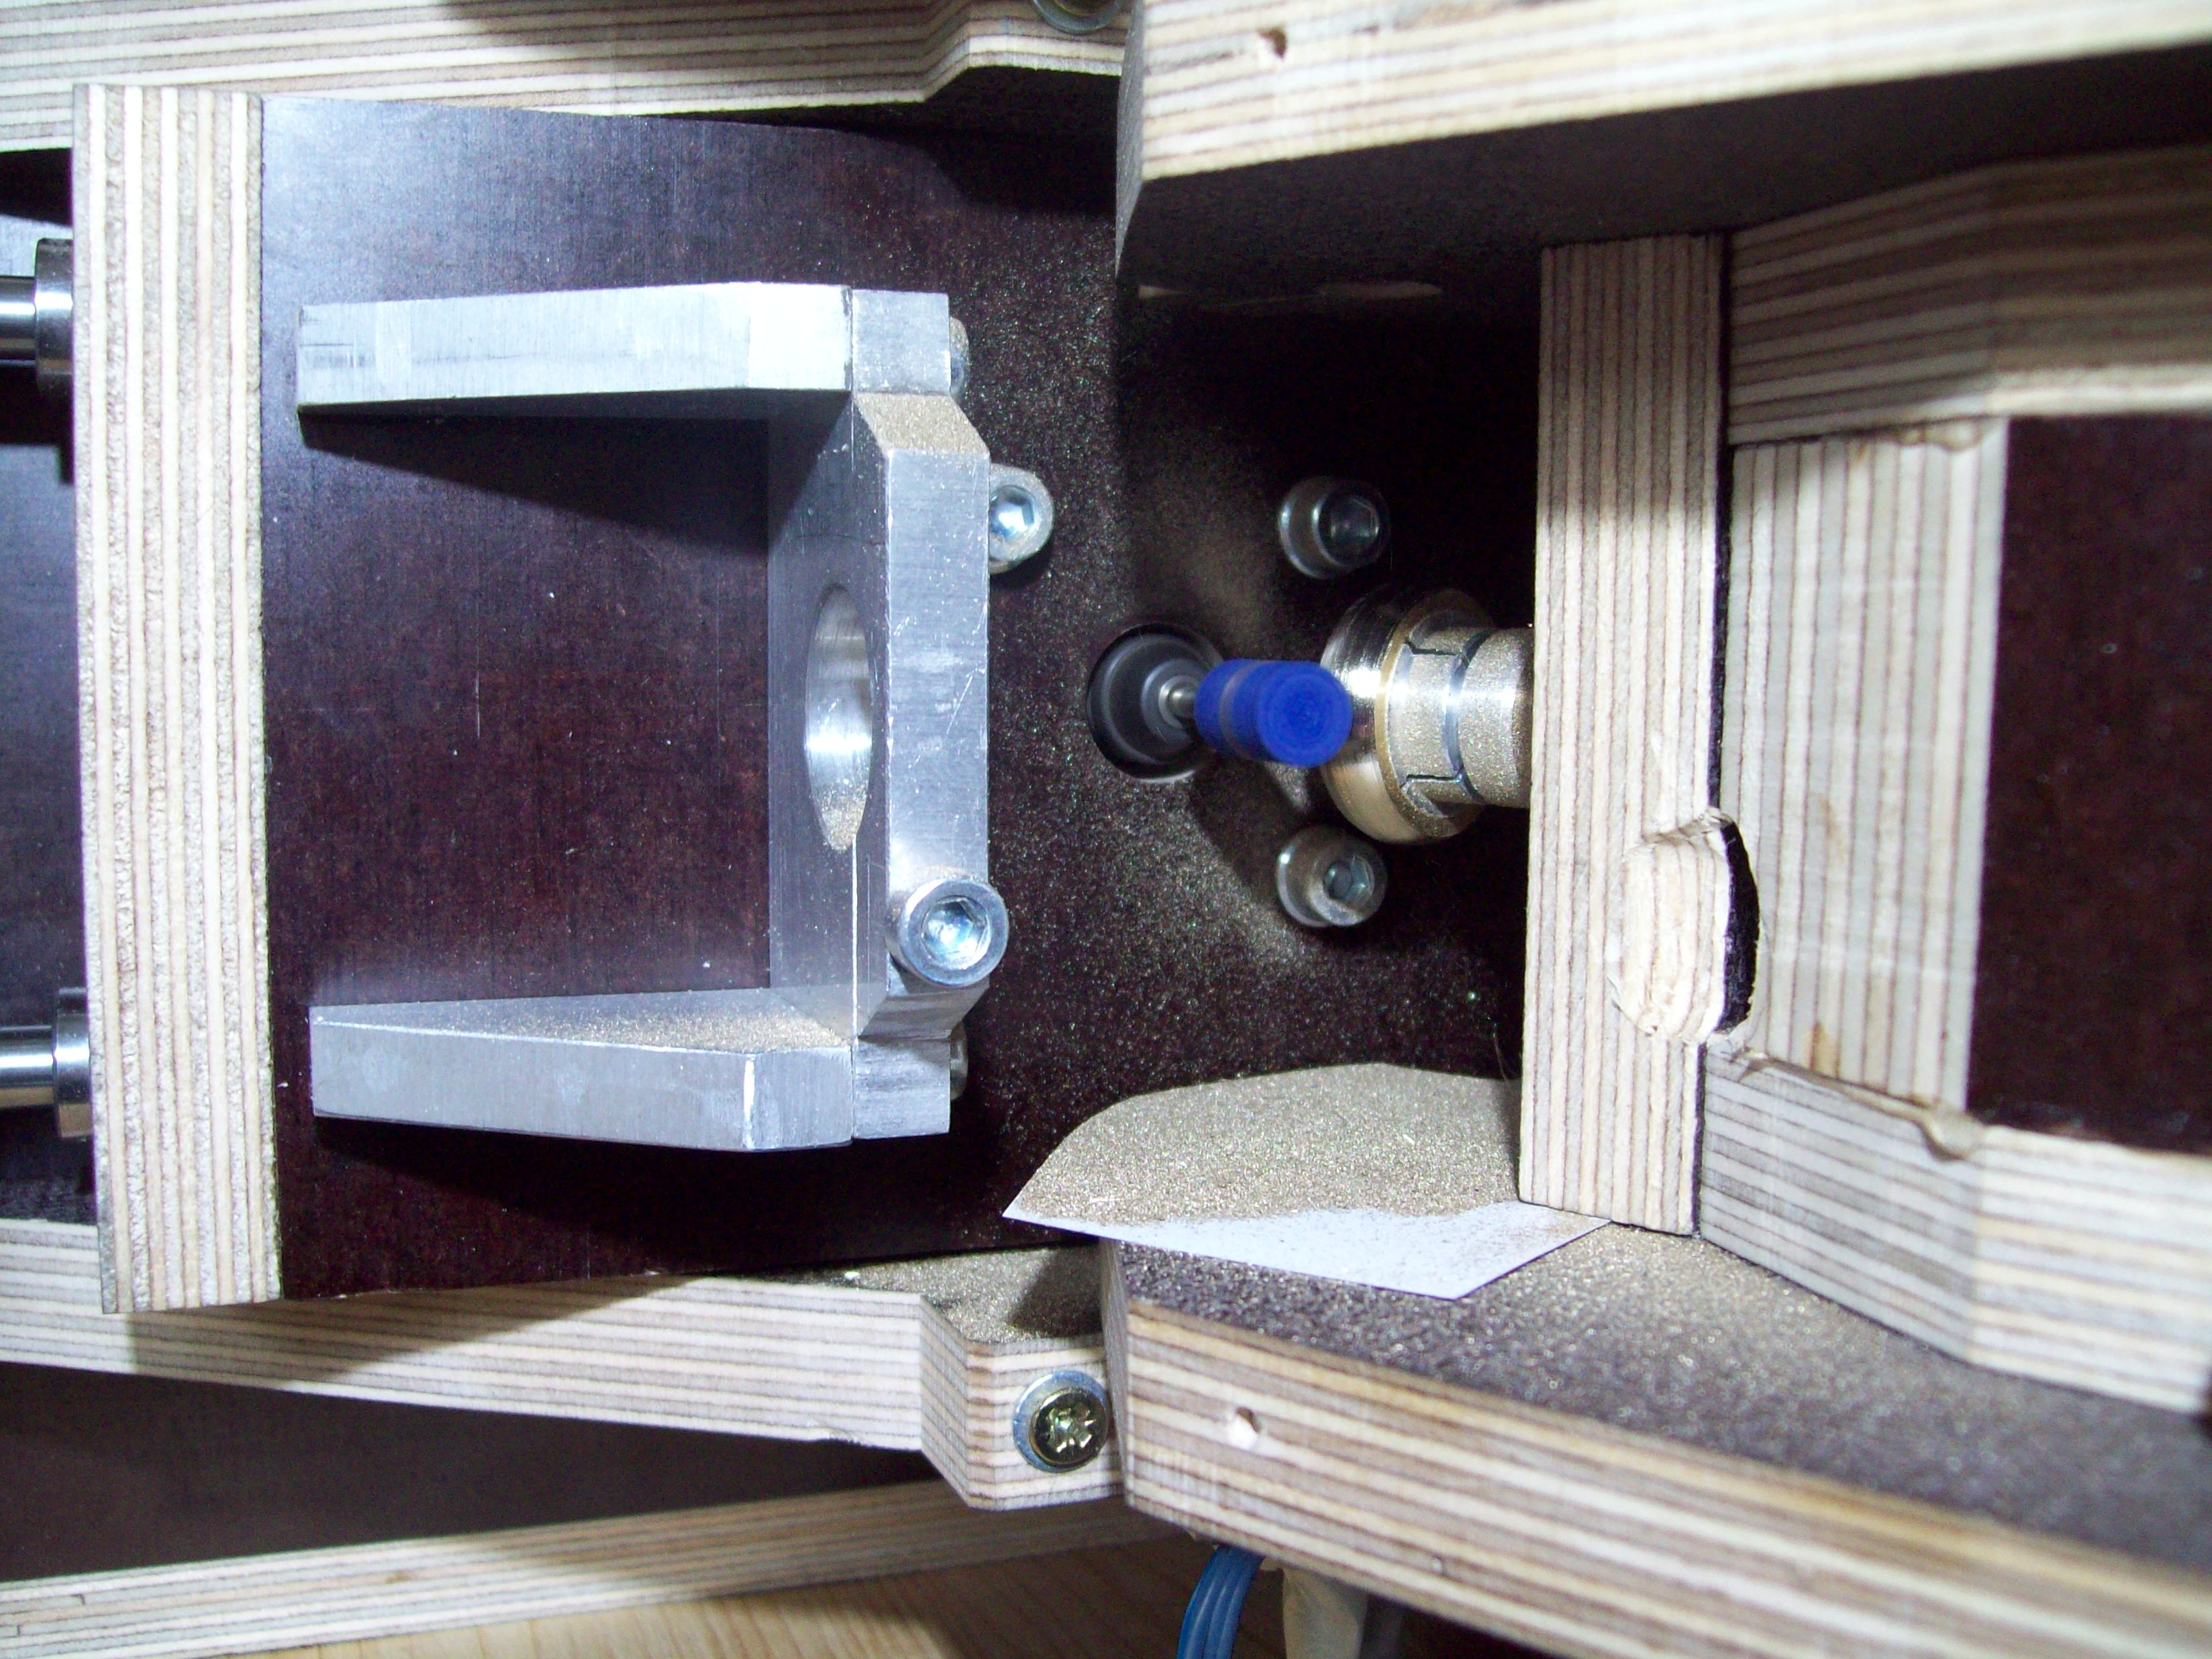
The program for this operation is very simple. If you think about it, it just consists of going across a rectangle in a zig-zag way.
Engraving
After the grinding, the Proxxon spindle is inserted in the second mounting position with a V-engraving bit inserted. Depth is set by very slowly bringing the tool closer to the workpiece until an electric contact can be recognized with a multimeter.
It did take a few iterations until all the settings were right, the engraving bits would not break and the result looked satisfactory. But in the end, it worked out quite nicely and the result is, at least in my opinion, visually flawless.
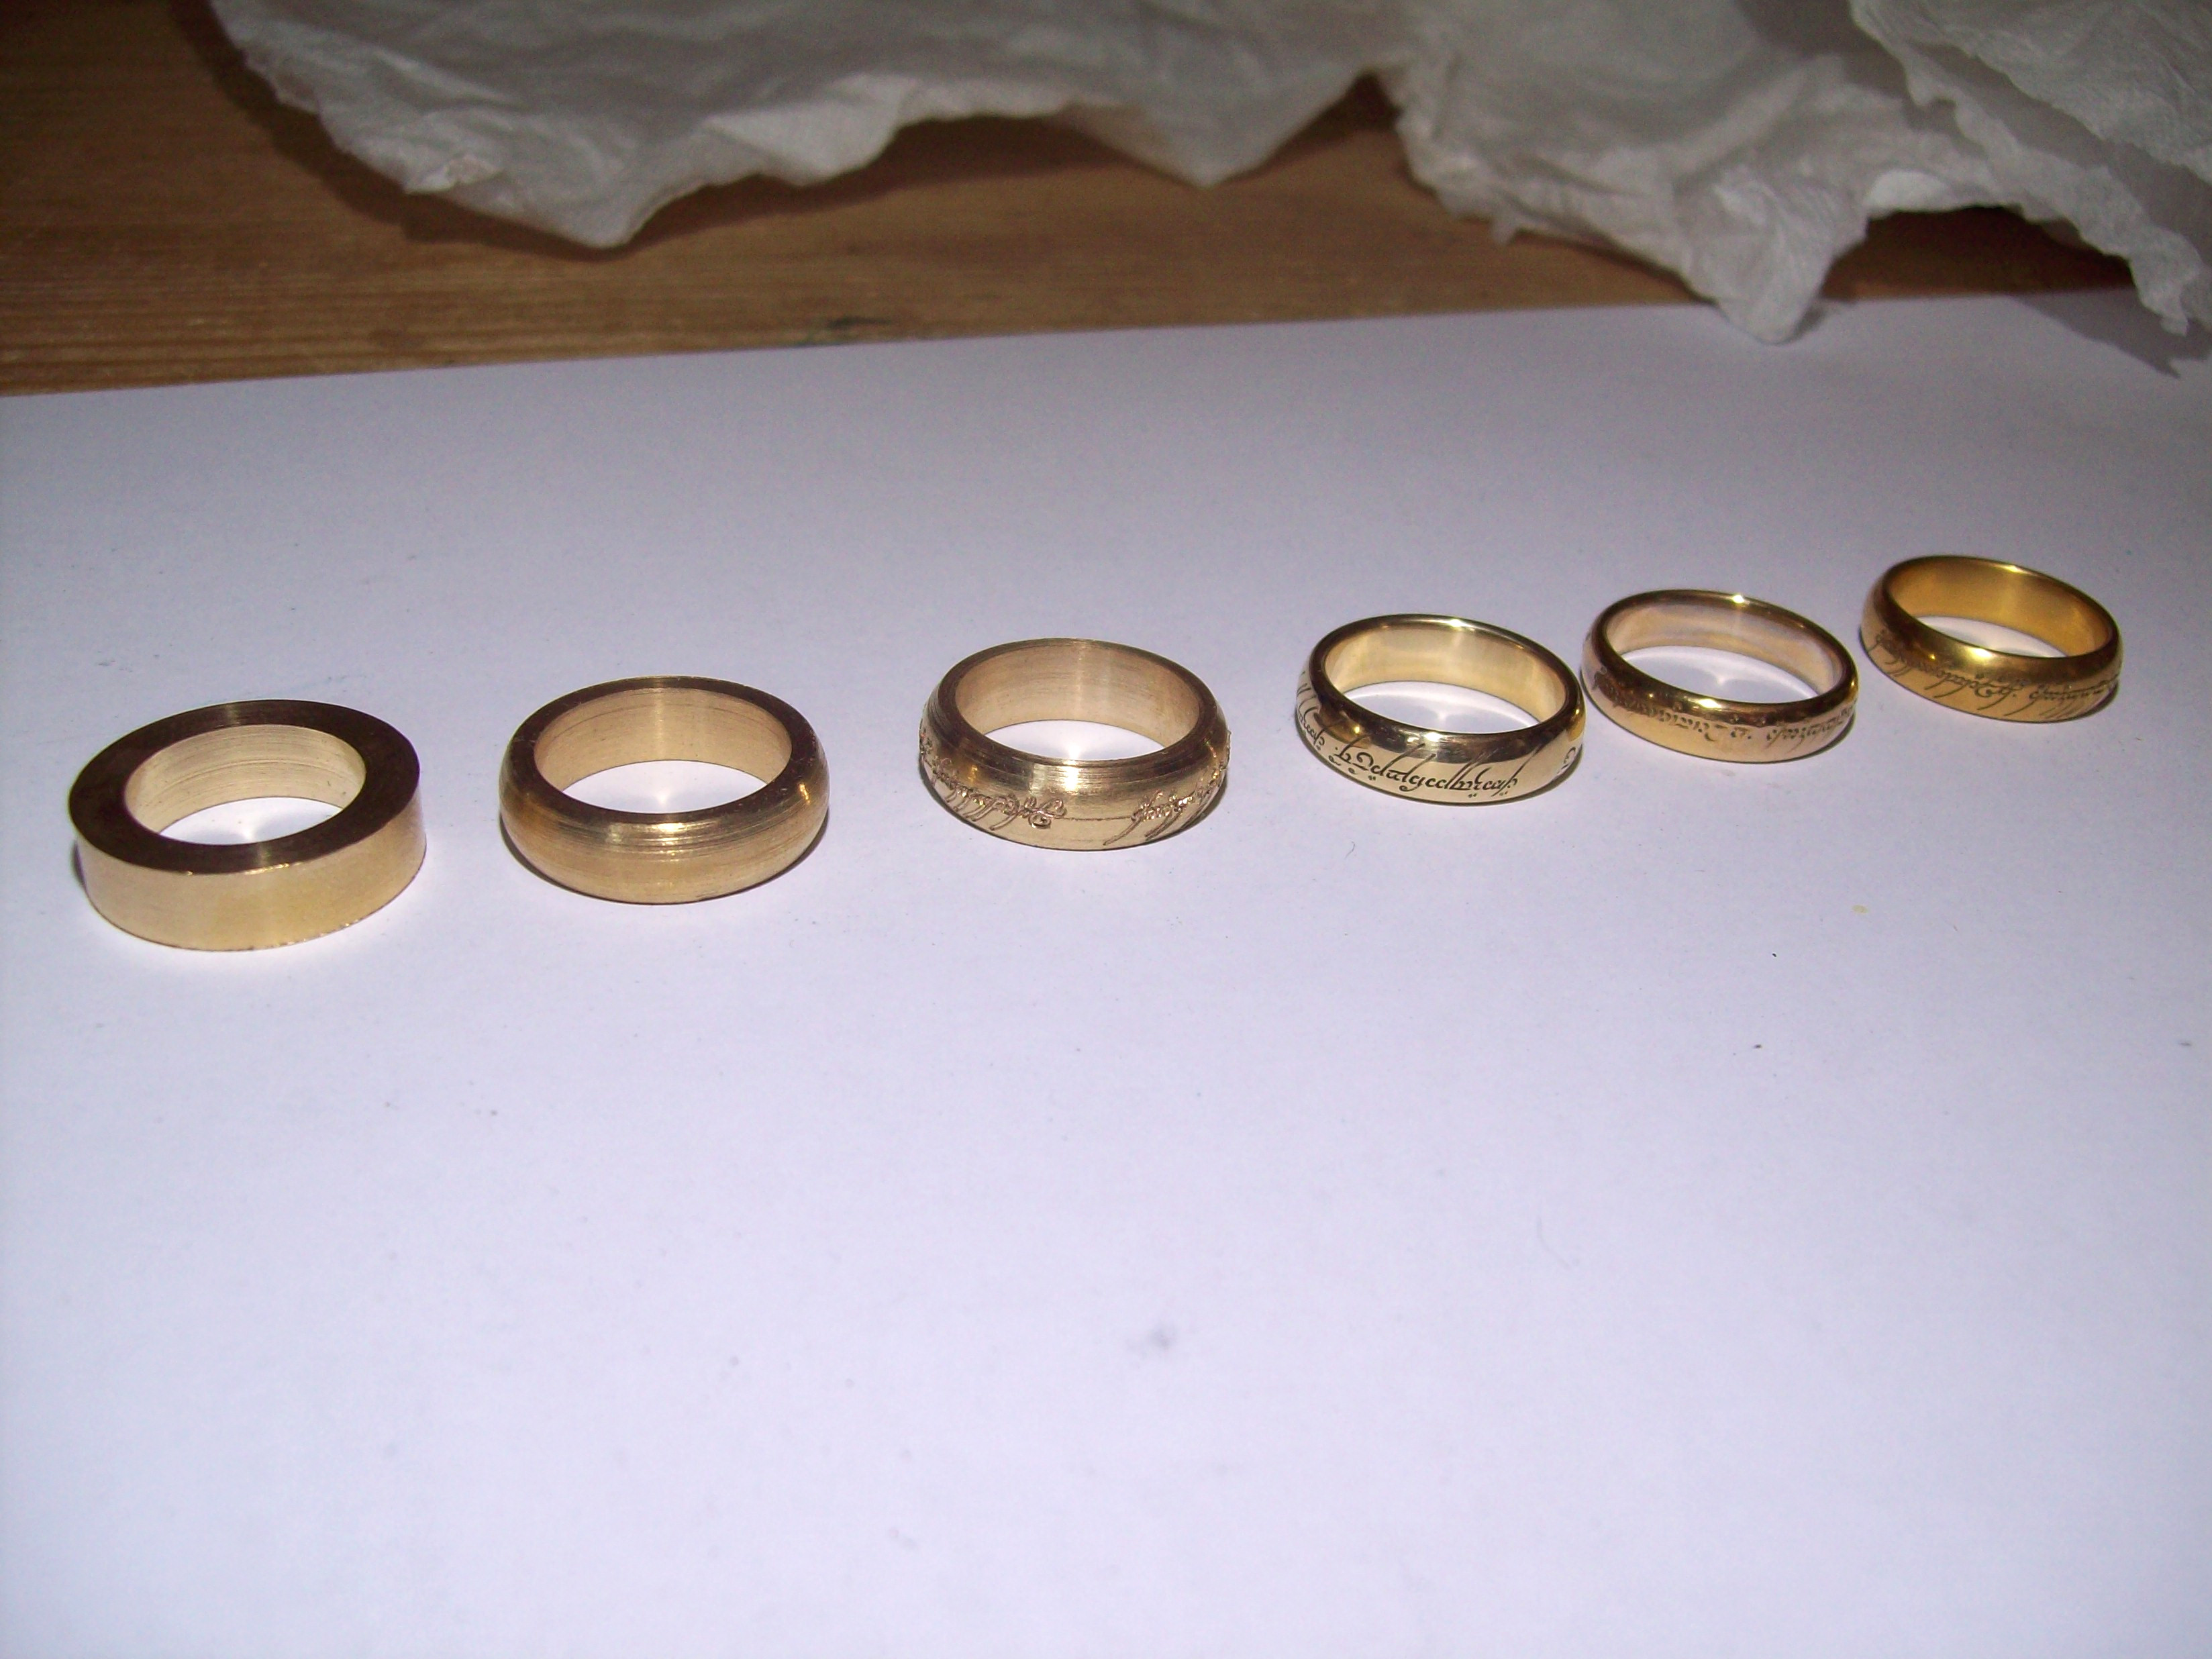
After the grinding operation, the ring is sanded up to 1000 grid while spinning in the lathe. For finishing the inside, a dedicated holding collet is made. A layer of paper between the brass ring and the aluminium collet prevents scratching. For the final look, the ring is electroplated with first palladium and then gold. The palladium is necessary to prevent the copper in the brass and the gold to form an alloy which would look different in color where the layer of gold is thin. I am not sure how big this issue really is, but I read that’s how it is usually done with this blocker layer, so why not do it properly.
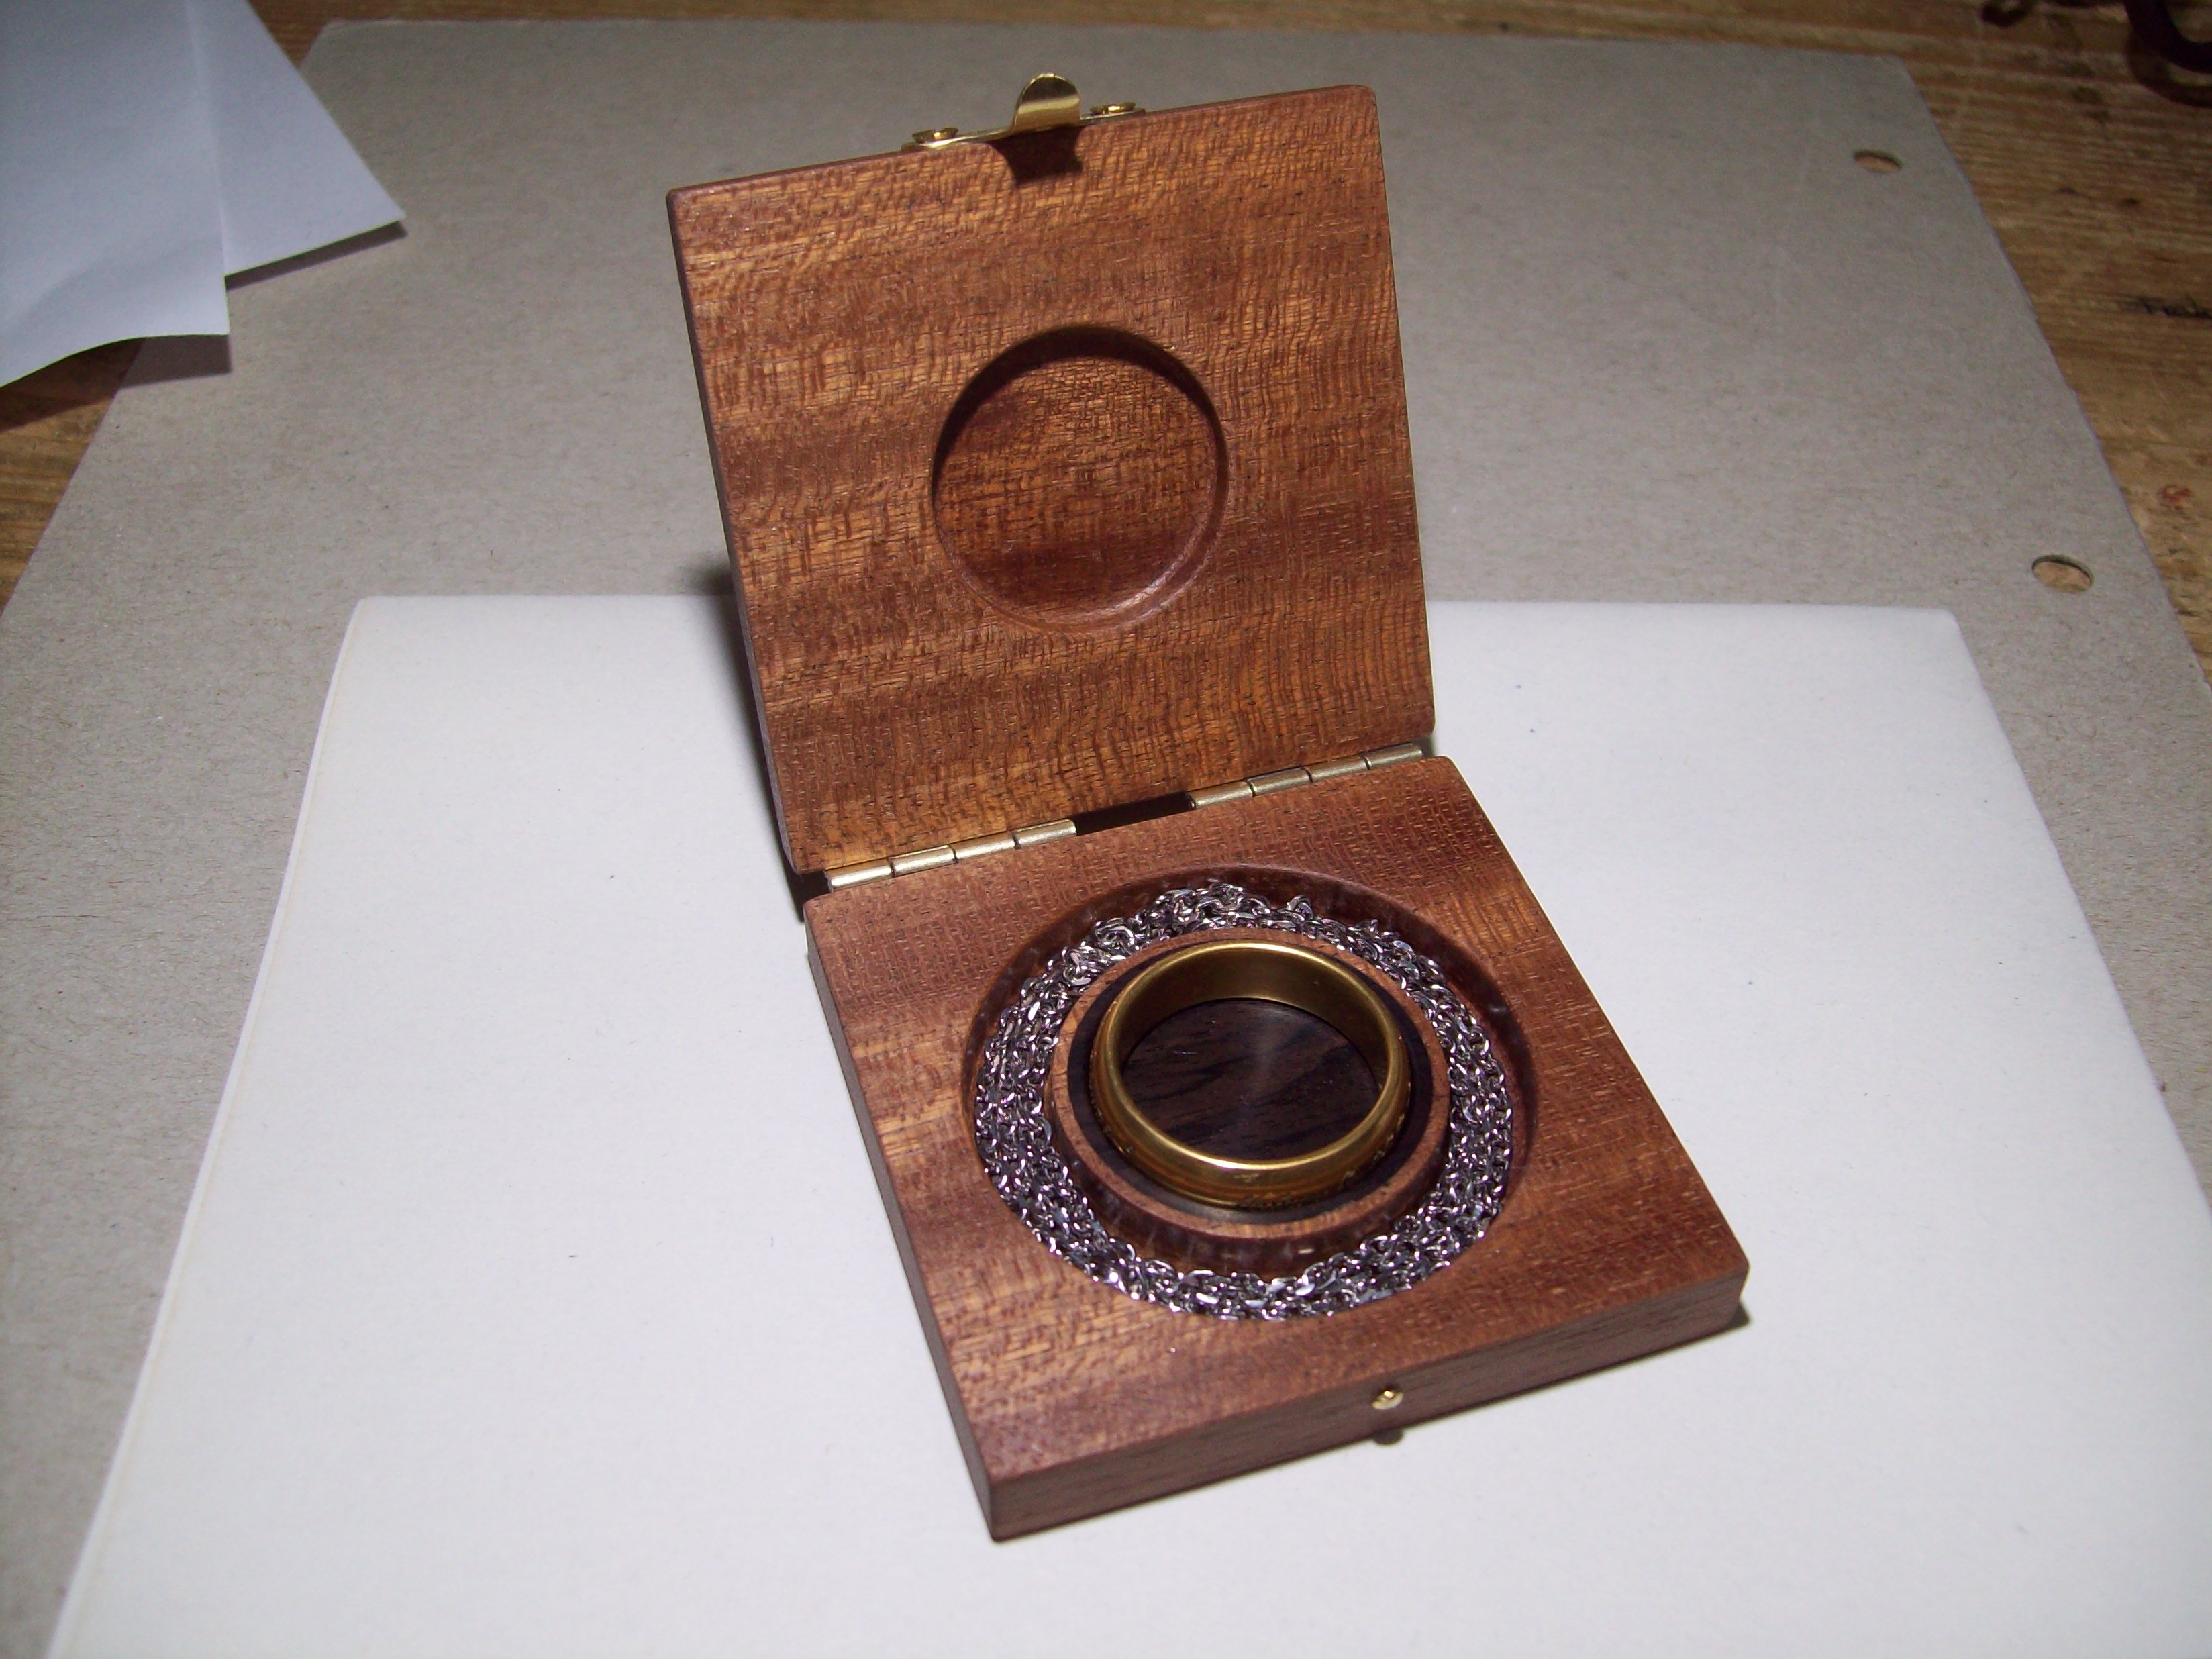
Casing
Finally, a nice little case is created using a piece of mahogany wood. As gold is fairly close to red, I though placing the ring directly in the mahogany might not look so good, so I inserted a piece of contrasting black ebony in the middle. Ebony is fairly rare, so the easiest way for me to get hold of a piece was to buy a spare fretboard for a violin on ebay and cut the insert out. It cost less than 10 euros, so not a big deal.
I am particularly proud on the how the engraving turned out, in my opinion it looks much nicer than most stamped or hammered engravings on cheap jewelry. The result in the end made for an interesting project and also a special gift.