CNC router from Screenprinter
CNC, Projects ·Introduction
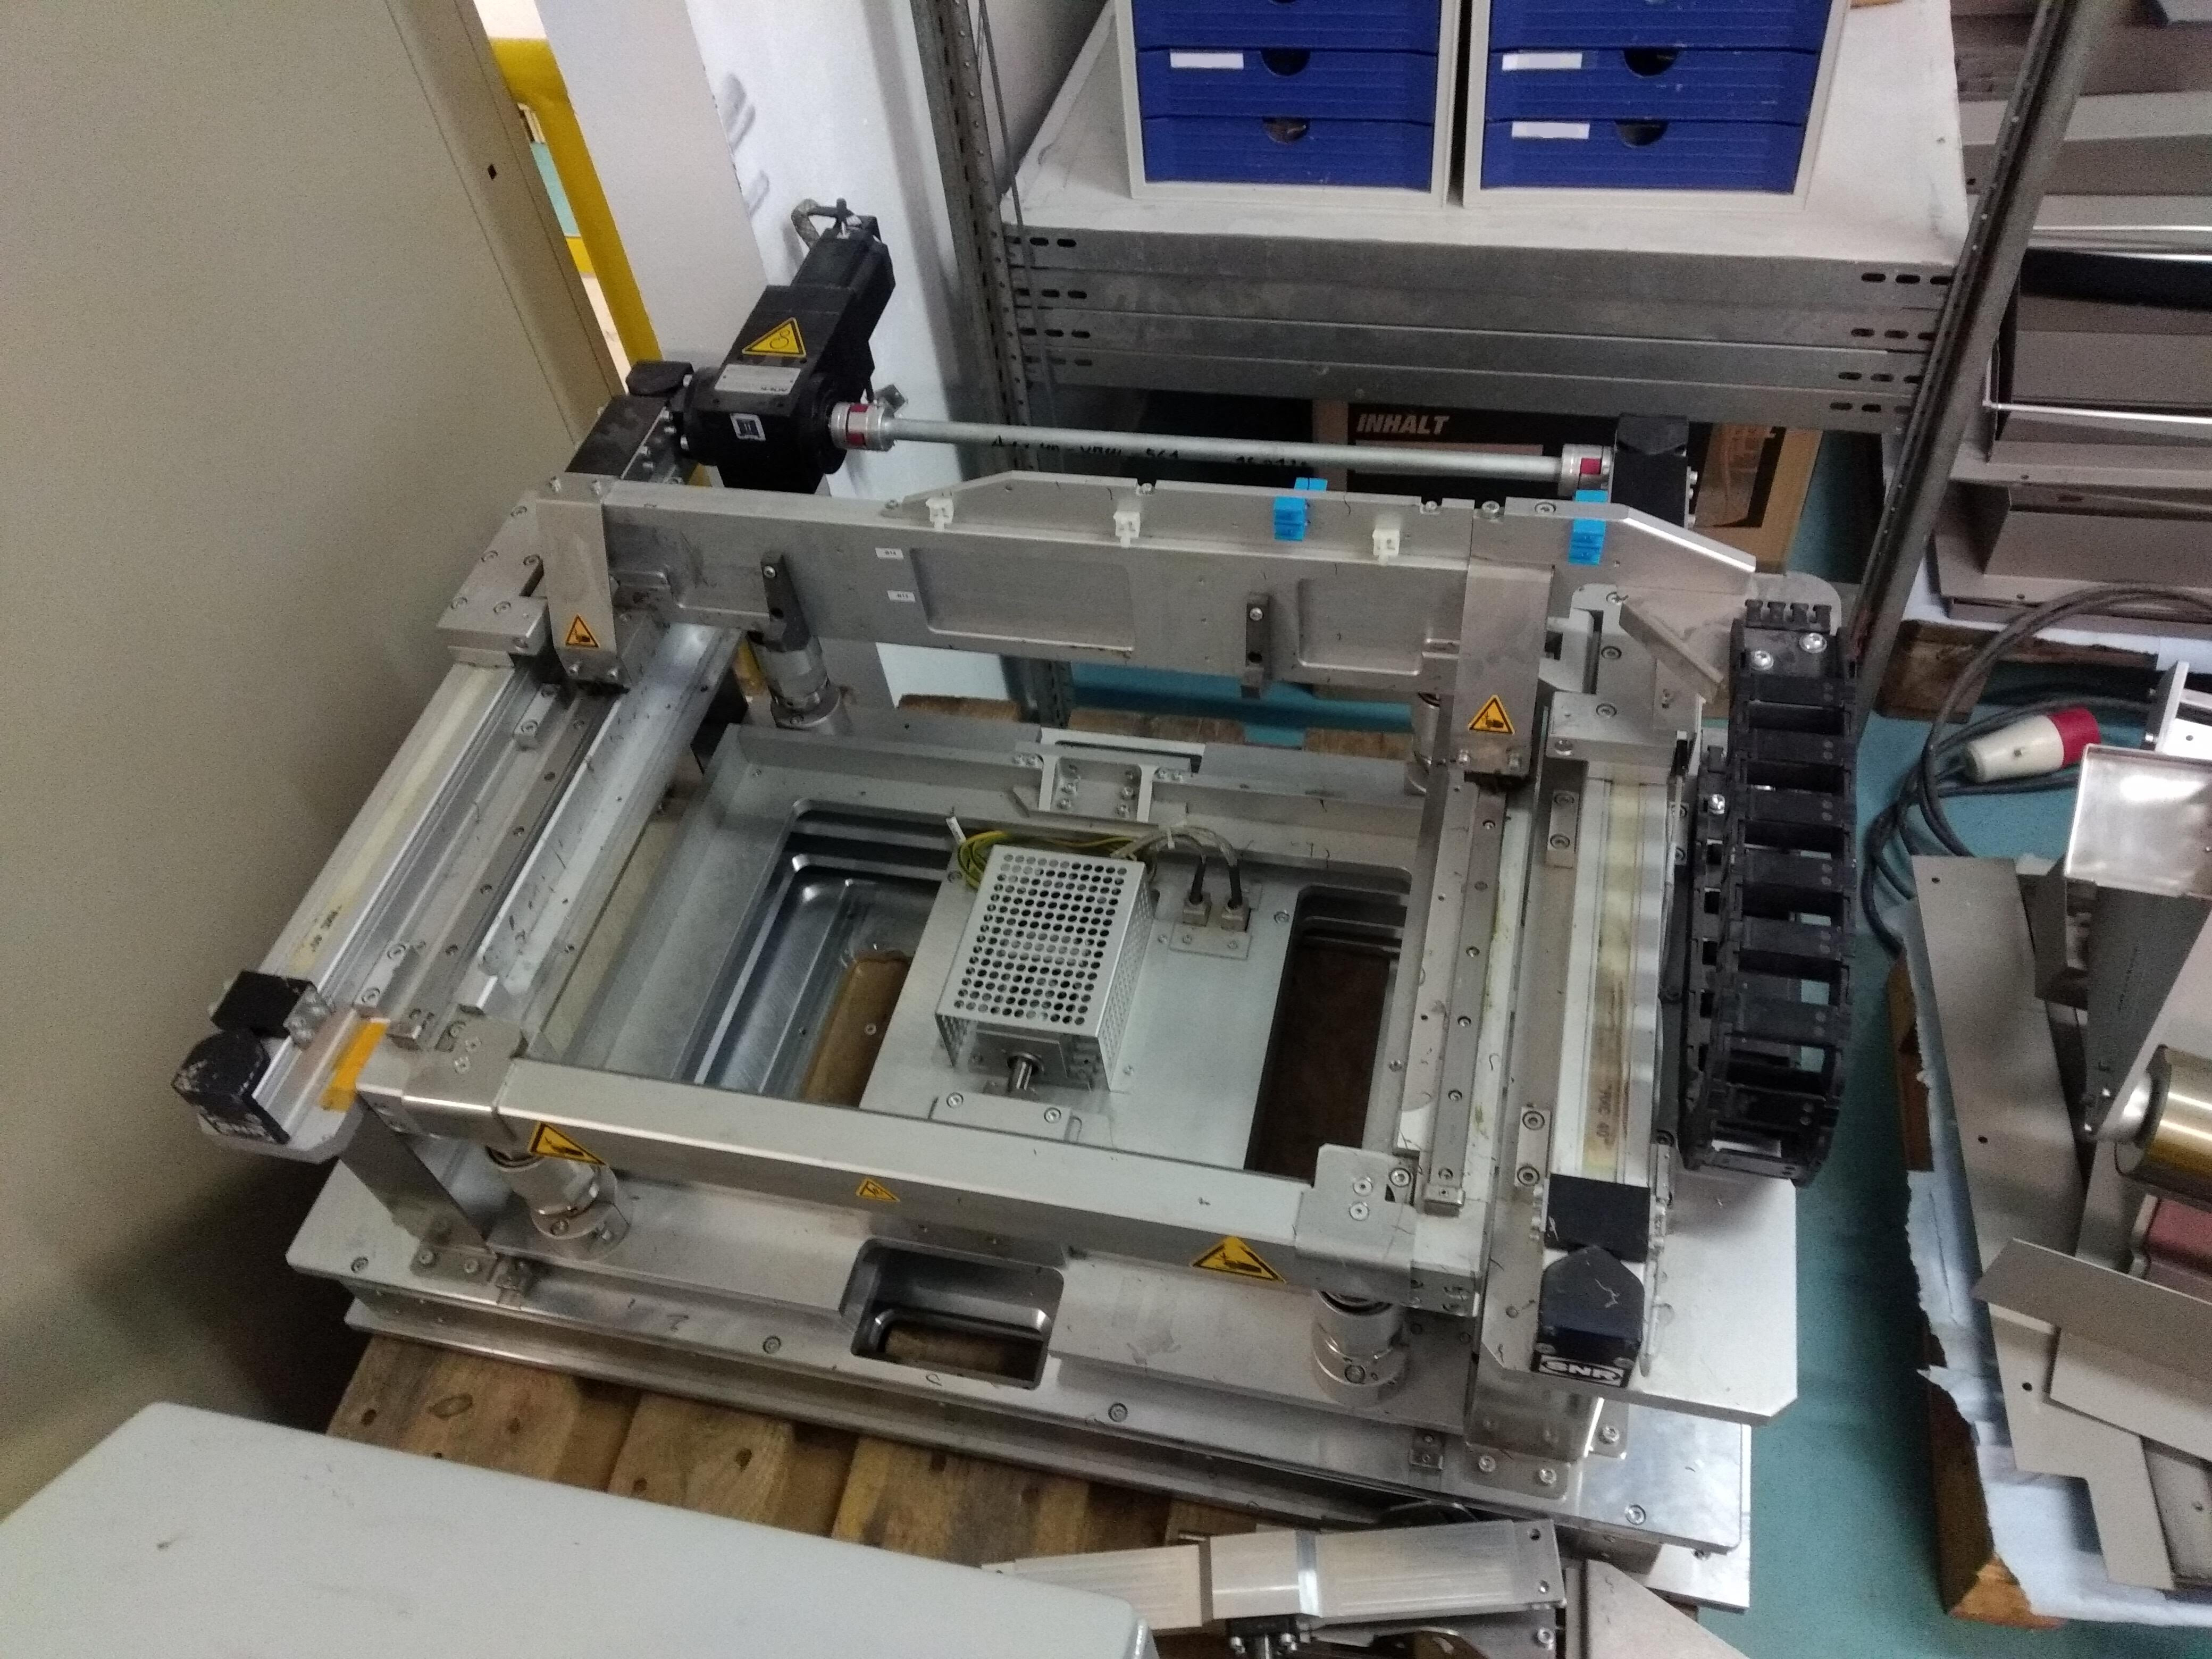
For quite a while, I’ve been wanting to build a better CNC router. However, proper mechanical components such as linear guides, servo motors, ballscrews and such are fairly expensive. It is certainly worth investing the money in just the right components if you are designing a professional machine from scratch, but building it requires a lot of expertise and also machining equipment. Not really what a hobby project is about, usually. So I’ve been waiting for the right occasion to get hold of something that could serve as a start and save me from having to buy everything. This chance finally came when a friend of mine gave me an old screen printing machine that they would throw out in his company.
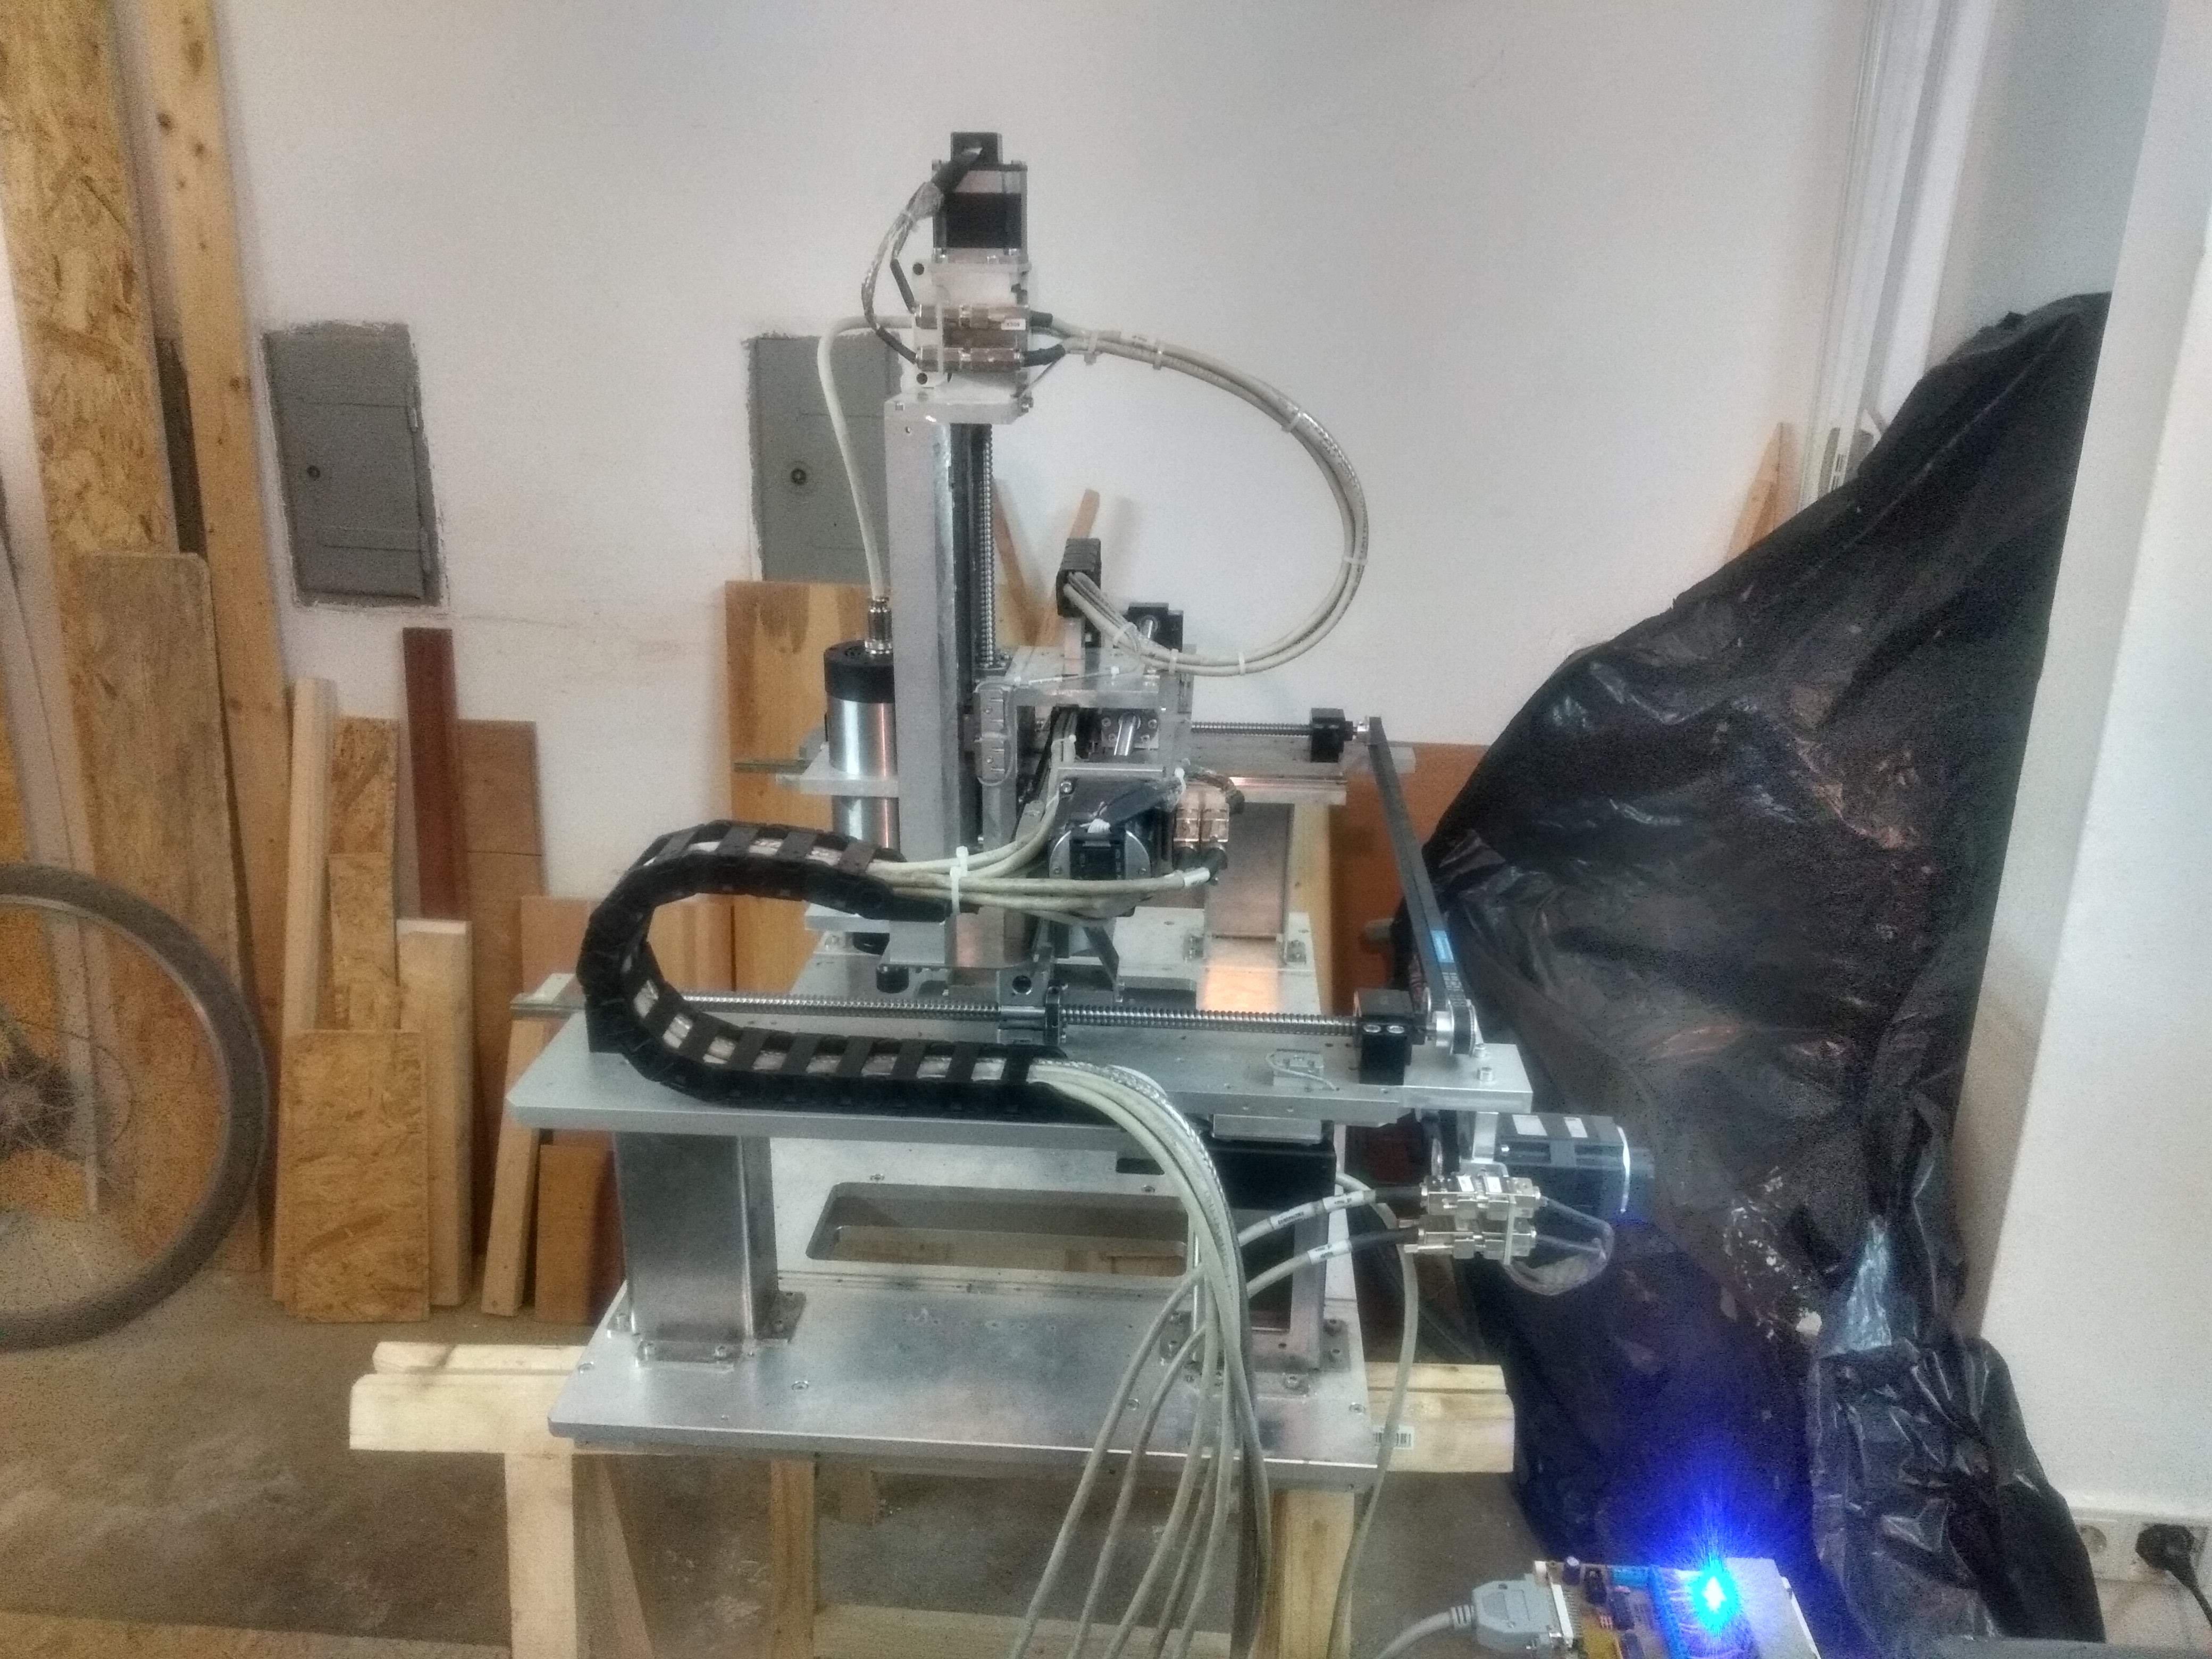
This machine seemed just about the right size and contained almost everything one would need for such an undertaking: 16mm linear rails, stepper motors with encoders, linear drives, inductive end switches and many aluminium parts that could be reused with some modifications. The only things missing were of course the milling motor and the ballscrew for the z-axis. As it turned out later, the original belt drives were not sufficient for machining and I had to buy ballscrews for that as well.
The build
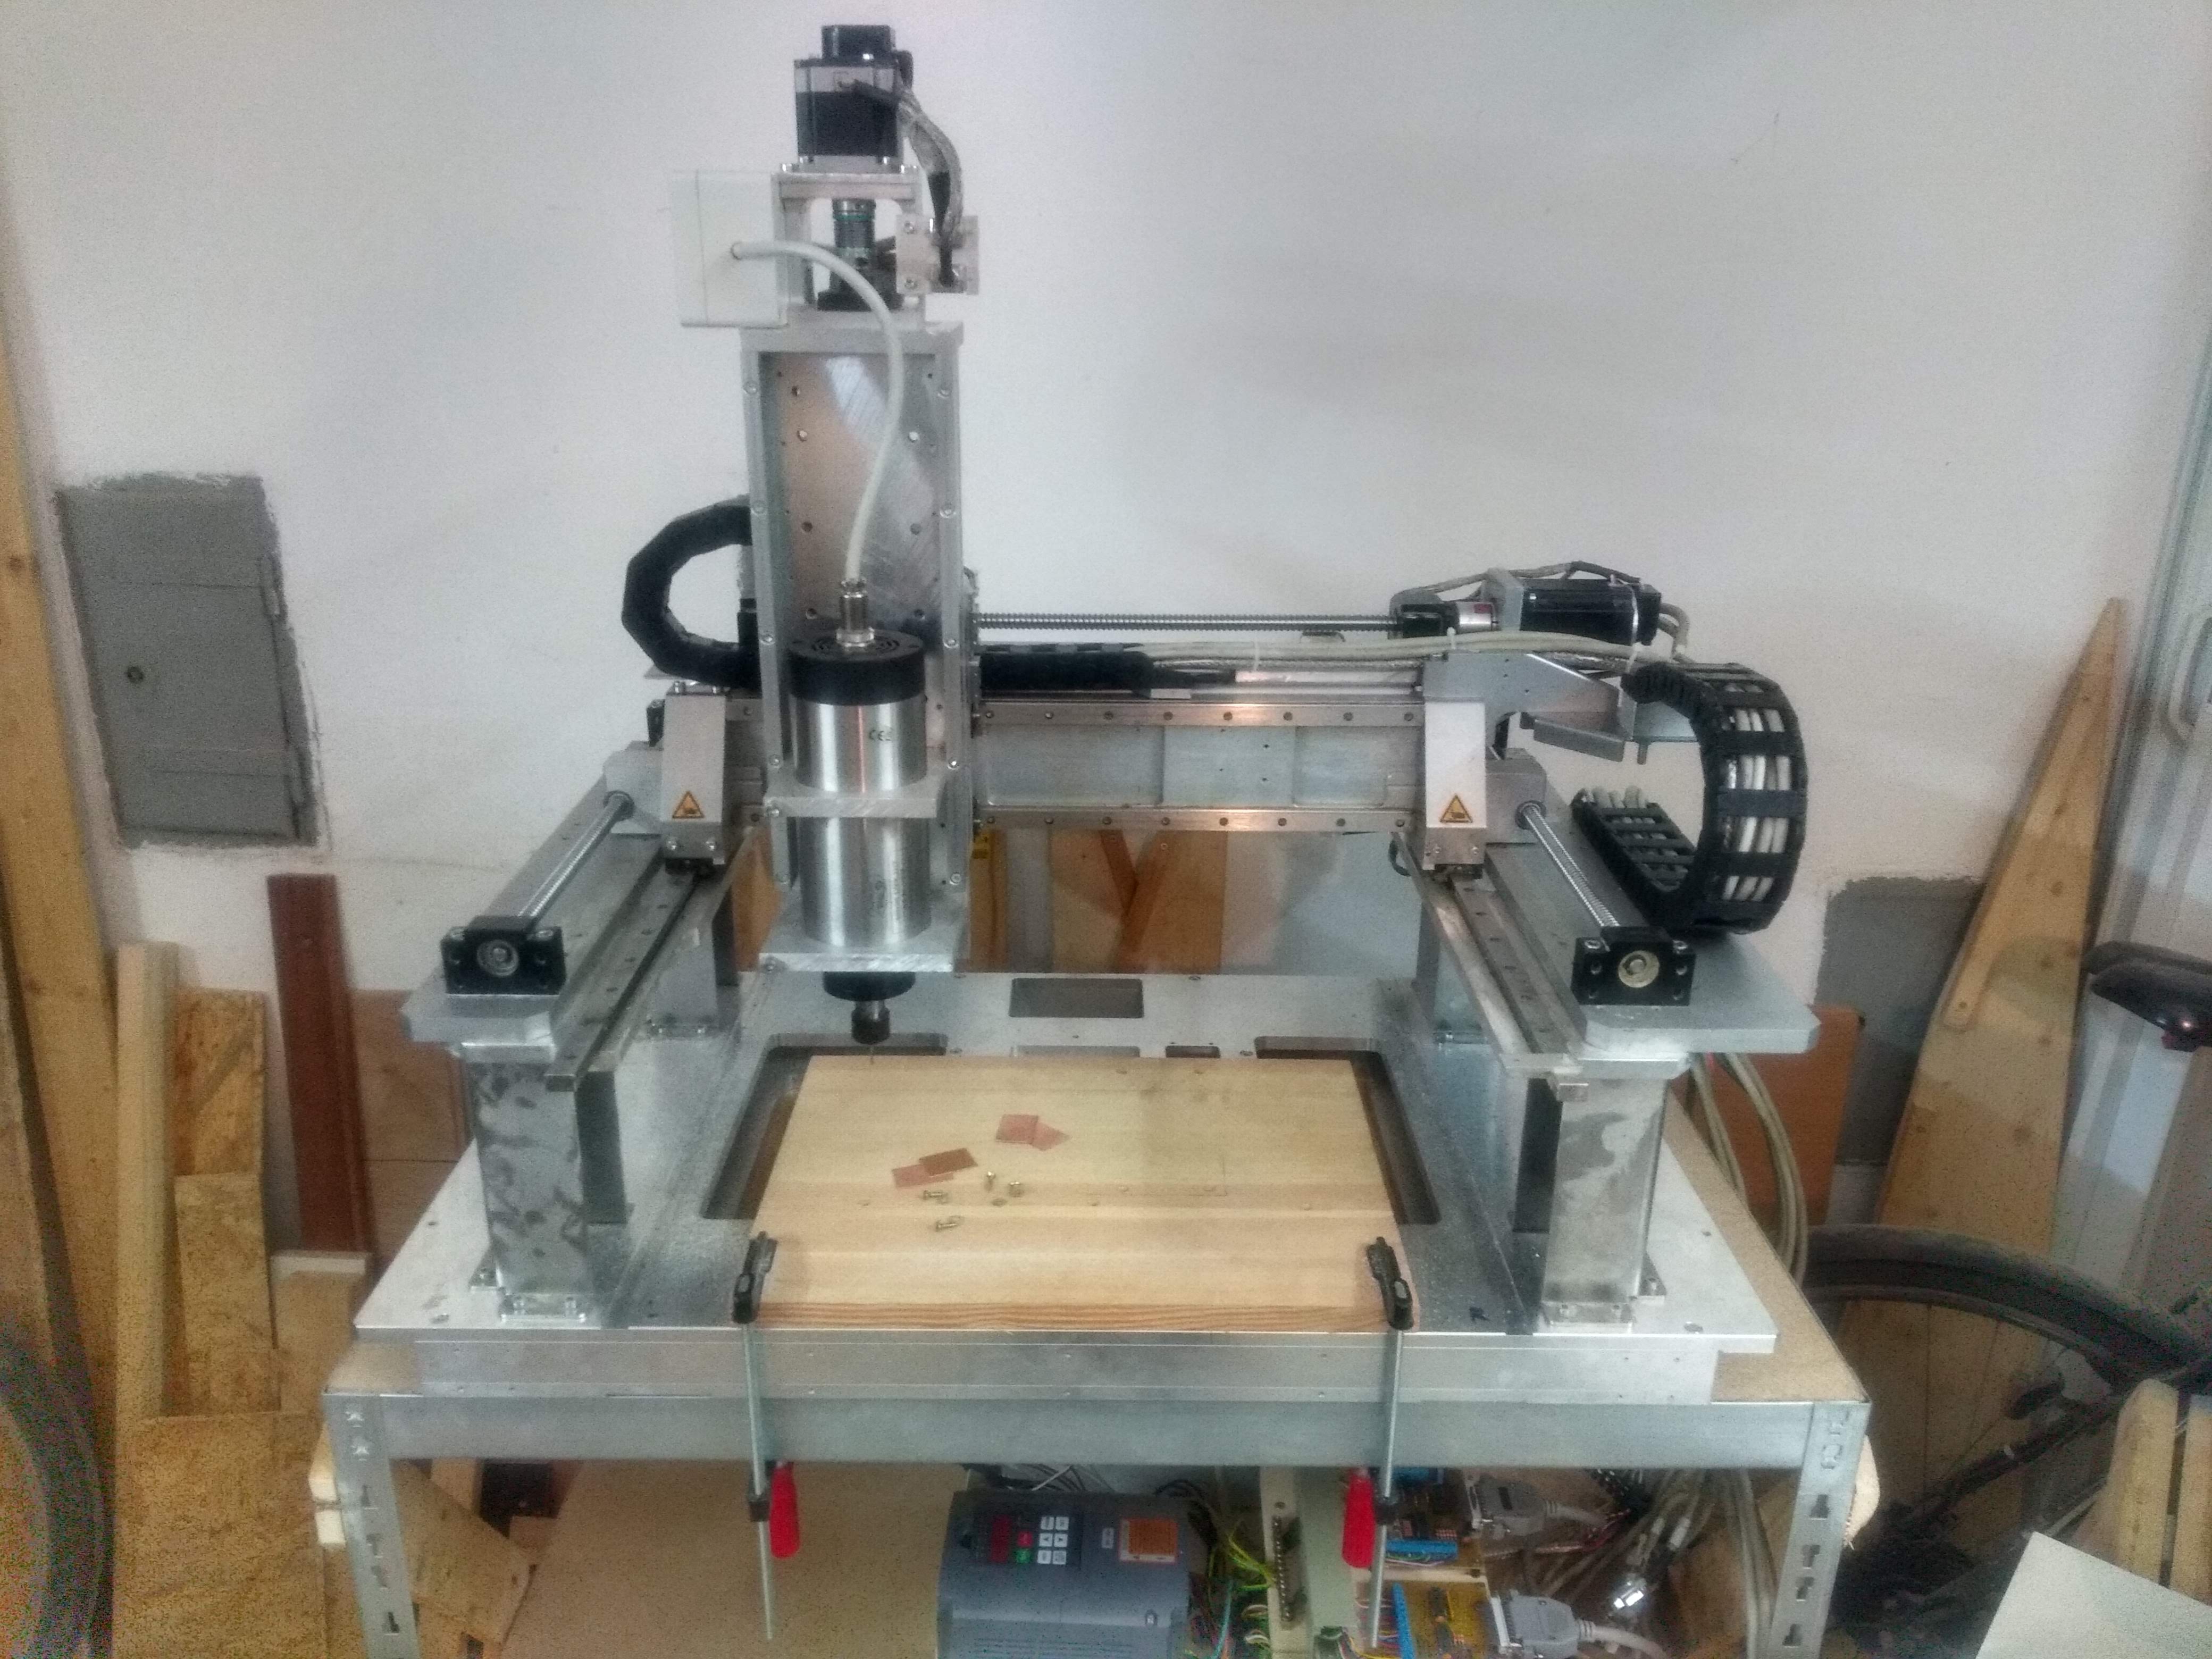
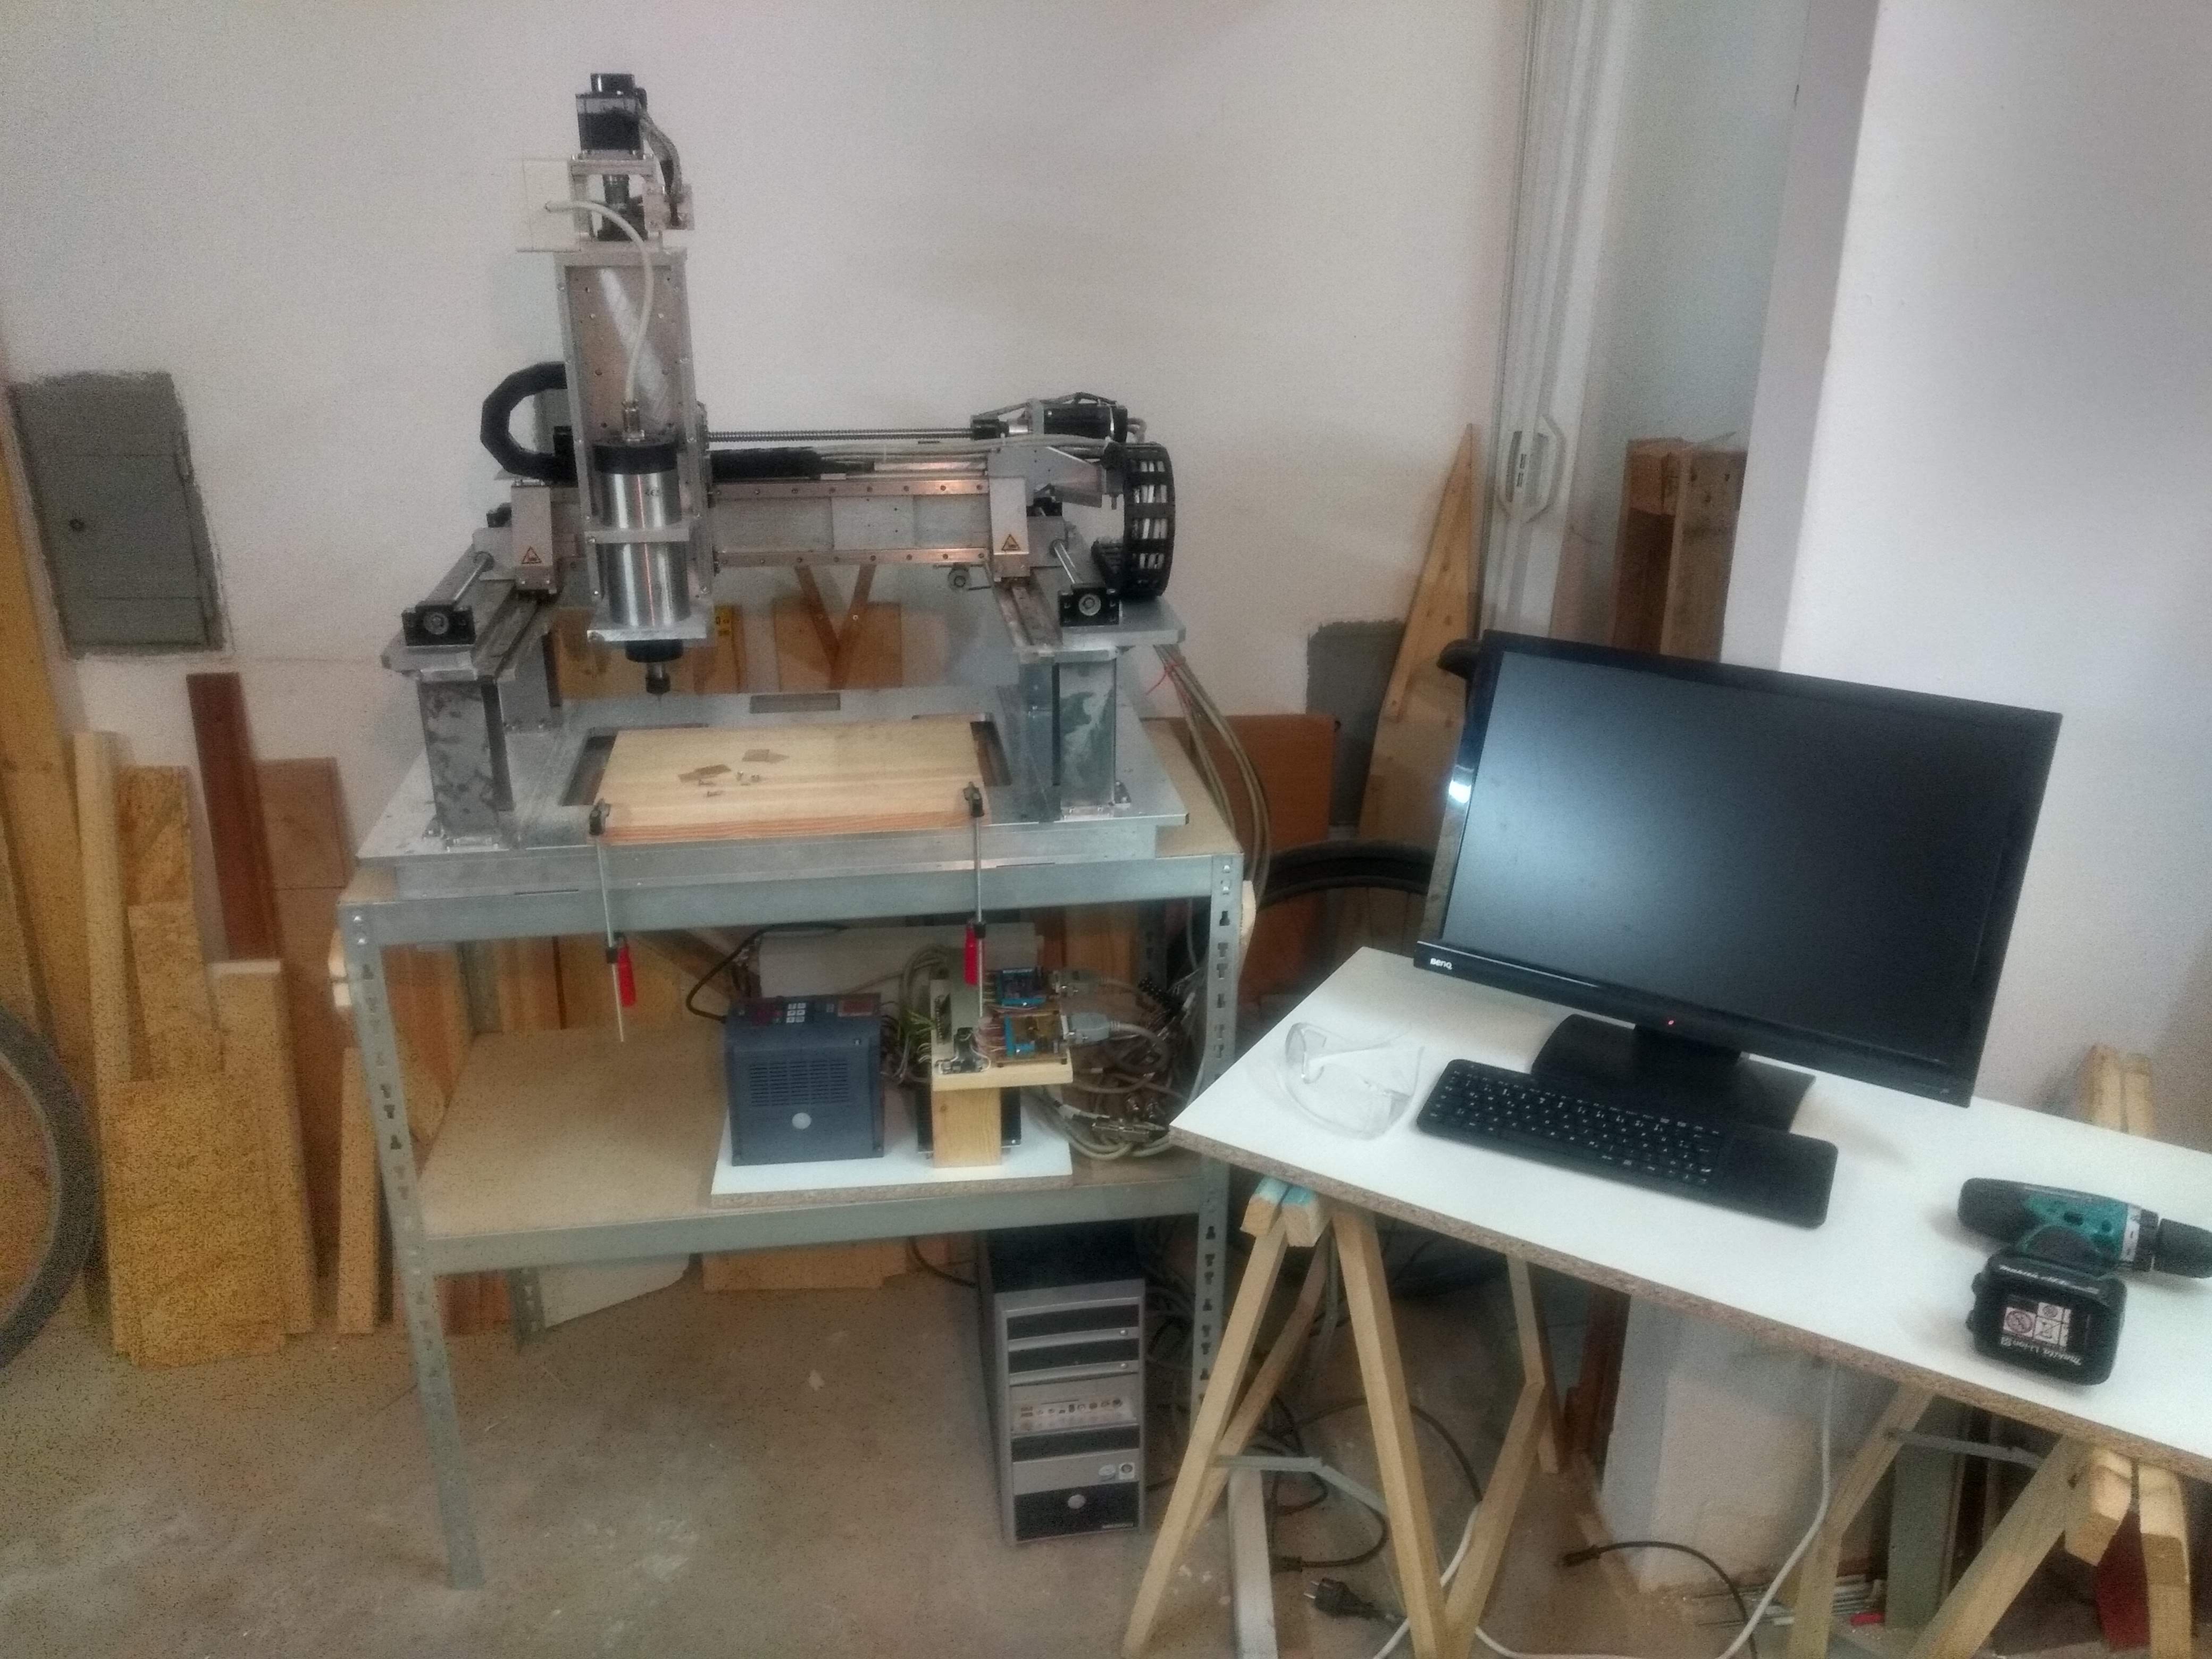
The CNC router was build in my basement workshop over about three quaters of a year. The used tools were a big drillpress, my small Rotwerk EDM300DS lathe, a proxxon bandsaw, a jigsaw and a homemade tablesaw along with various hand tools. I don’t have a manual milling machine (yet), which would have been handy. But as the screenprinter had many parts with already machined surfaces, it was possible to use those in the places where it mattered. In the less important places, a cut from the table saw, maybe dressed up a little bit with a file, does not hurt anyone.
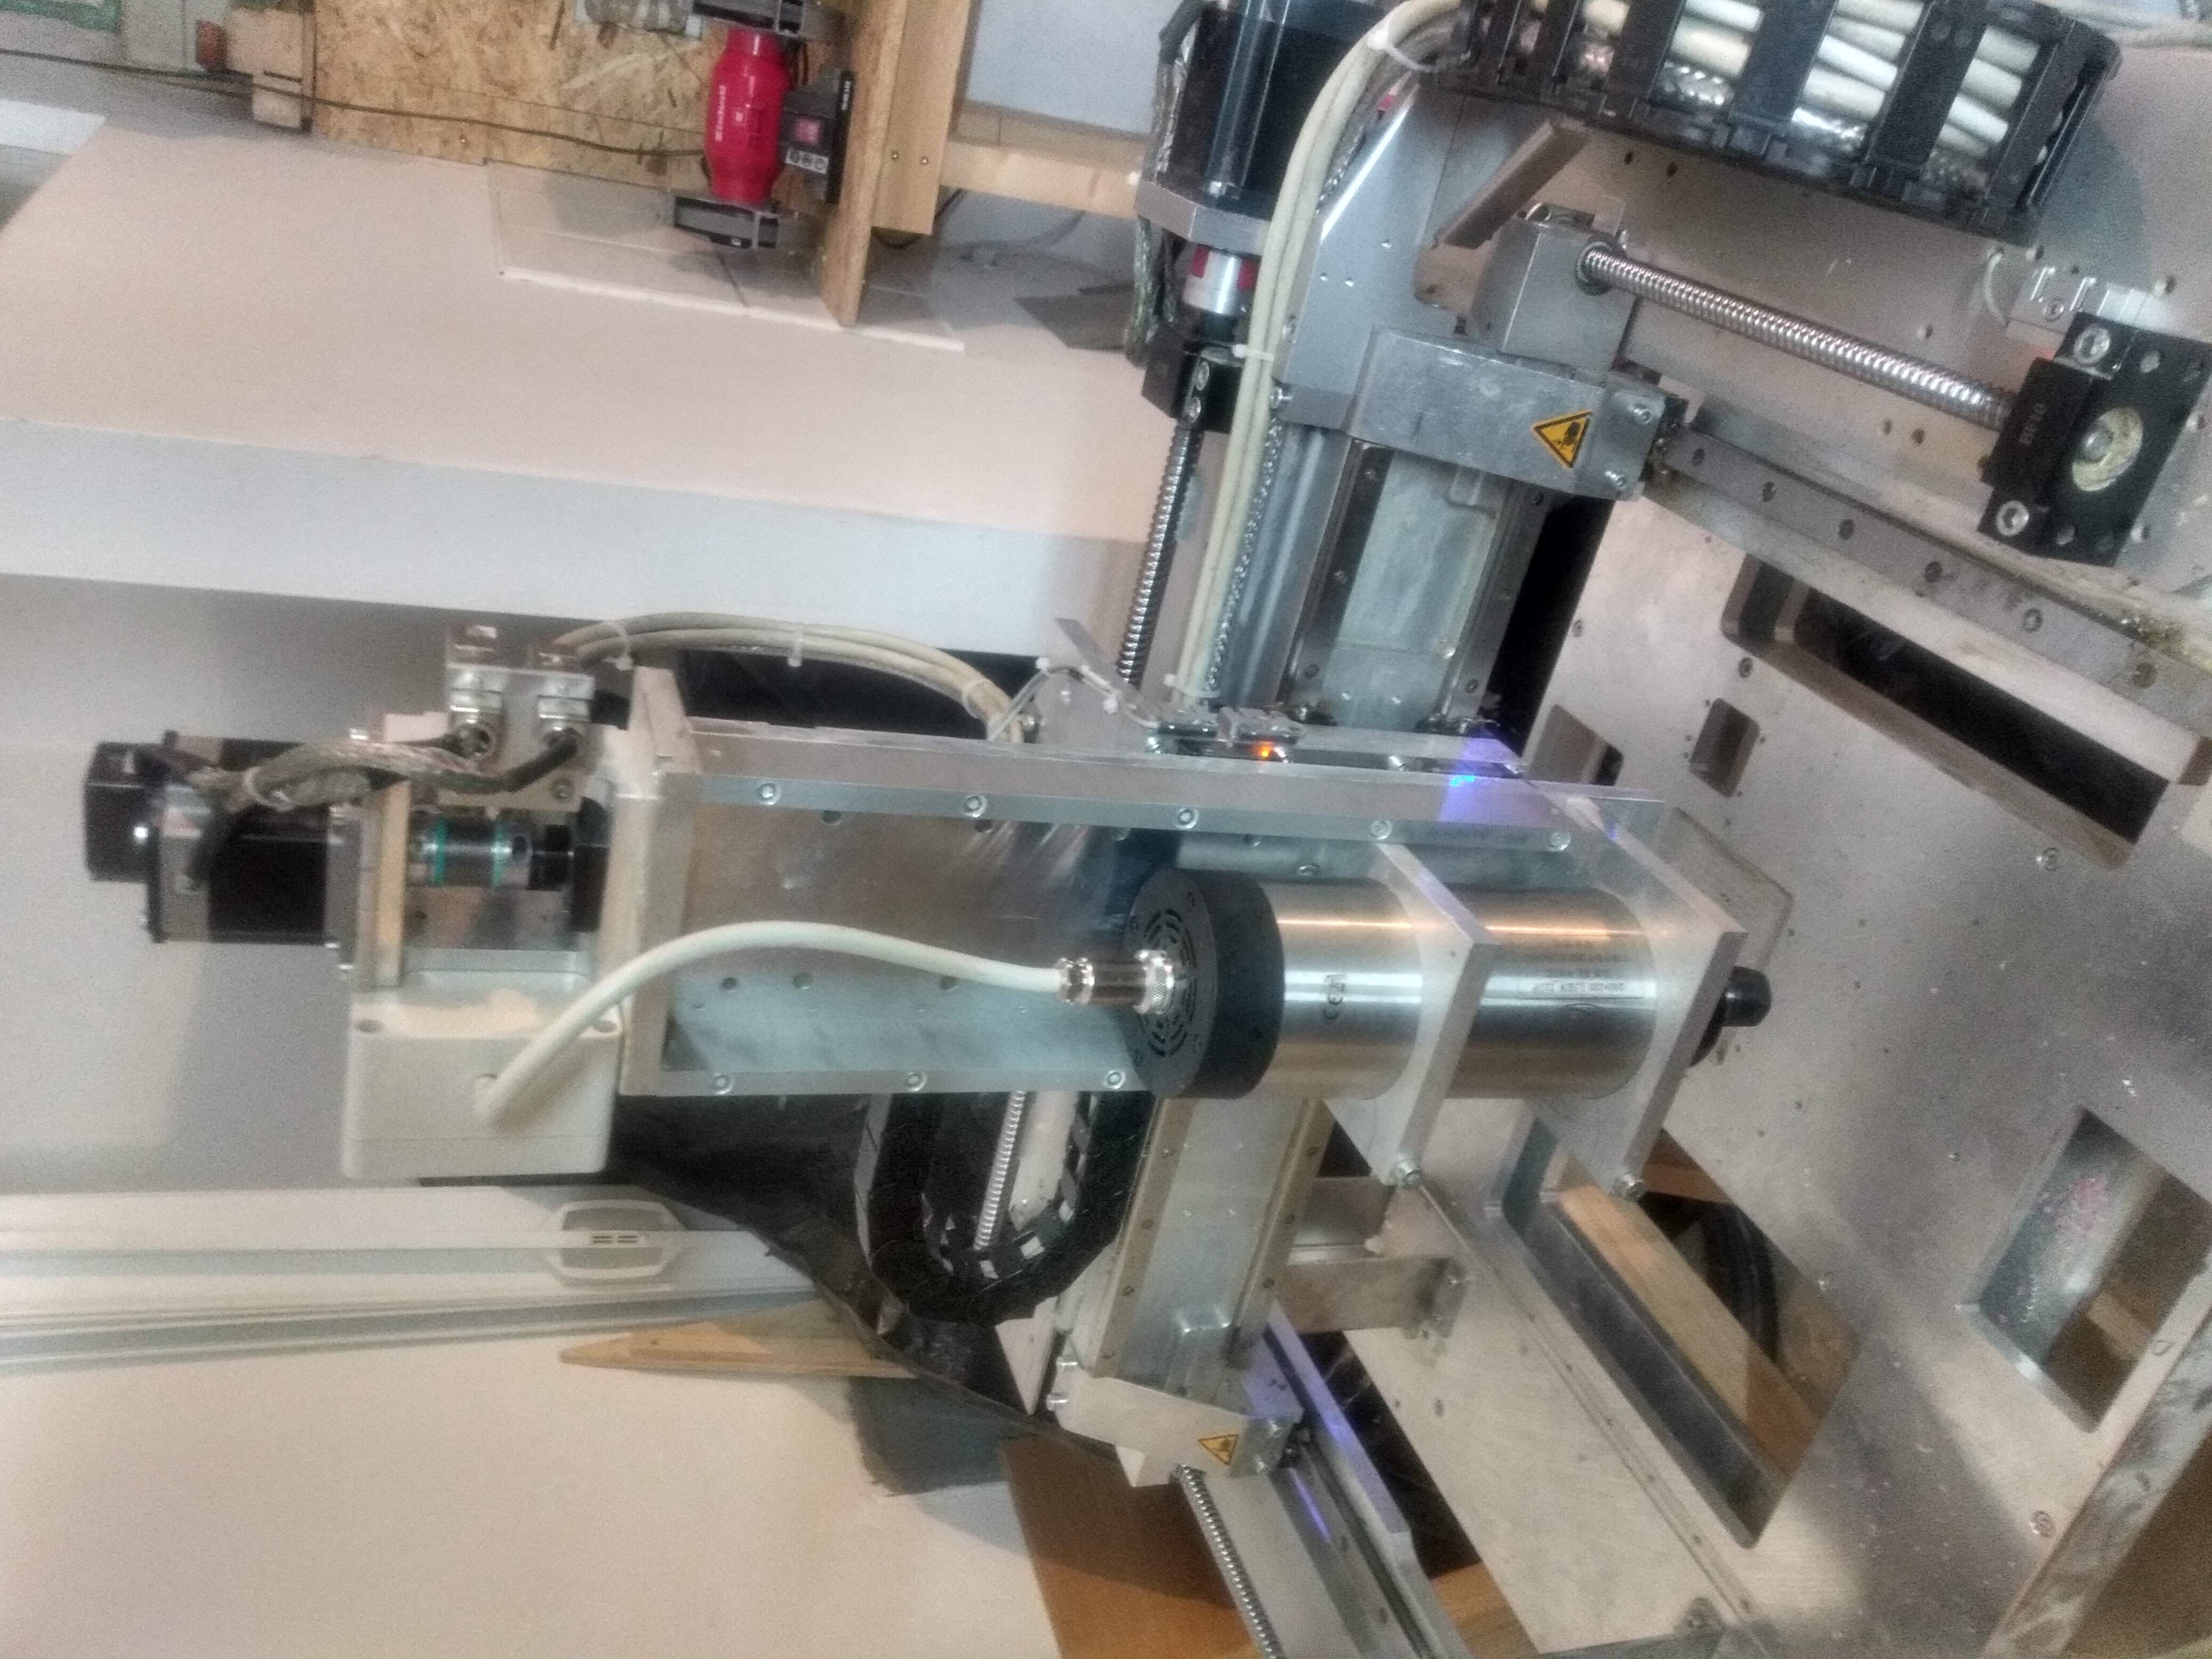
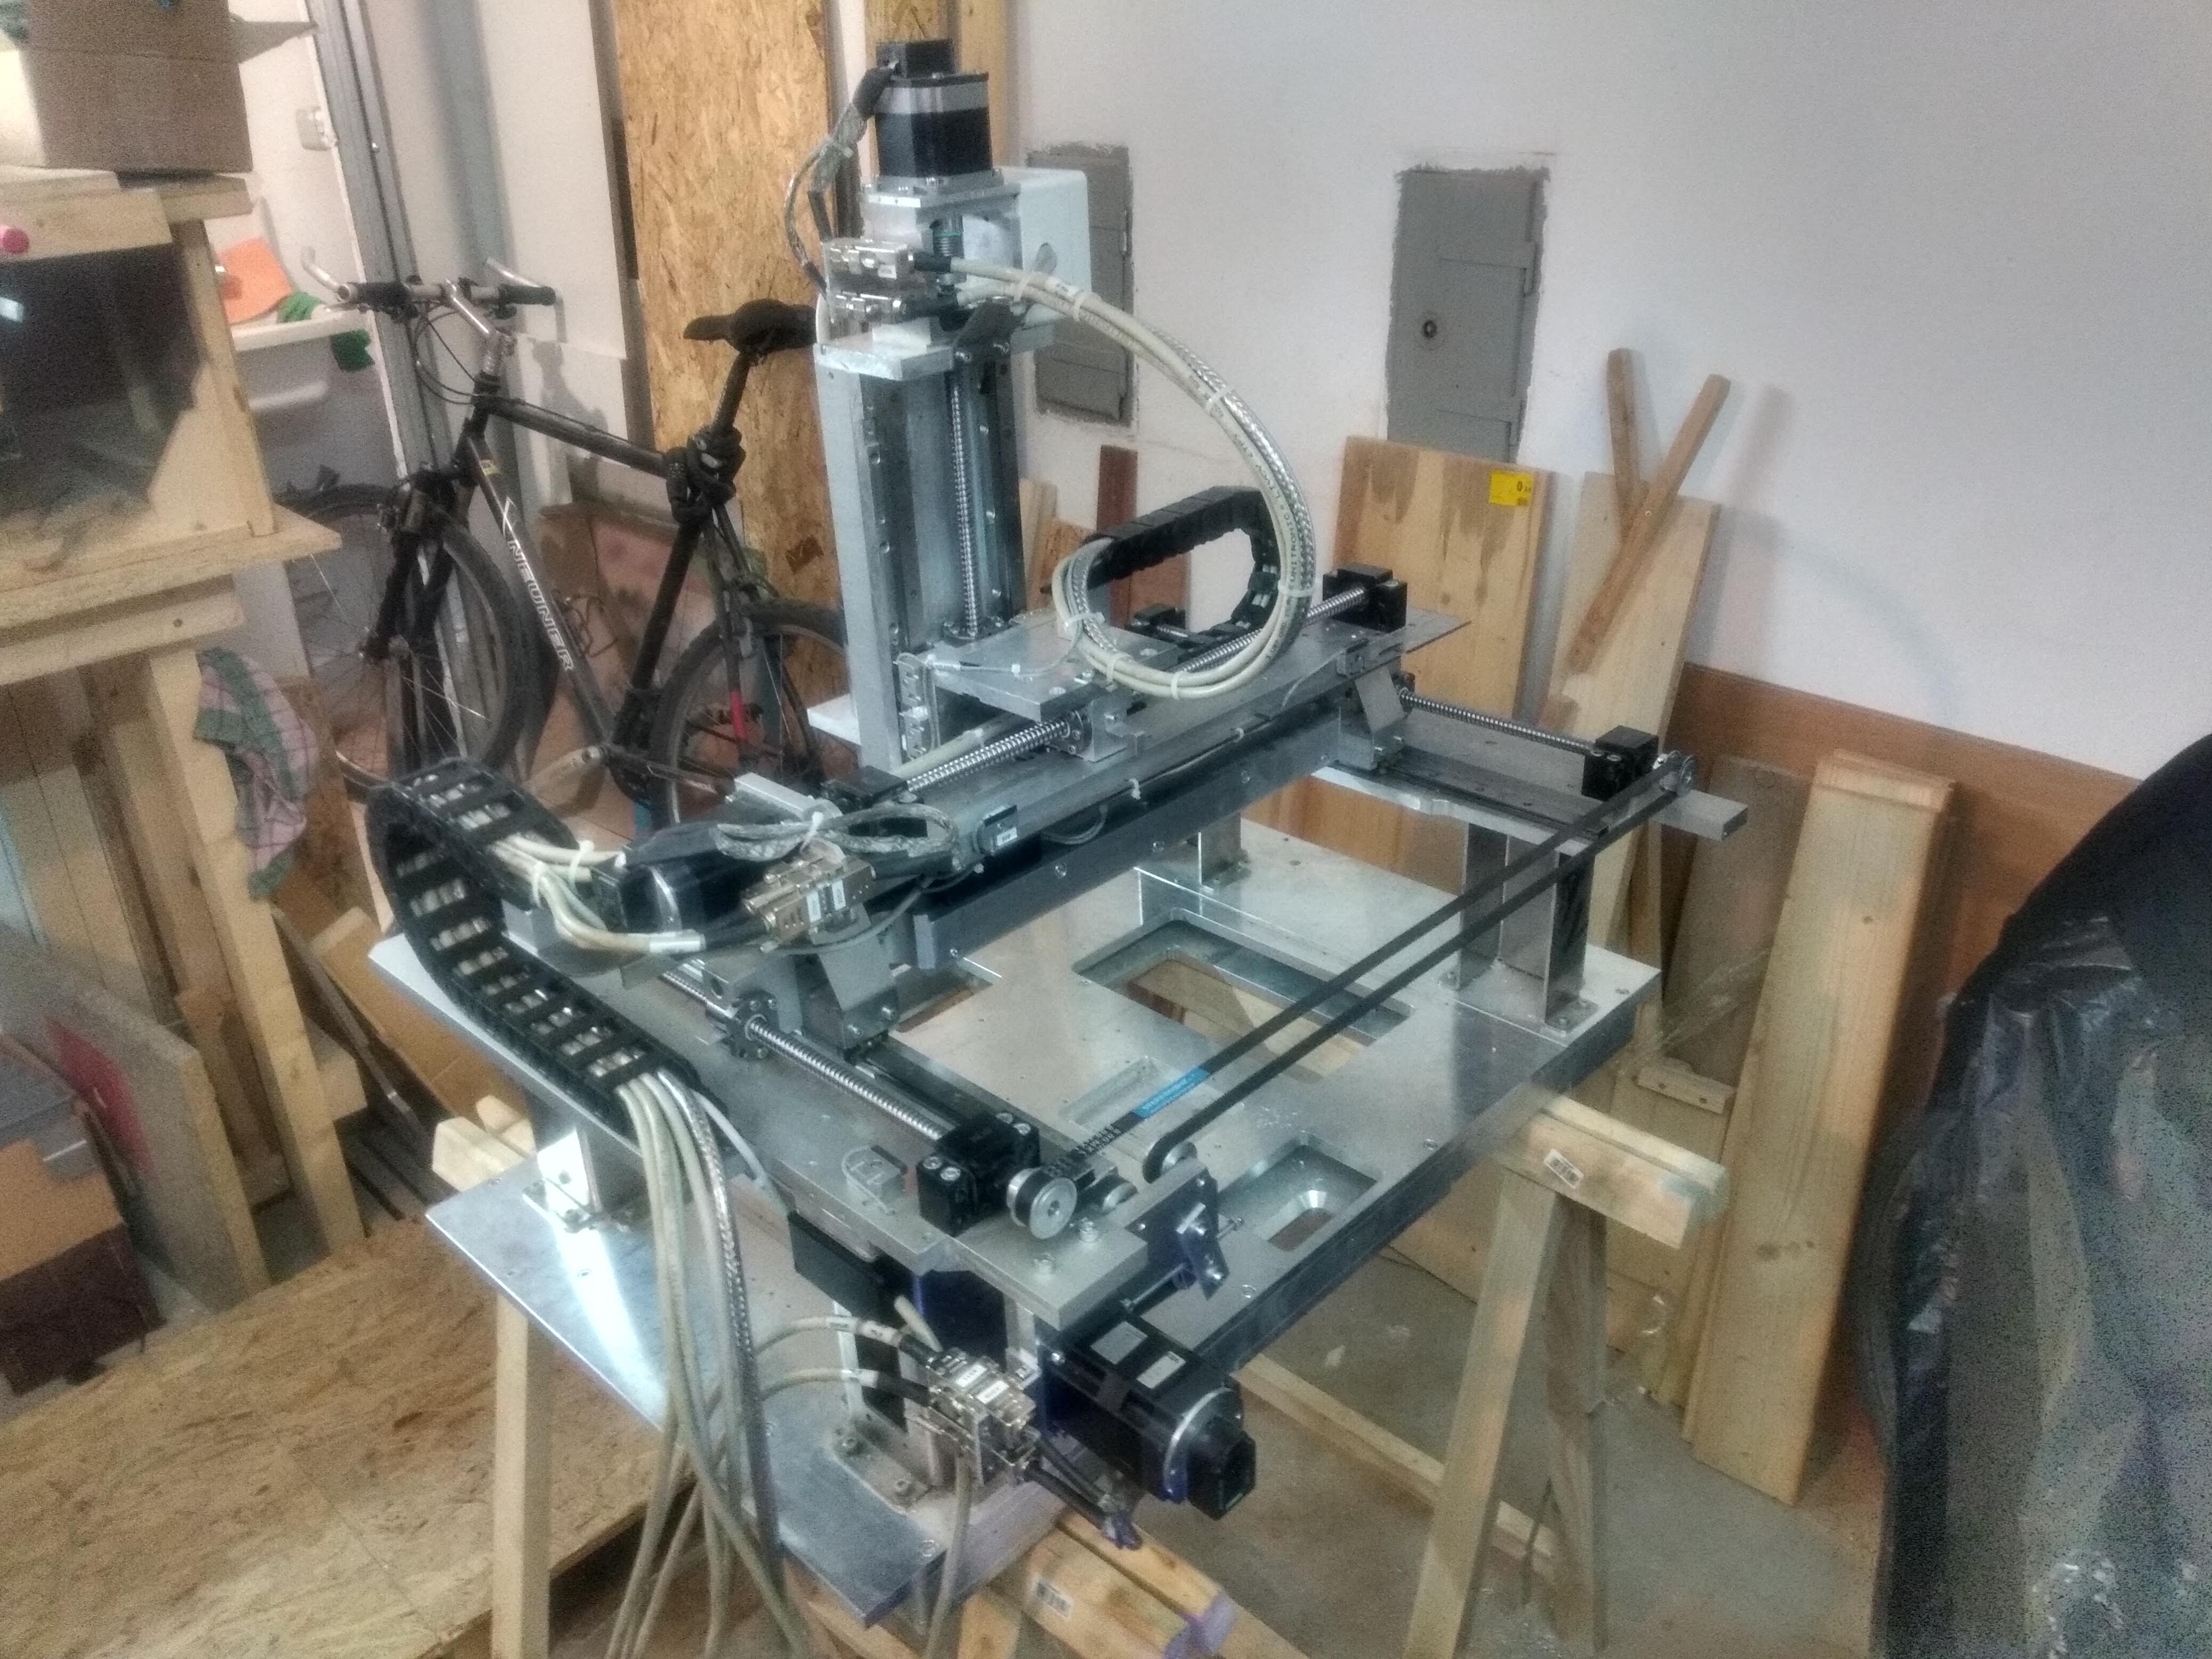
The main structure of the screenprinter is reused, although the z-axis needed to be rebuilt. Luckily, the massive base of the machine contained enough 12mm thick aluminium material to cut all required pieces out, so I did not have to buy any extra aluminium stock. Cuts are primarily made on my homemade tablesaw, which worked surprisingly well.
The control system is based around LinuxCNC and a MESA 5i25 Anything-IO-card. This allows the stepper motors to operate in a closed-loop configuration, where LinuxCNC tracks the position of the rotary encoders and uses a PID controller to drive the motors. With some homemade PCBs and inductive limit switches from the screenprinter, the control system is completed.
The build is described in more detail in a 6-part blog series:
- Introduction and starting situation
- Converting the base machine
- Building the z-axis
- Drives for x- and y-axis
- Spindle motor and ballscrew coupling
- Electronics and control PC
The result
In the end, the project turned out quite nicely and produced a not too large and quite usable machine for small CNC projects in the future. The working volume is about 330x370x200mm depending on the size of endmill and holding method used. In terms of stiffness, it is obviously not able to compete with professional machines made from cast iron or polymer concrete, but this was clear from the beginning. It runs very smooth and quiet thanks to the excellent performance of LinuxCNC in combination with the MESA card and is also able to plow through aluminium with a 4mm endmill “quite fast”. Much more than that is probably not a good idea because of vibrations. Obviously, there must be a reason why professional machines quickly weigh tons.
First workpieces
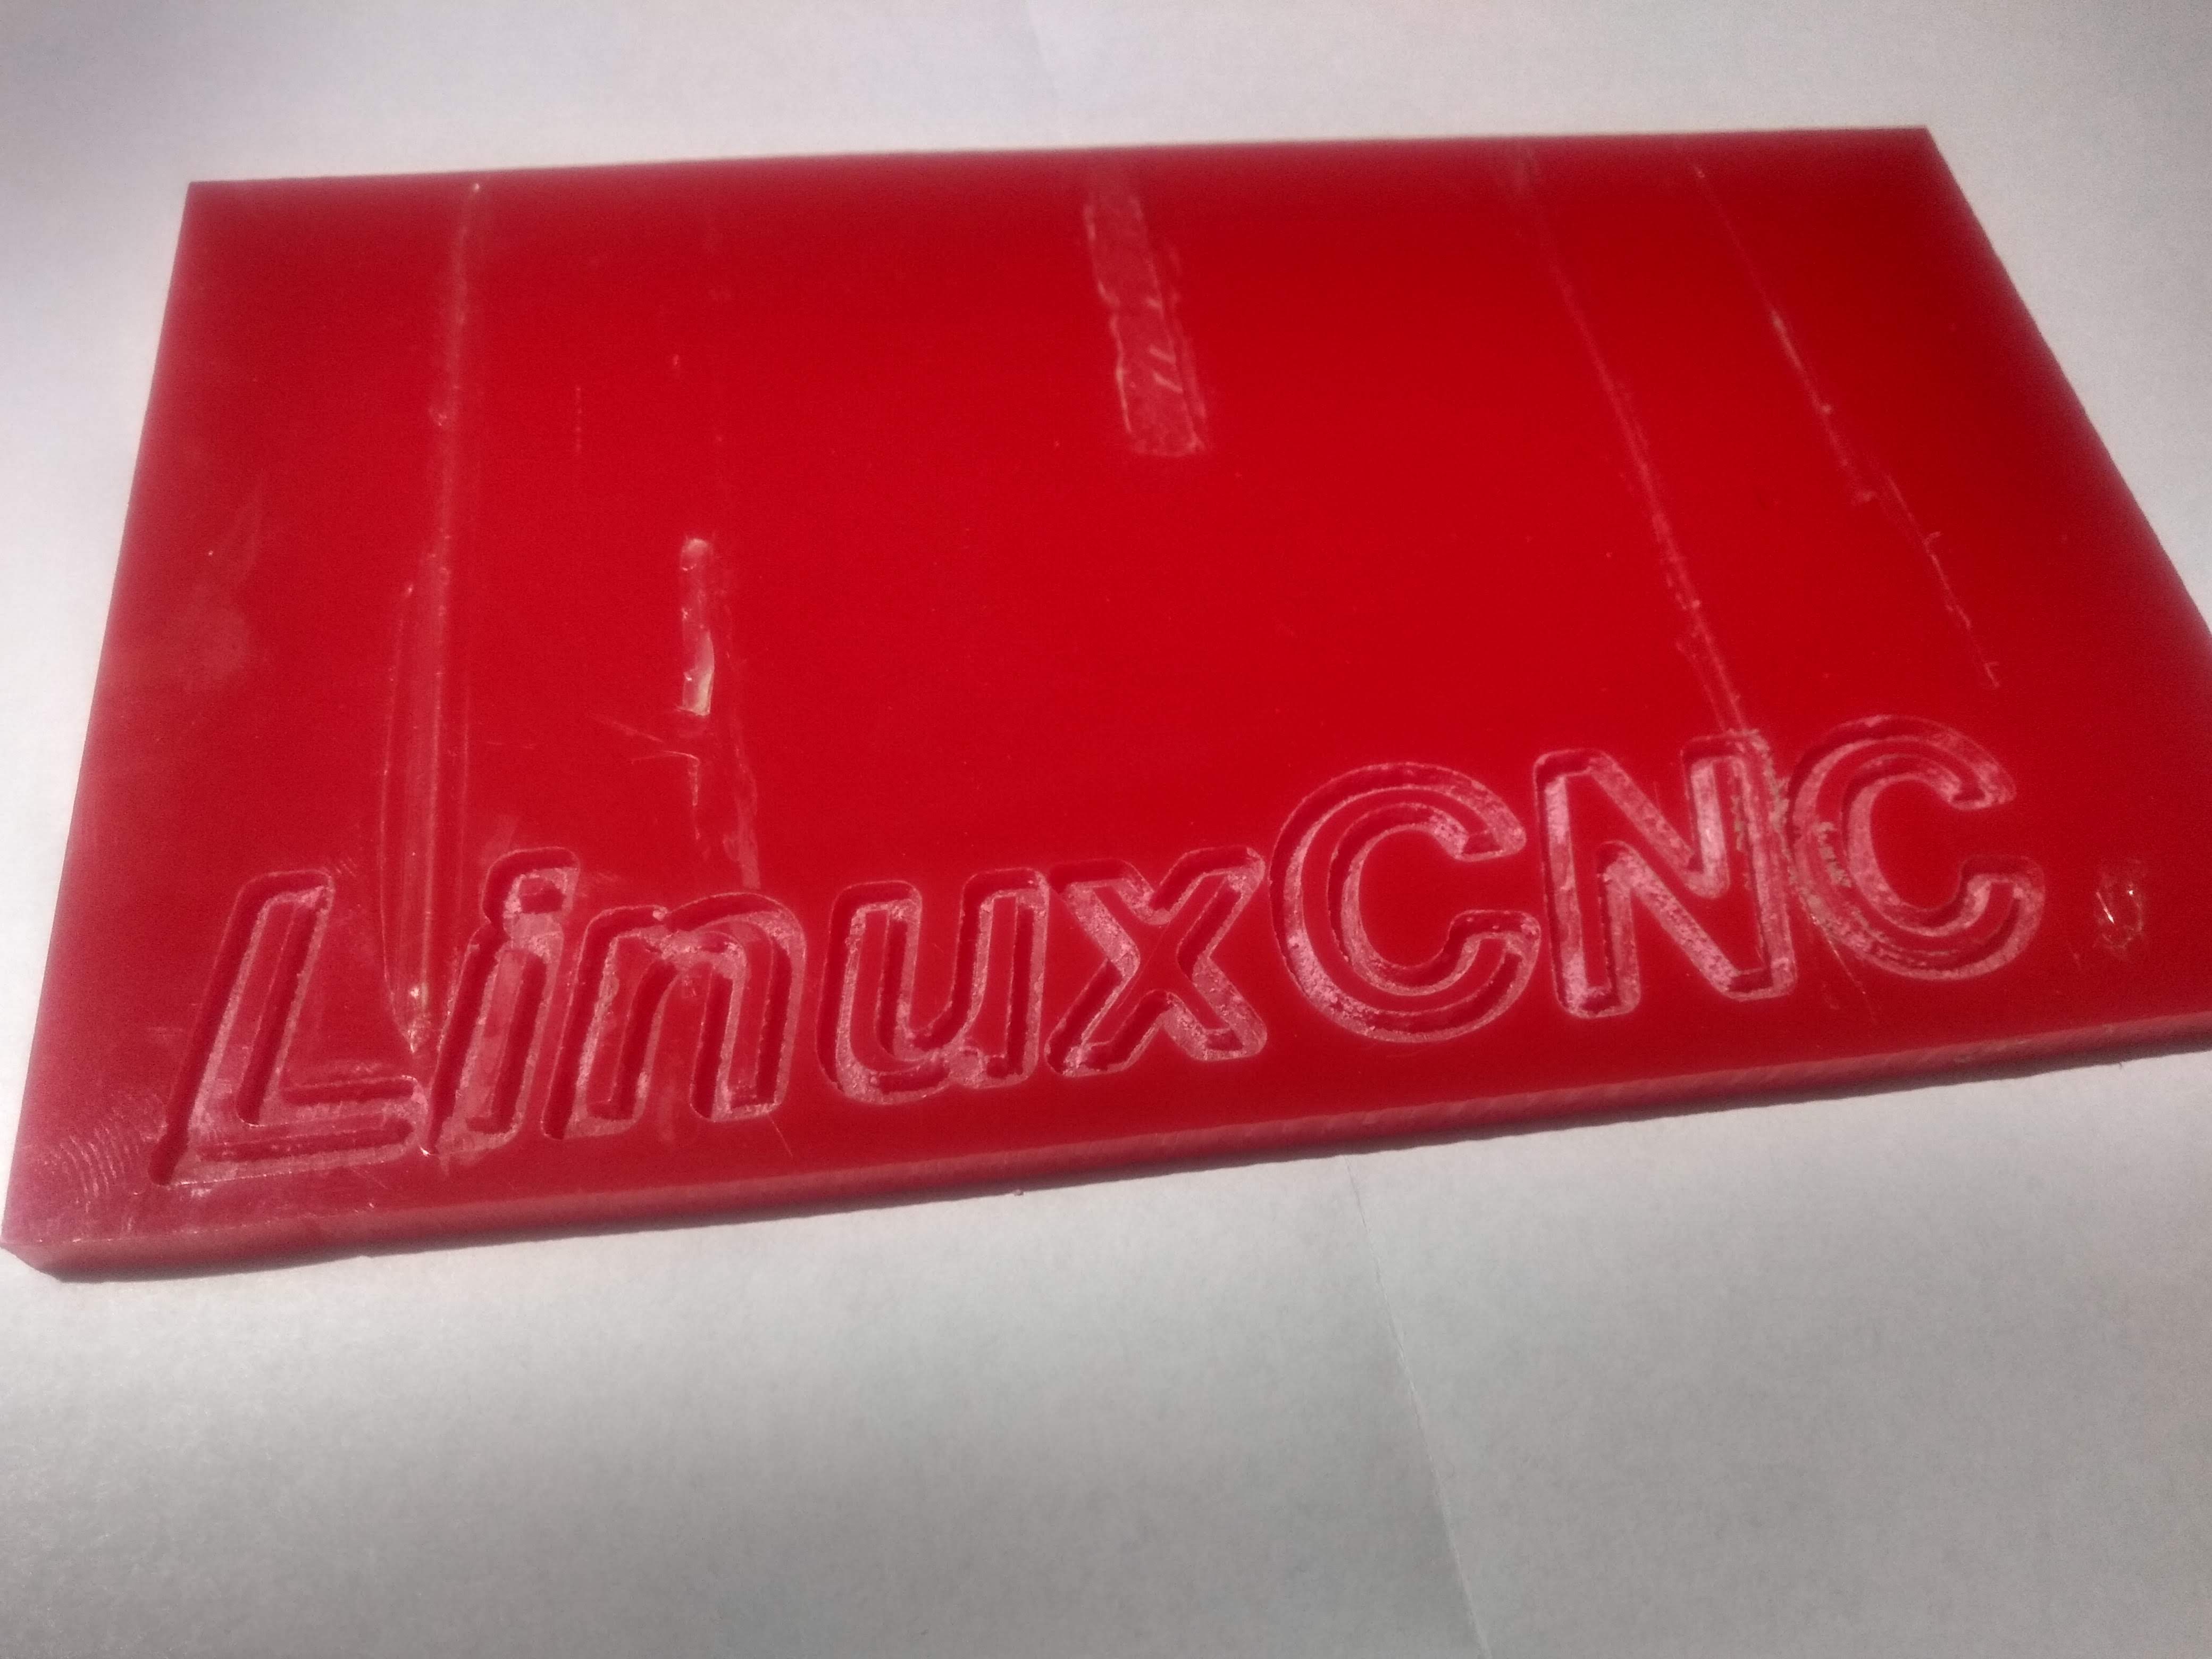
The very first workpiece of this machine is the LinuxCNC demo code:
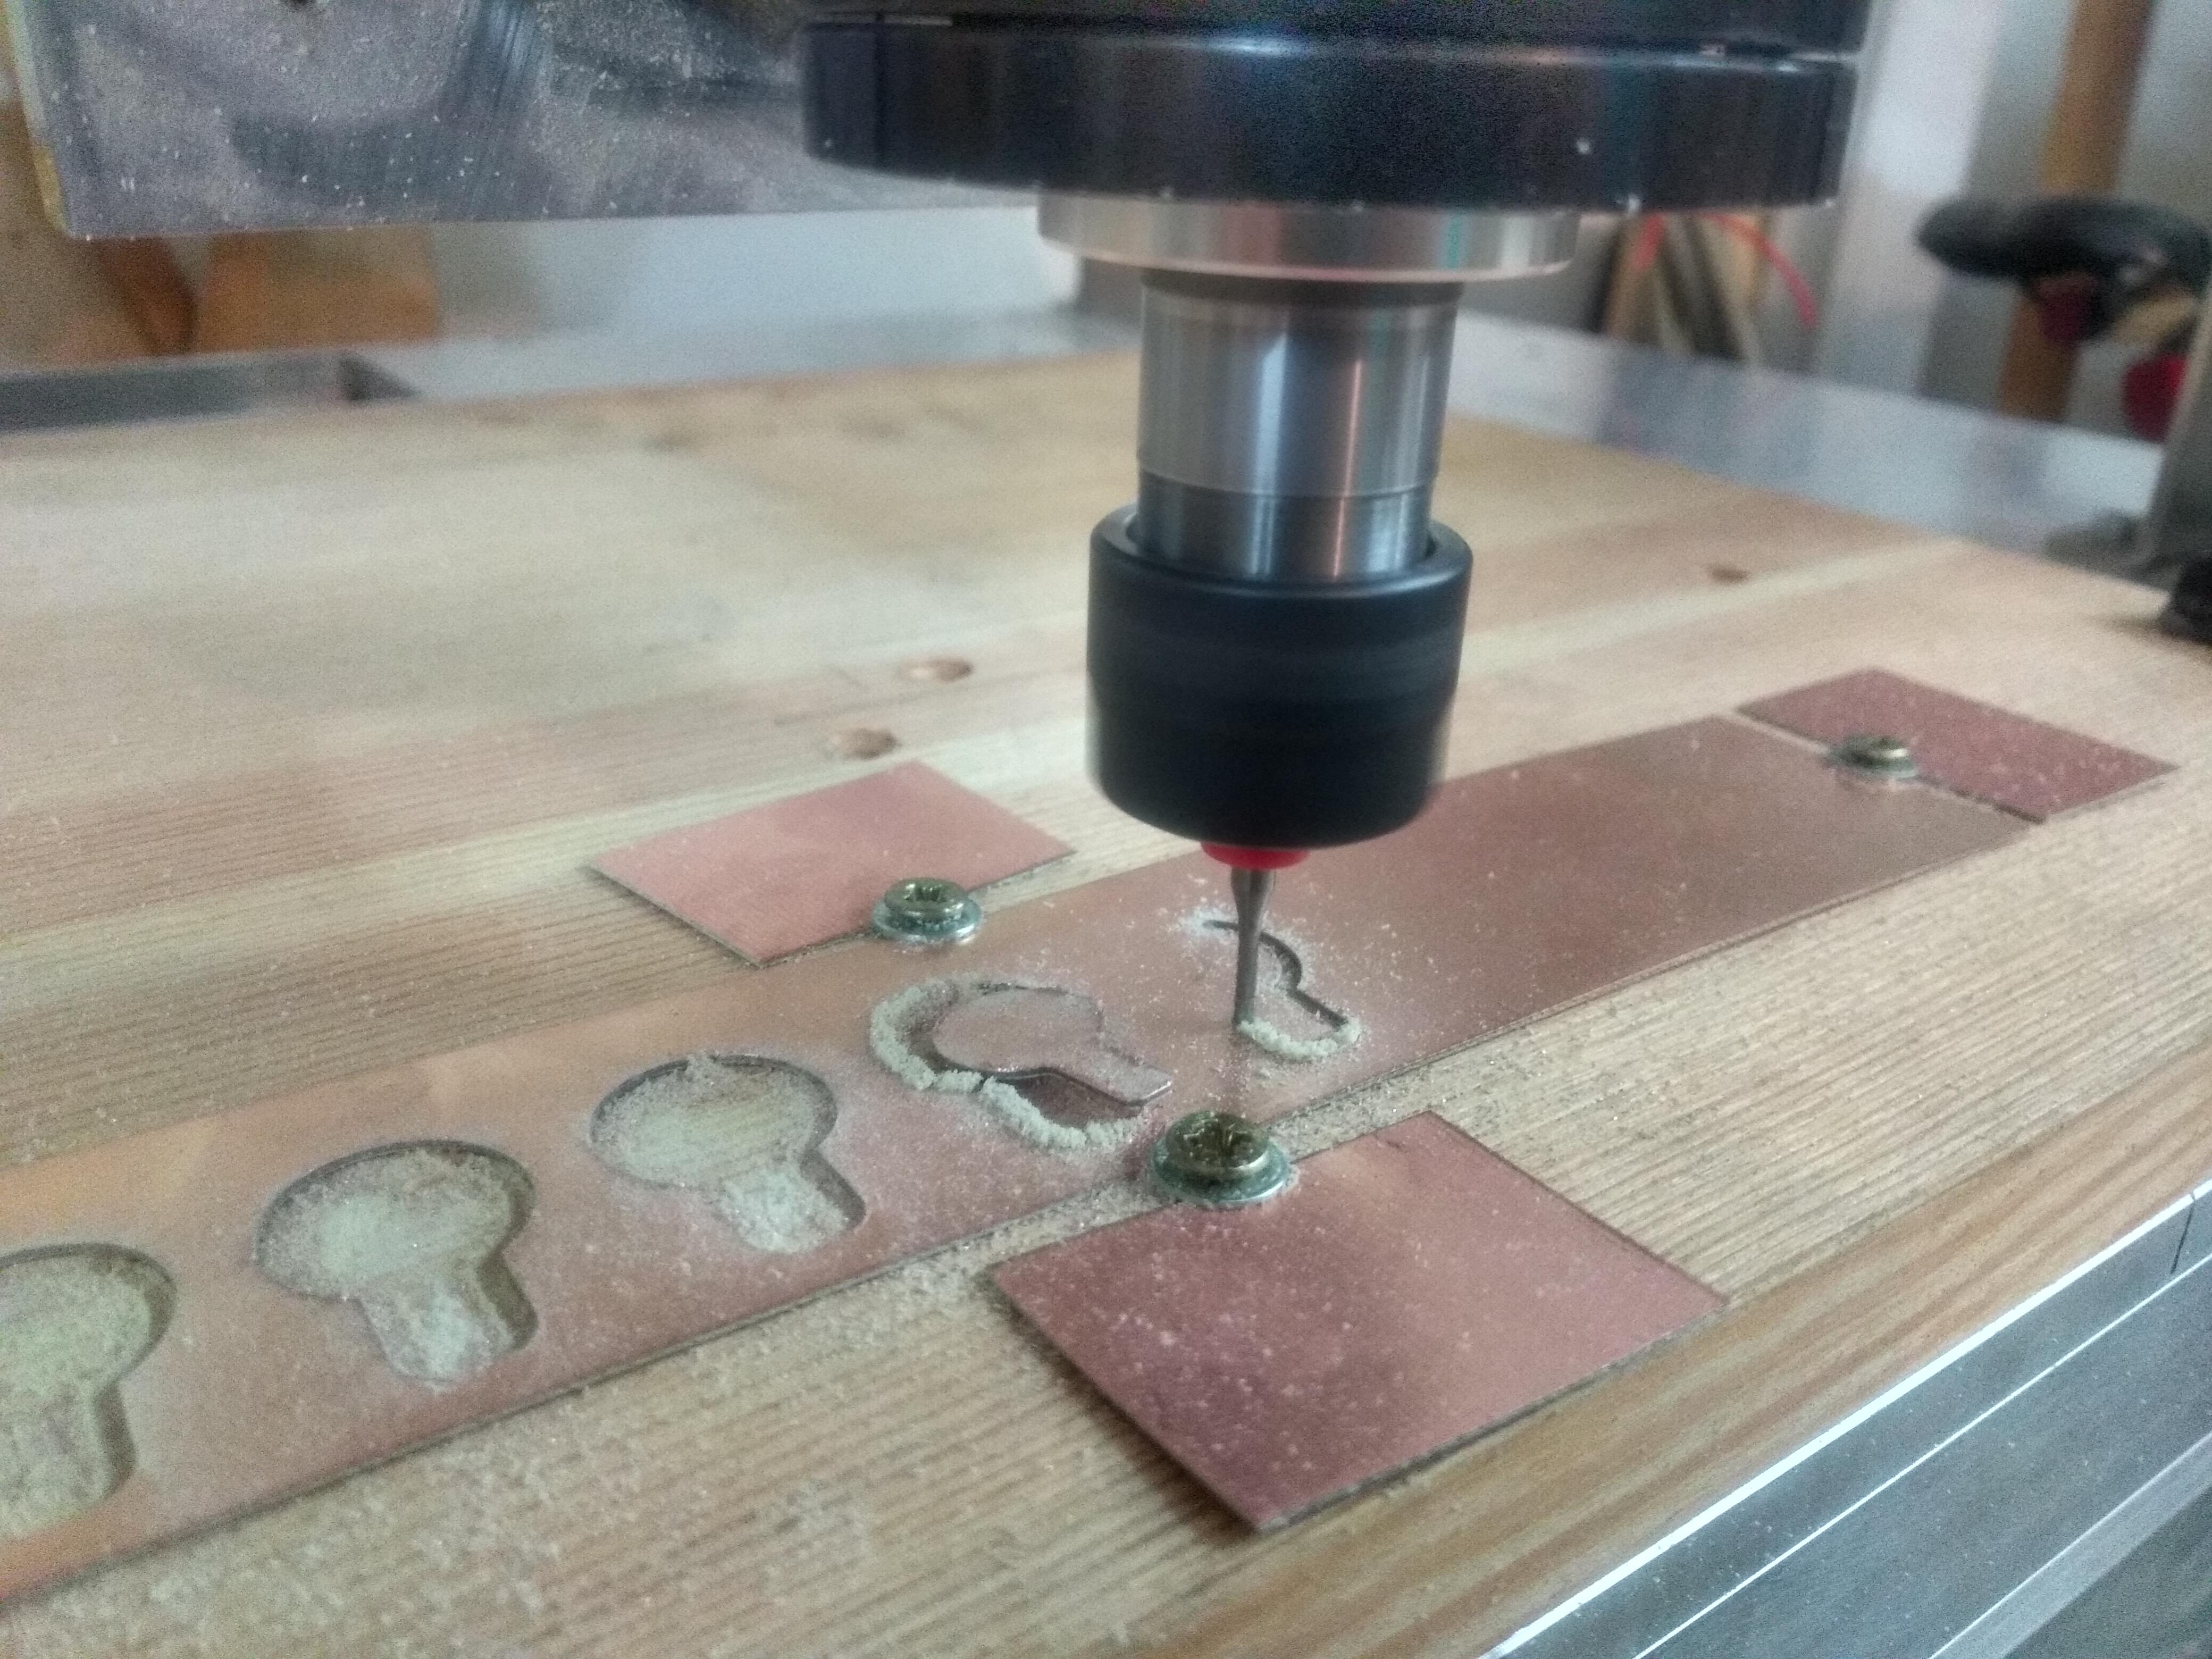
For another occasion, I needed to make some battery clips from thin PCB material, an ideal task for this machine:
(more to be added …)